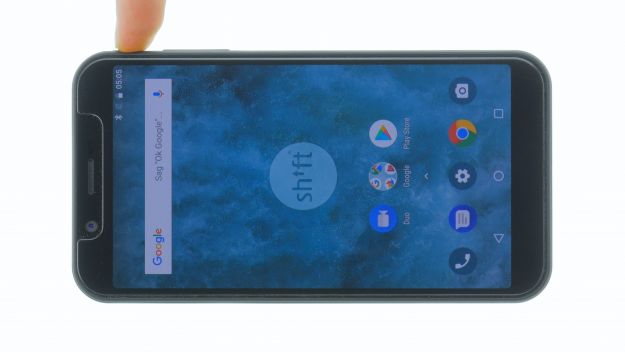
Remove the main board after water damage.
In this repair guide we show you how to remove the main board of your SHIFT6m by yourself. Removing the main board is necessary, for example, if you want to clean the board after a water damage.
Required tools
-
Tweezers
Tweezers
We recommend using tweezers to remove screws and various small parts from your device.
on Amazon -
Plastic prying tool
Plastic prying tool
You need a flat plastic prying tool to disconnect the various plugs and connectors.
from €14.99 on Amazon - Wiha PicoFinish Torx Screwdriver T3
Steps
10 Steps
Getting started with the repair of your SHIFT6m
If you get stuck or have questions, you can post a comment. We’d be happy to help.
-
Switch off the device
-
Remove the back cover
The backcover of the SHIFT6m is not glued or screwed and can be removed without tools.
However, you can also use a plectrum to loosen the clips along the entire edge.
- Use a plectrum or a fingernail to slide it into the small recess in the bottom left corner and pull up the backcover.
- Then gradually loosen all clips all around. The back cover is hooked again around the fingerprint sensor. There you have to pull a little harder to loosen the backcover.
-
Remove the battery
-
Remove the display
- 16 × 4,0 mm Torx T3
- 2 × 4,0 mm Torx T3
- Display connector
The display is attached to the entire frame with many screws of the same length. On two screws there can be a small white sticker.
- Loosen all screws with a Torx T3 screwdriver.
- Then turn the SHIFT6m over and slide a plectrum or your fingernail between the plastic frame and the display.
- Slide around the entire display once to gradually release it.
The display is connected to the motherboard with a long flex cable.
- Carefully fold the display down and place it on the frame.
- Loosen the two screws on the cover plate above the display contact.
- Then you can carefully loosen the plug of the display with a plastic spudger and finally put the display aside.
-
Remove the mainboard
- 2 × 4,0 mm Torx T3
- Connector
- Standby/Volume Connector
All other components such as cameras, SIM card slot, antennas and charging socket are connected to the motherboard.
To remove the board you must first disconnect all contacts.
- Loosen the contact of the black antenna by turning the tweezers. Do not lever off the contact with the spudger as this could damage the socket on the board.
- Carefully separate the contact of the ribbon cable running across the device with a spudger.
- Loosen both screws.
- Lever the main board on the left side slightly upwards and then carefully fold it over to the other side.
This releases the plug contact for the fingerprint sensor, which is located in the middle of the motherboard.
Attention, on the back side the control buttons are still connected with a short flex cable.
- Loosen the connector carefully with the Spudger and remove the motherboard from the device.
-
Install the mainboard
- Standby/Volume Connector
- 2 × 4,0 mm Torx T3
- Connector
- Place the motherboard on the right side upside down.
- Connect the control button contact.
- Then flip the motherboard over and press lightly until it sits properly in the device and the fingerprint sensor contact clicks into place.
Be careful not to pinch any cables under the circuit board.
- Attach the two screws to secure the motherboard.
- Then connect the ribbon cable by positioning the plug exactly over the contact on the motherboard and then pressing.
- To make it easier to connect the black antenna cable you can position it with a pair of tweezers and press it down with the Spudger.
-
Install the display
- Display connector
- 2 × 4,0 mm Torx T3
- 16 × 4,0 mm Torx T3
- Place the display on the frame and position the display connector over its contact on the motherboard.
- Carefully push the connector down.
The connector should engage directly with a slight click. If this does not work immediately, do not try to push the connector down with force. Reposition the connector and try again.
- Put on the silver cover and screw it in place.
- Flip the display over and press it all around until it sits correctly in the frame.
- Then reinstall all screws.
-
Insert the battery
-
Attach the back cover
-
Test the device
The right tools for your repair
Bewerte unsere Anleitung
Hat dir unsere Anleitung weitergeholfen? Wir sind auf deine Beurteilung gespannt.
Submit ratingBewertung gesendet
Similar guides
You might also be interested in these guides.