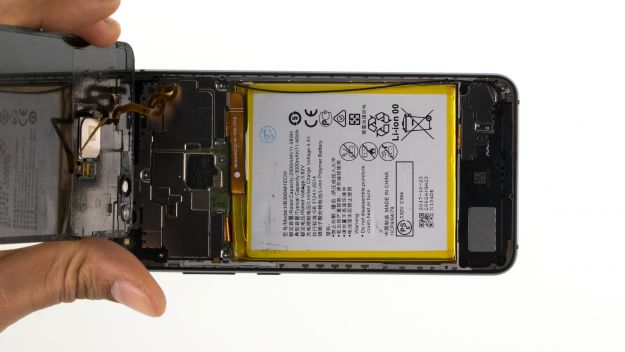
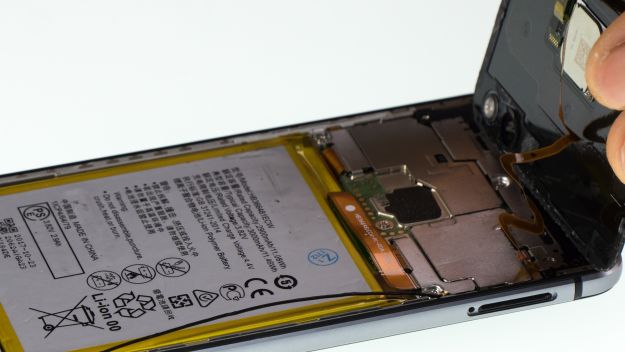
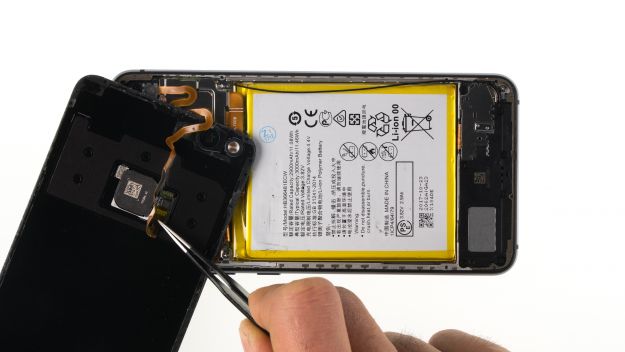
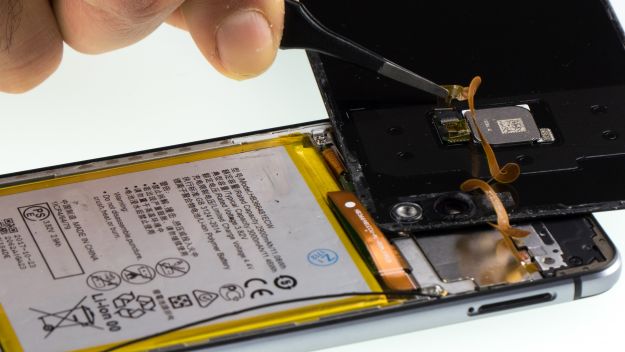
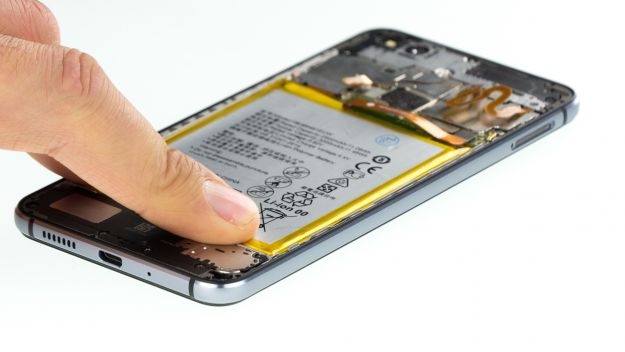
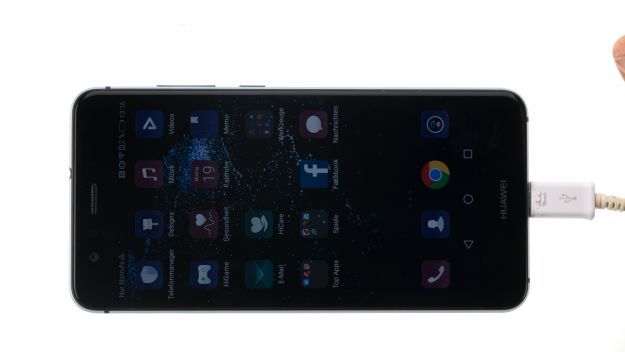
The display is broken or remains black.
This guide shows you how to repair a defective display for your P10 lite. This fix is necessary if the glass is cracked, no longer responds to touch, or the screen is black or flickers.
Back up all your data before the repair, and touch something metal, like a radiator to get rid of any static charges.
Required tools
-
Tool for prying out batteries
Tool for prying out batteries
You have to use a very stable tool to pry out the battery. At the same time, it has to be flat enough to insert below the battery.
from €10.99 on Amazon -
Heat gun
Heat gun
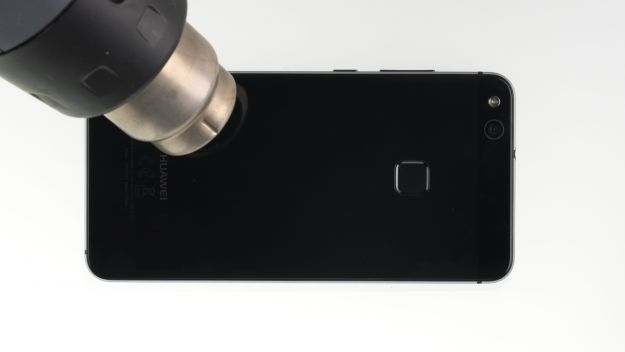
You can use a heat gun to heat parts that are glued on so they’re easier to remove. In most cases, you can also use a hairdryer.
from €15.99 on Amazon -
For storing screws
For storing screws
We recommend storing your screws so you don’t mix up the various screws and small parts.
from €10.99 on Amazon -
Tweezers
Tweezers
We recommend using tweezers to remove screws and various small parts from your device.
on Amazon -
Pick Set
Pick Set
You need a flat but stable tool such as a pick to pry out parts that are glued in place.
from €14.99 on Amazon -
SIM Tool
SIM Tool
If you want to use a different SIM card or repair most parts of your Apple devices, you’ll have to remove the SIM card first. The SIM card tray only comes out if you insert a tool with a very fine point into the small hole next to the SIM card slot. This tool is designed especially for ejecting the SIM card from all iPhones and iPads, and fits perfectly into the appropriate opening.
on Amazon -
Plastic prying tool
Plastic prying tool
You need a flat plastic prying tool to disconnect the various plugs and connectors.
from €14.99 on Amazon -
Steel Laboratory Spatula
Steel Laboratory Spatula
You need a flat and sturdy prying tool to disconnect glued parts.
on Amazon
Required replacement part
- Huawei P10 lite Screen
Getting started with the repair of your P10 lite
If you get stuck or have questions, you can post a comment. We’d be happy to help.
-
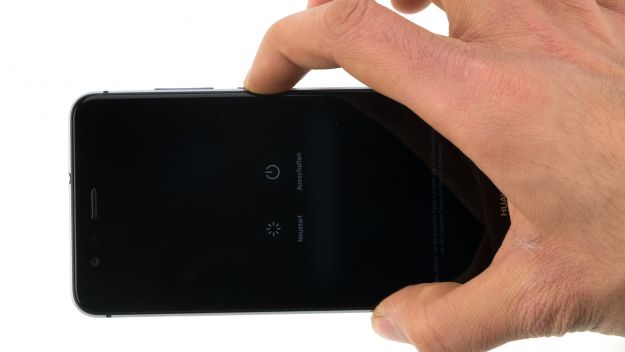
Switch off device
-
Remove SIM tray
-
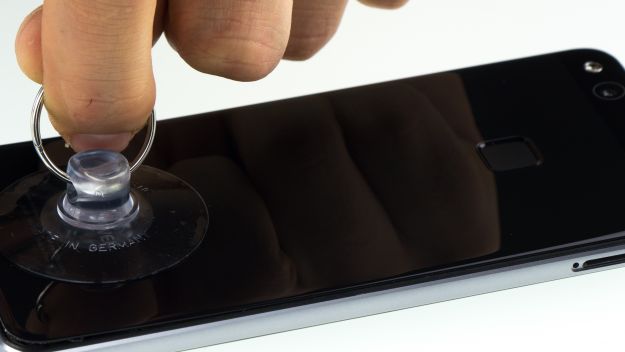
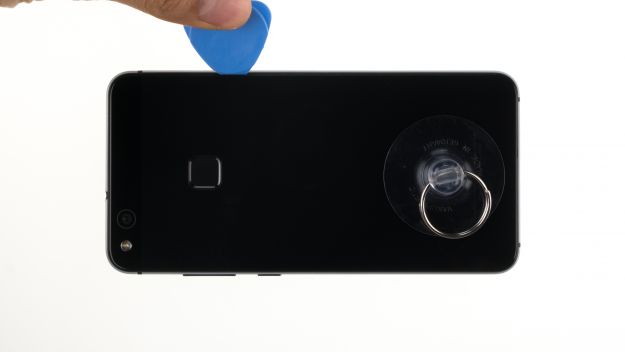
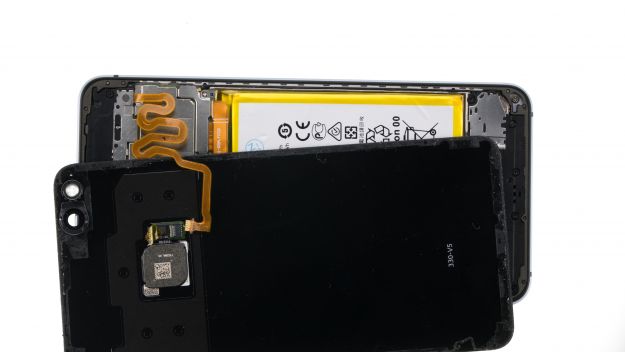
Remove the back cover
-
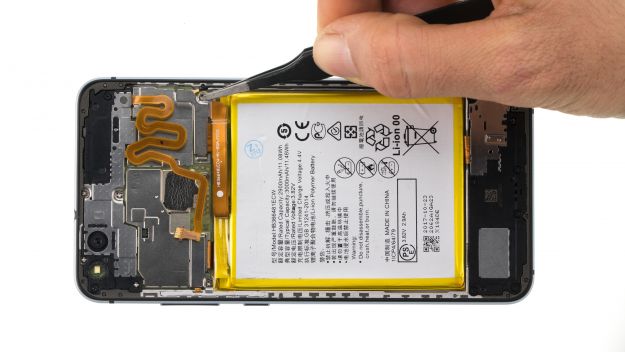
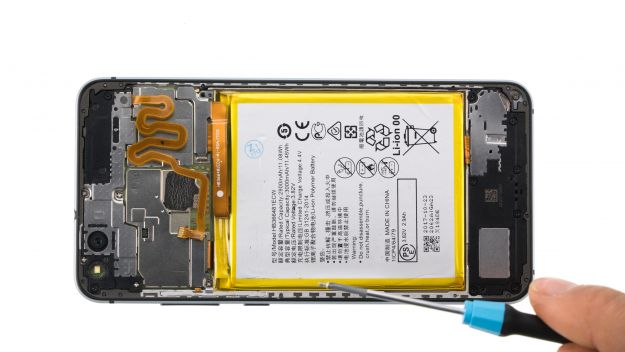
Disconnec the battery
-
Remove the battery
-
Remove speaker unit
-
Remove PCB flex cable
-
Remove antenna cable
-
Remove USB sub-board
-
Unplug display and volume button cables
-
Remove mainboard cover
-
Remove rear camera
-
Remove audio port
-
Remove mainboard
-
Remove earpiece
-
Remove volume buttons
-
Prepare new display
-
Insert volume buttons
-
Insert earpiece
-
Insert mainboard
-
Insert audio port
-
Insert rear camera
-
Attach mainboard cover
-
Plug in display and volume button connectors
-
Insert USB subboard
-
Connect antenna cable
-
Insert PCB flex cable
-
Insert speaker unit
-
Insert battery
-
Connect battery
-
Attach back cover
-
Insert SIM tray
-
Test device
The right tools for your repair
Similar guides
You might also be interested in these guides.
You might be interested in


