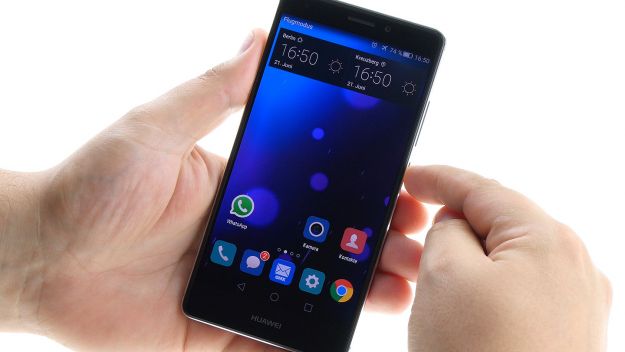
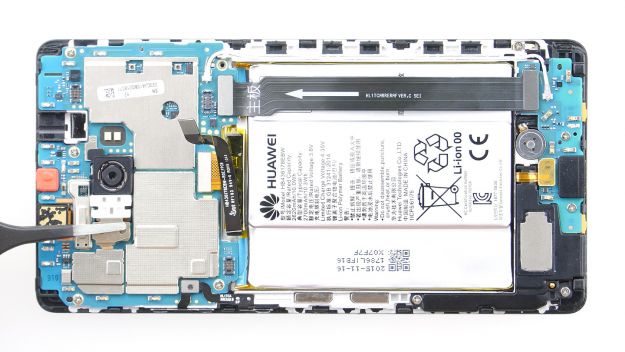
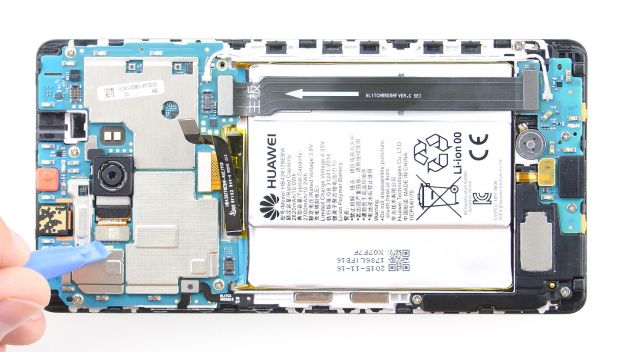
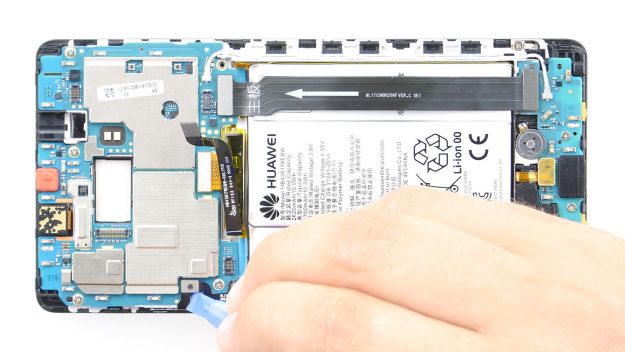
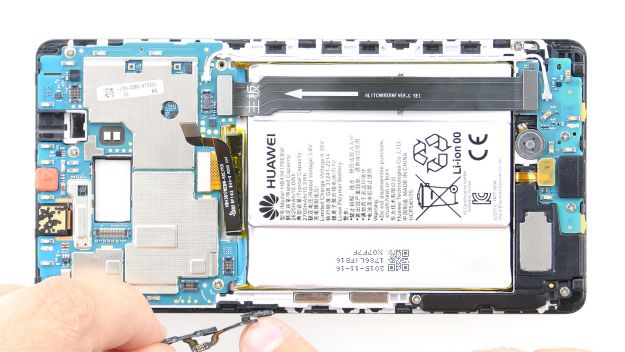
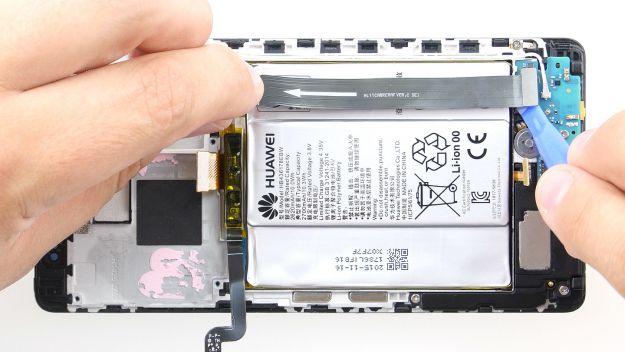
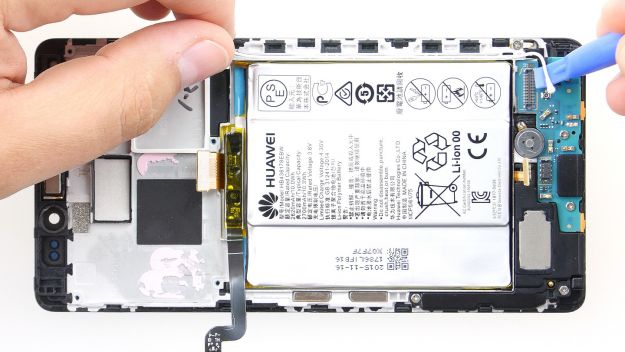
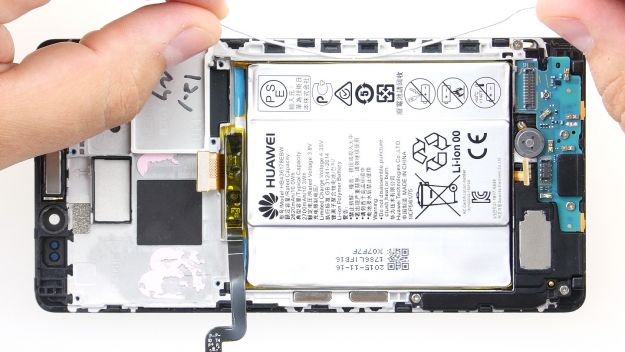
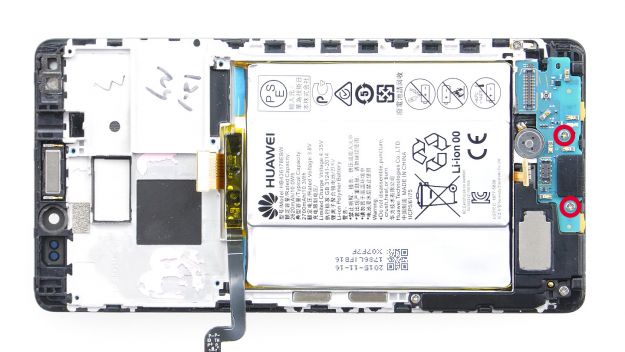
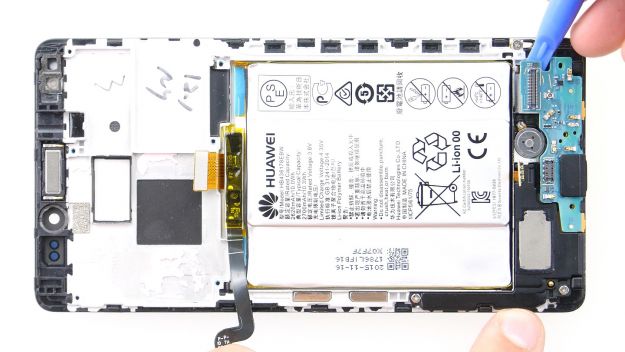
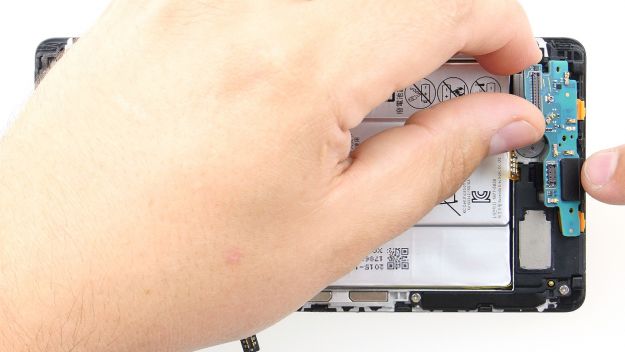
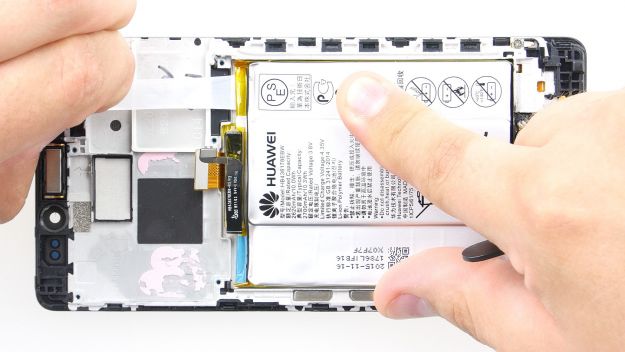
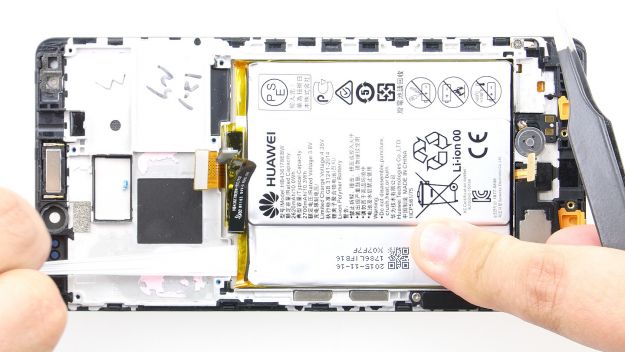
The screen is broken or remains black.
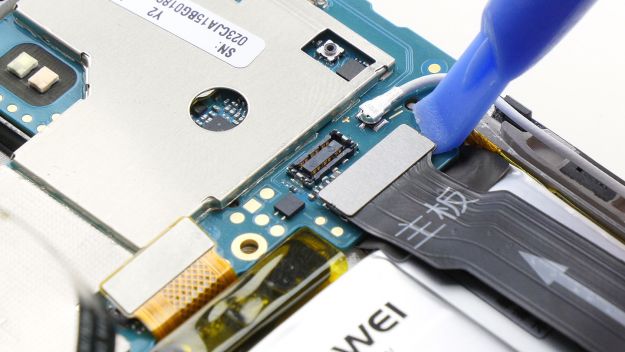
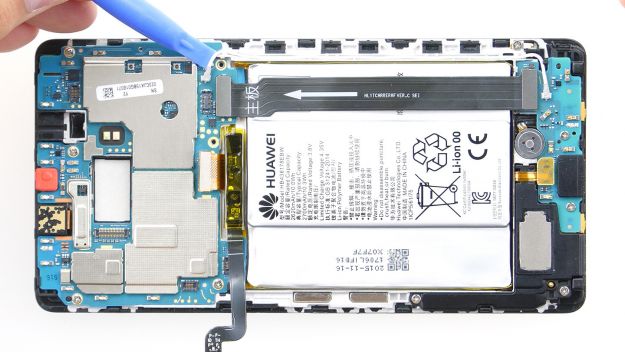
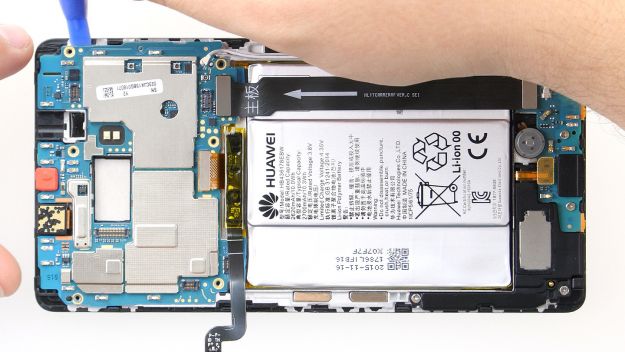
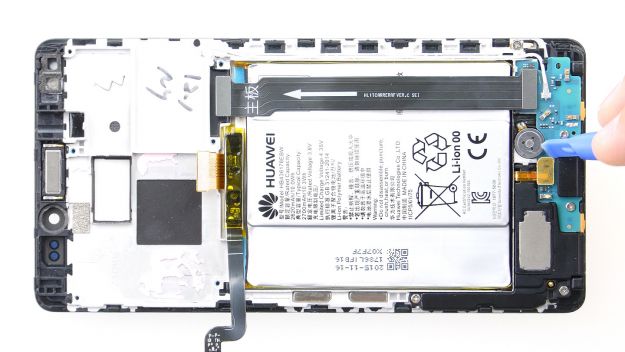
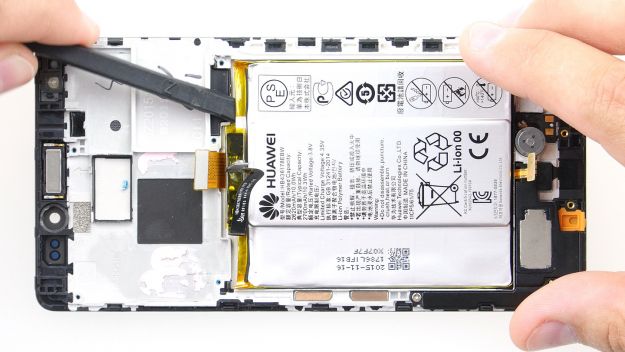
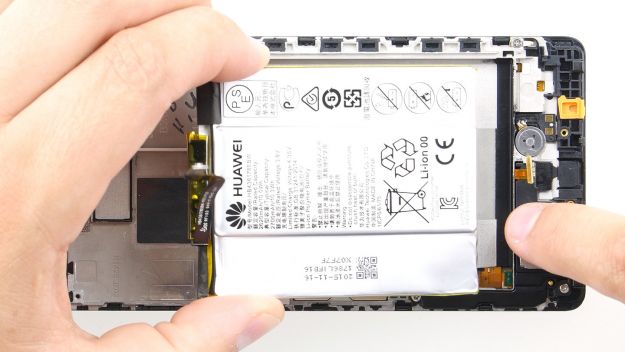
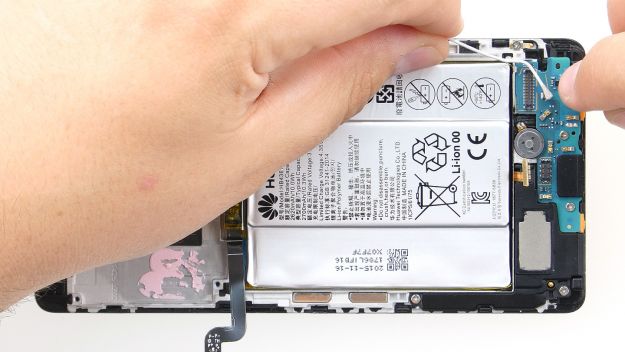
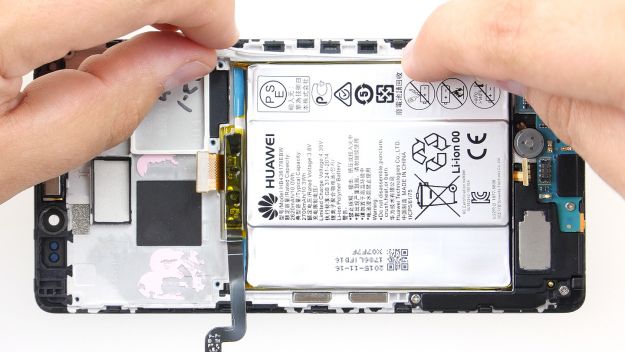
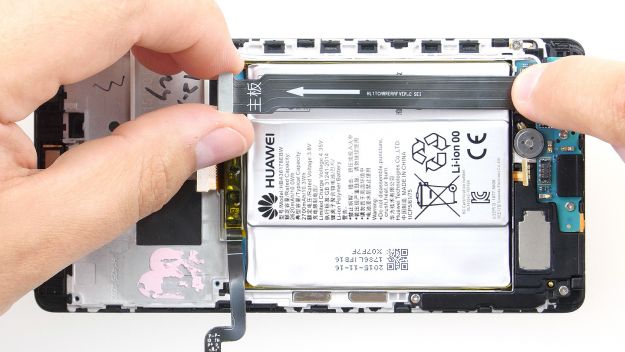
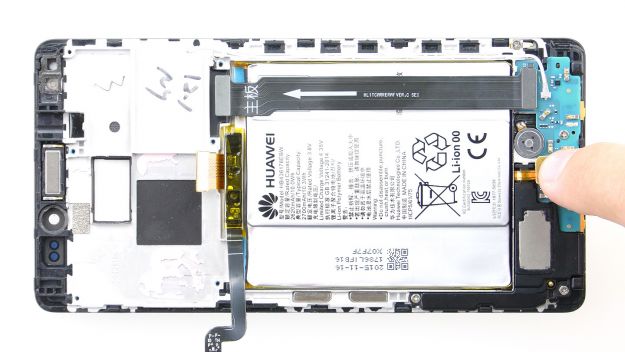
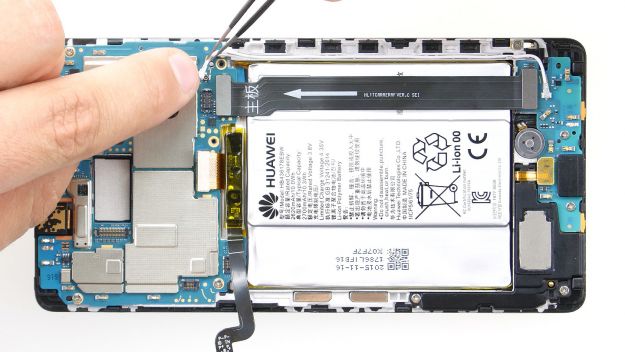
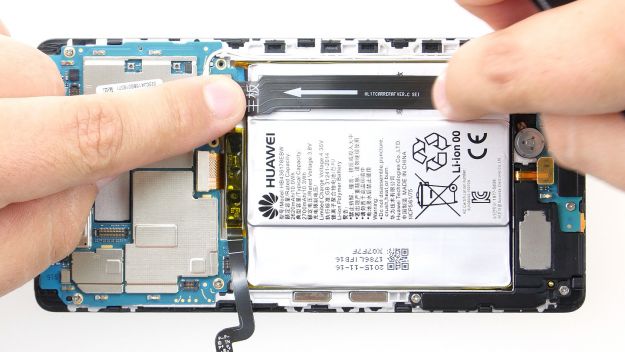
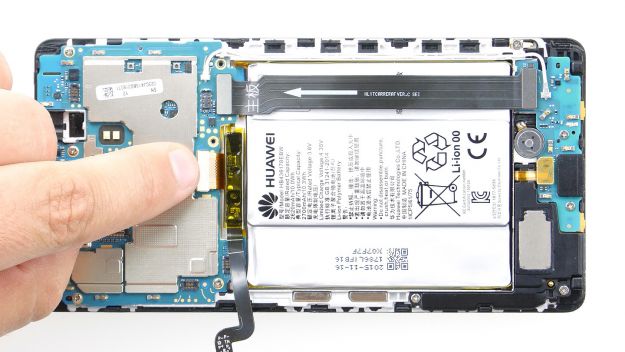
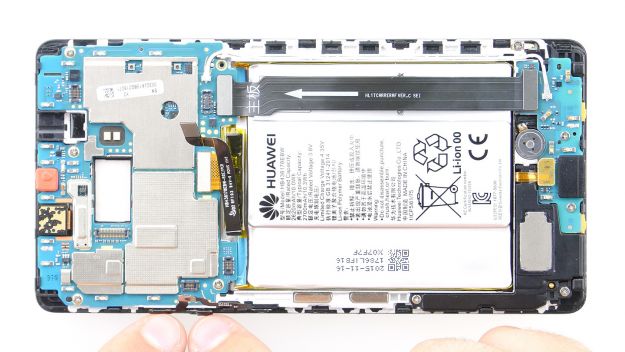
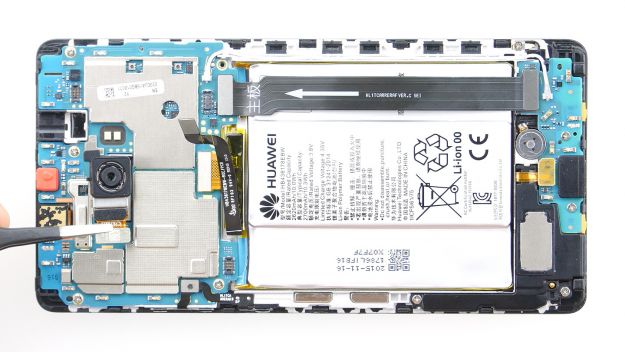
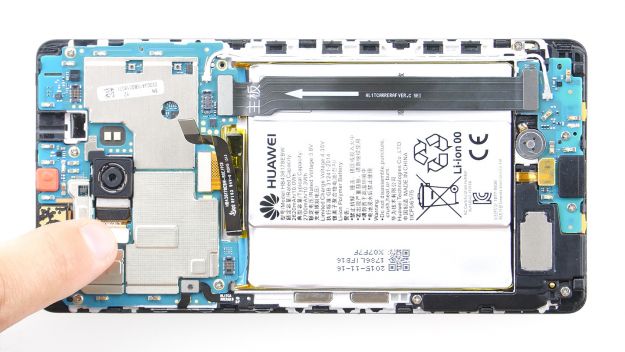
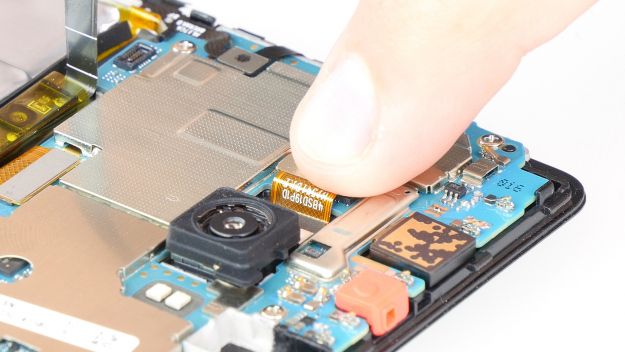
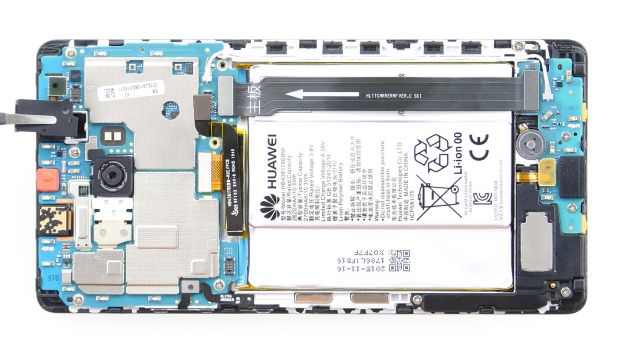
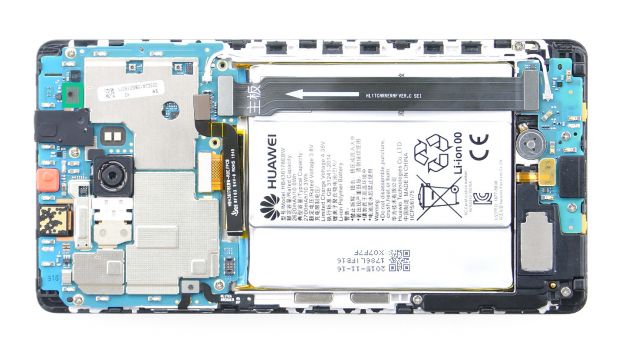
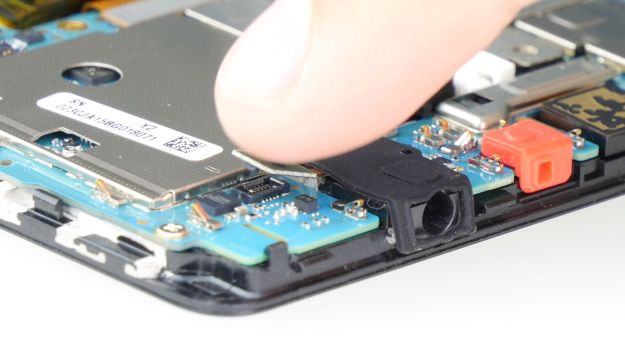
In this guide, we show you how to replace your Mate S’ defective display. You need this repair if the glass is cracked or no longer responds to touch, or if the LCD remains black or flickers.
Required tools
-
For storing screws
For storing screws
We recommend storing your screws so you don’t mix up the various screws and small parts.
from €10.99 on Amazon -
Menda ESD Spudger
Menda ESD Spudger
You need a flat plastic prying tool to disconnect the various plugs and connectors.
from €26.38 on Amazon -
Tweezers
Tweezers
We recommend using tweezers to remove screws and various small parts from your device.
on Amazon -
Pick Set
Pick Set
You need a flat but stable tool such as a pick to pry out parts that are glued in place.
from €14.99 on Amazon -
Steel Laboratory Spatula
Steel Laboratory Spatula
You need a flat and sturdy prying tool to disconnect glued parts.
on Amazon -
Phillips PH00 screwdriver
Phillips PH00 screwdriver
You need the right screwdriver for removing PH00 screws.
from €10.84 on Amazon - Wiha PicoFinish Torx Screwdriver T2
Required replacement part
- Huawei Mate S Screen
Getting started with the repair of your Mate S
If you get stuck or have questions, you can post a comment. We’d be happy to help.
-
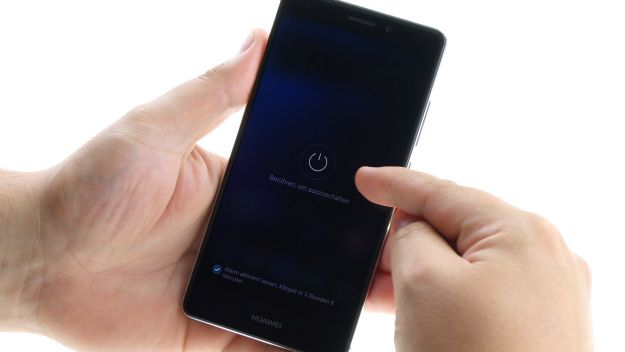
Switching off your device
-
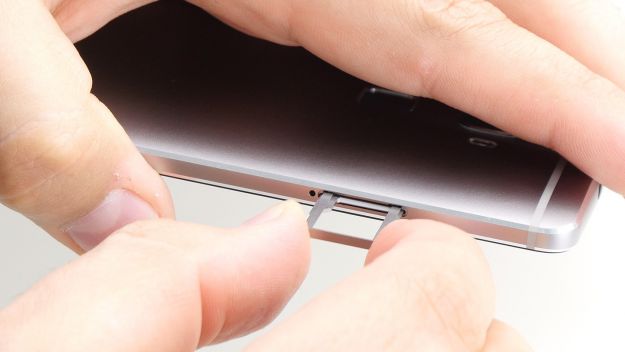
Removing the SIM card tray
-
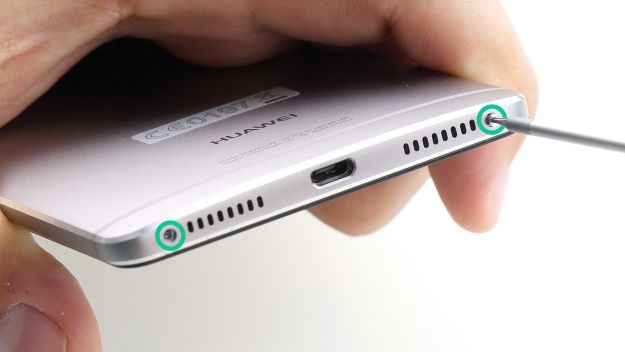
Removing the enclosure screws
-
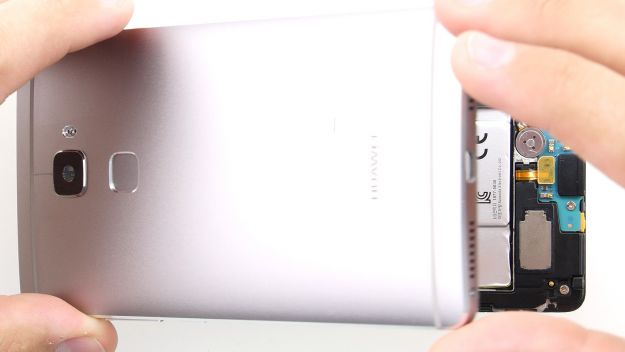
Lifting the display
-
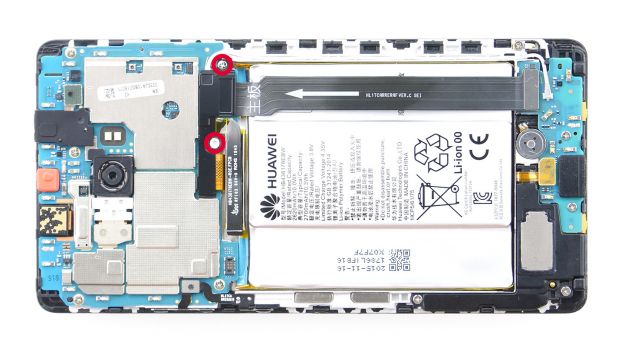
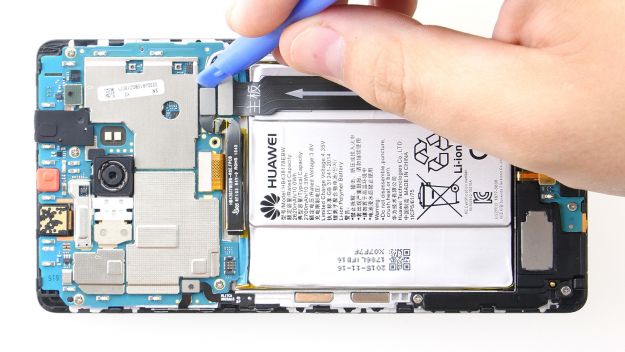
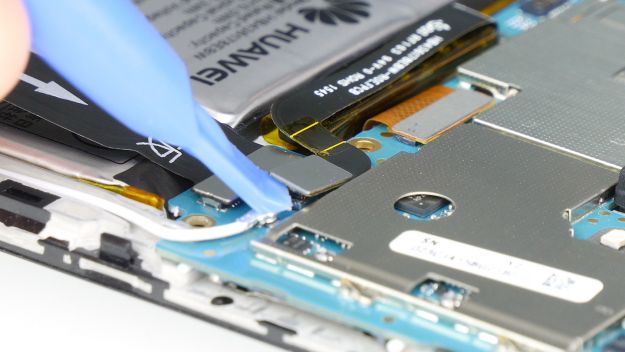
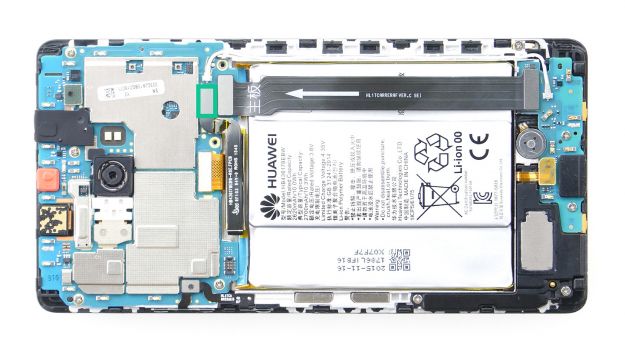
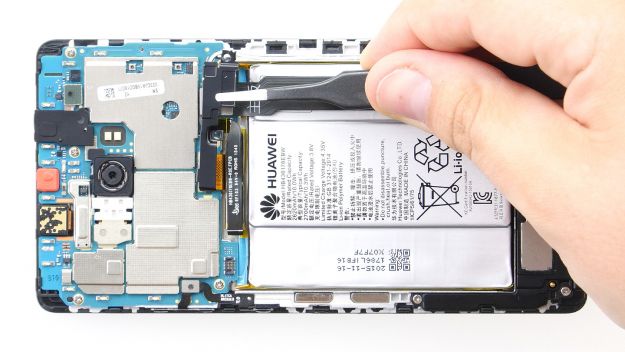
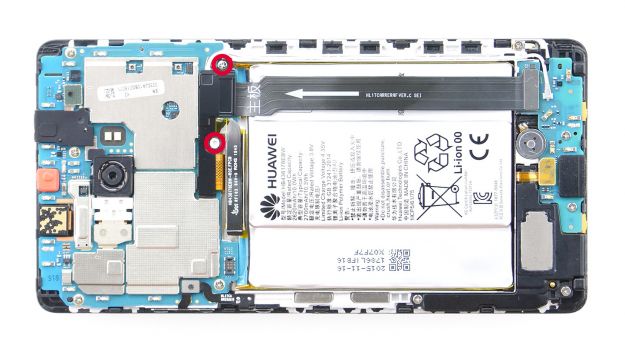
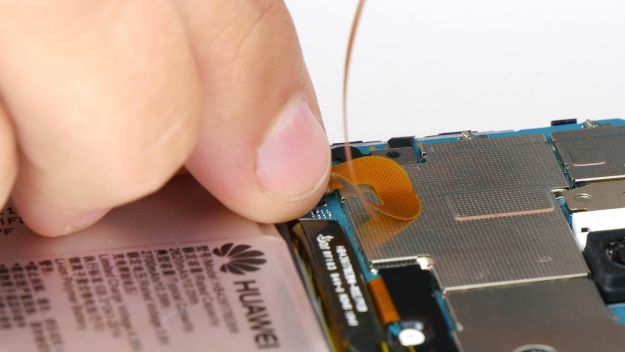
Disconnecting the battery contact
-
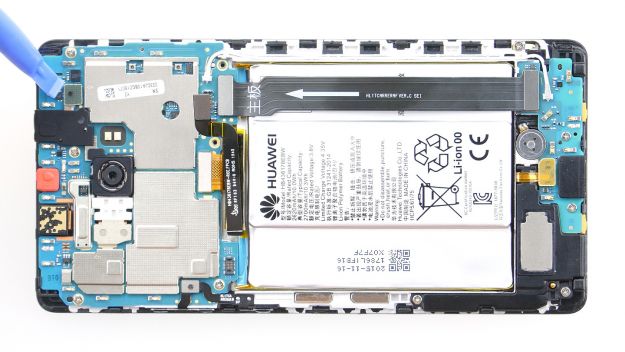
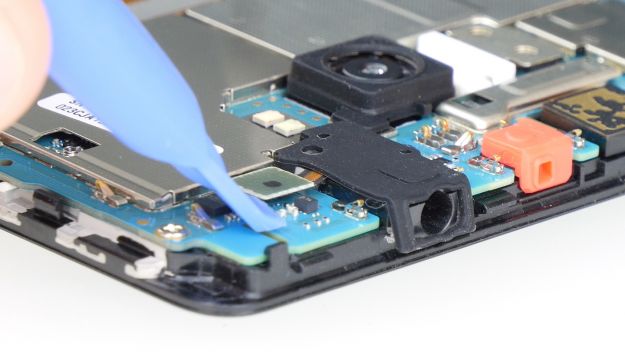
Removing the headphone jack
-
Removing the rear camera
-
Removing the control buttons
-
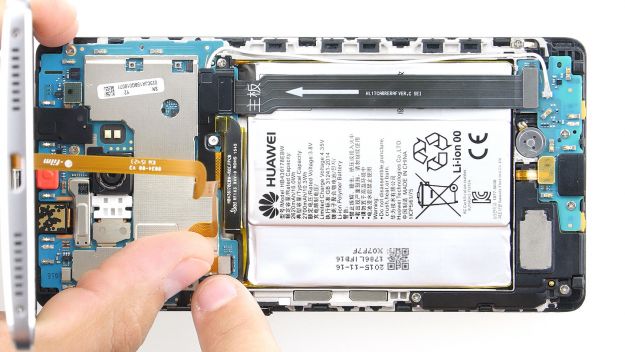
Disconnecting the display
-
Removing the motherboard
-
Disconnecting the speaker contact
-
Removing the USB port
-
Removing the battery
-
Removing the earpiece
-
Removing the vibrator motor
-
Removing the speaker
-
Preparing the new display
-
Installing the speaker
-
Installing the vibrator motor
-
Installing the earpiece
-
Preparing the battery
-
Inserting the battery
-
Installing the USB port
-
Connecting the speaker
-
Installing the motherboard
-
Connecting the display
-
Installing the control buttons
-
Installing the rear camera
-
Installing the headphone jack
-
Connecting the battery contact
-
Installing the display
-
Fastening the enclosure screws
-
Installing the SIM card tray
-
Testing the display
The right tools for your repair
Similar guides
You might also be interested in these guides.
You might be interested in


