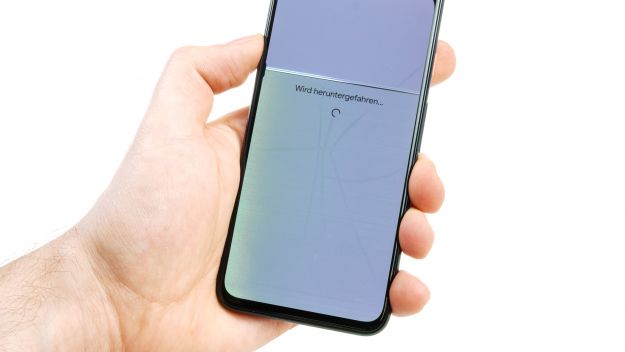
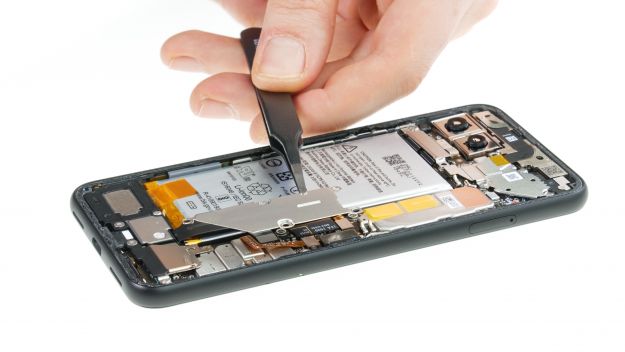
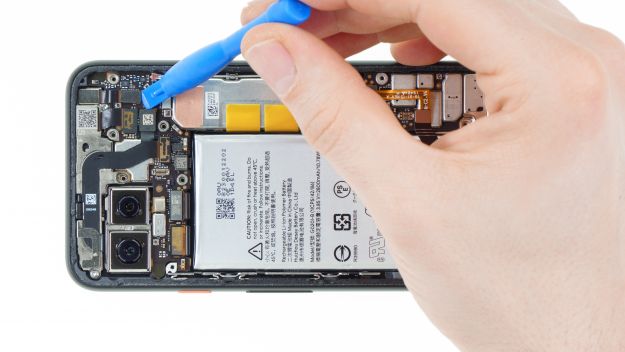
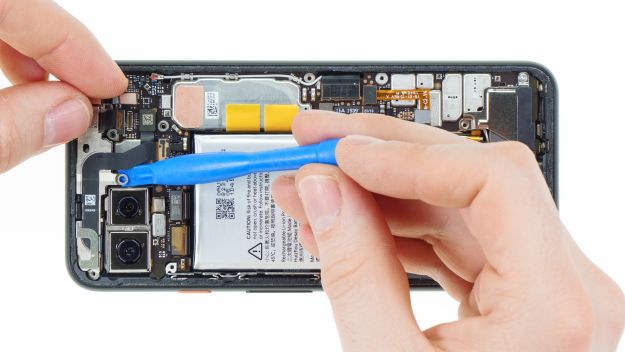
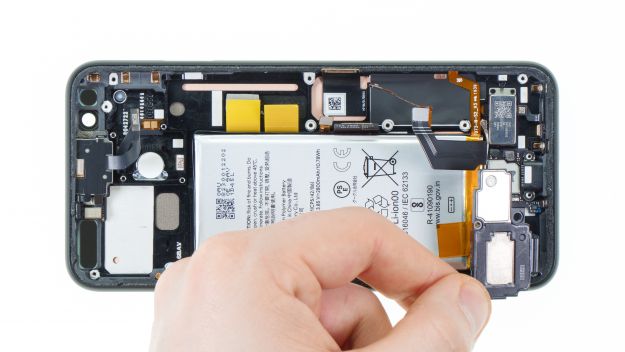
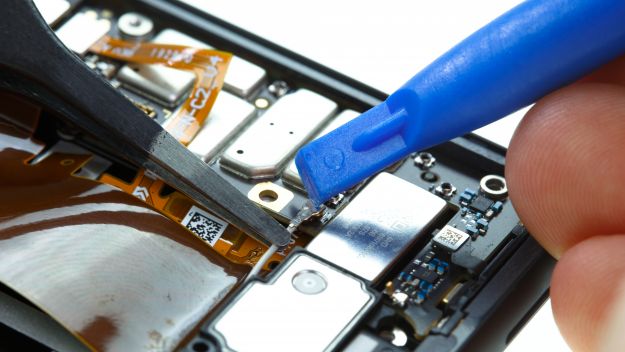
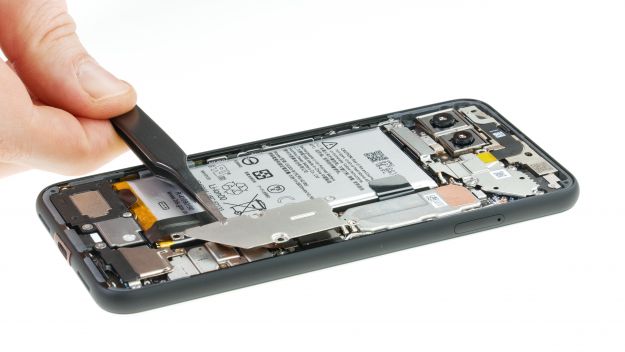
The screen of your Google Pixel 4 is defective or splintered.
The OLED screen of your Google Pixel 4 has many advantages over an LCD: Rich black and generally a more intense picture depth means just more fun. But an OLED display is also very vulnerable. After a fall, it can happen that the glass remains intact, but the OLED panel underneath is cracked.
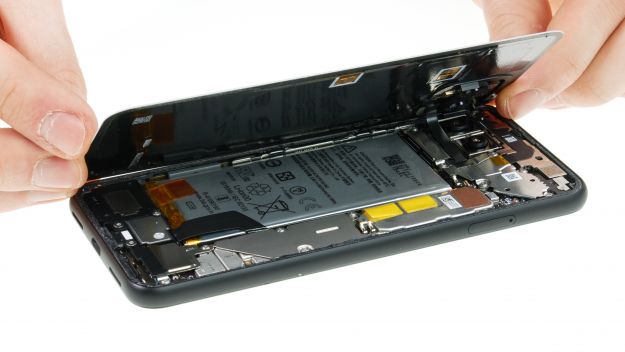
Whether the glass is broken, the panel is cracked or a completely other defect on the screen - this detailed repair guide will take you through the process of replacing the display step by step. In this tutorial we will show you how to replace the entire display unit including the frame. So it's not just about changing the broken glass.
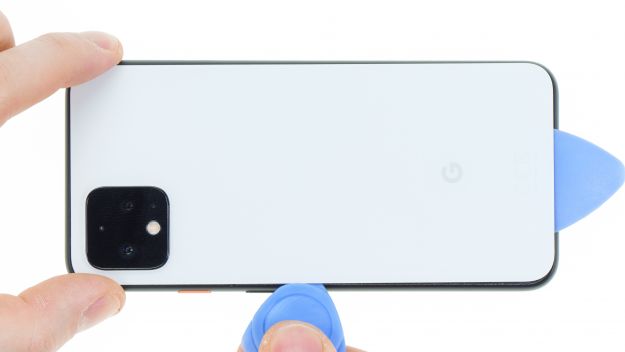
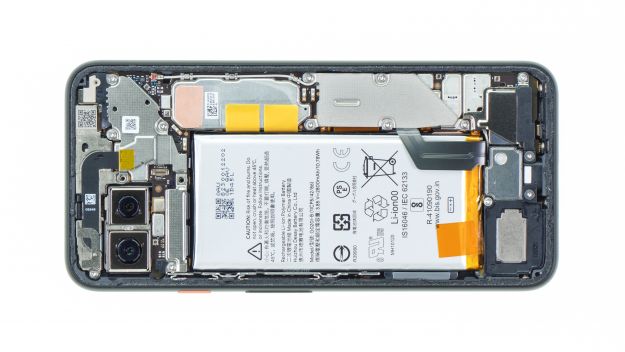
The glass back of the Pixel 4 is glued like in many current mobile phones, so you should be careful when removing it. To replace the screen, you will also need to remove and reinstall all components. Therefore, plan a little more time for the repair.
Do you have questions or want to give feedback on the instructions? Then scroll down to the bottom and leave a rating!
Required tools
-
Flat Picks
Flat Picks
You need a very flat tool such as a flat pick to pry out parts that are glued in place.
from €11.95 on Amazon -
Heat gun
Heat gun
You can use a heat gun to heat parts that are glued on so they’re easier to remove. In most cases, you can also use a hairdryer.
from €15.99 on Amazon -
iFlex Opening Tool
iFlex Opening Tool
Opening your smartphone can be a very delicate operation, especially if the glue is very persistent. The blade of the flexible but sturdy iFlex measures just 0.15 mm, so it fits in even the smallest gaps, such as between the screen and the frame. The practical iFlex is made of stainless steel and sits comfortably in the hand. This makes it the perfect assistant for every smartphone repair.
from €10.95 on Amazon -
For storing screws
For storing screws
We recommend storing your screws so you don’t mix up the various screws and small parts.
from €10.99 on Amazon -
Tweezers
Tweezers
We recommend using tweezers to remove screws and various small parts from your device.
on Amazon -
Plastic prying tool
Plastic prying tool
You need a flat plastic prying tool to disconnect the various plugs and connectors.
from €14.99 on Amazon -
Steel Laboratory Spatula
Steel Laboratory Spatula
You need a flat and sturdy prying tool to disconnect glued parts.
on Amazon - Wiha PicoFinish Torx Screwdriver T3
Required replacement part
- Google Pixel 4 Screen
Getting started with the repair of your Pixel 4
If you get stuck or have questions, you can post a comment. We’d be happy to help.
-
Switch off the Pixel 4
-
Removing the back cover
-
Disconnecting the flex cable
-
Disconnecting the battery
-
Removing the front camera and sensor module
-
Removing the mainboard
-
Removing the speaker
-
Removing the battery
-
Removing the vibration motor
-
Removing the USB board
-
Removing the lower microphone
-
Removing the top microphone
-
Removing the sensor
-
Removing the earpiece (optional)
-
Preparing the new display unit
-
Installing the earpiece (optional)
-
Installing the sensor
-
Installing the top microphone
-
Installing the lower microphone
-
Installing the USB board
-
Installing the vibration motor
-
Installing the speaker
-
Installing the mainboard
-
Installing the front camera and sensor module
-
Installing the battery
-
Connecting the battery
-
Testing the Google Pixel 4
-
Attaching the adhesive frame
-
Connecting the flex cable
-
Attaching the back cover
The right tools for your repair
Similar guides
You might also be interested in these guides.
You might be interested in


