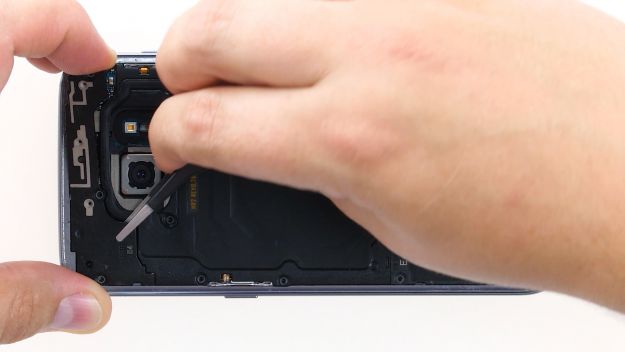
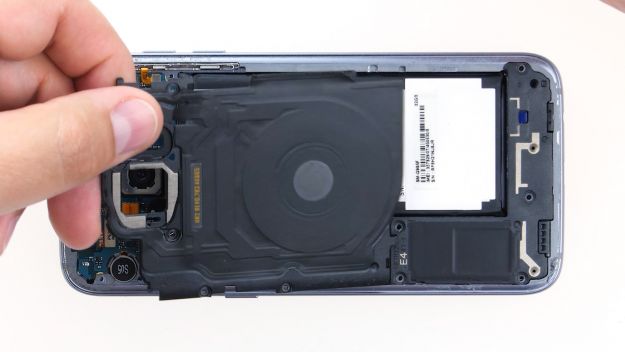
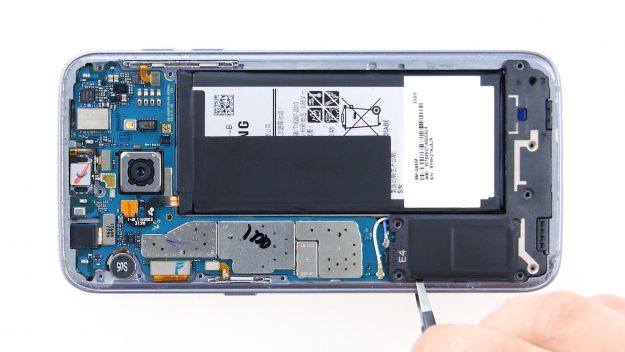
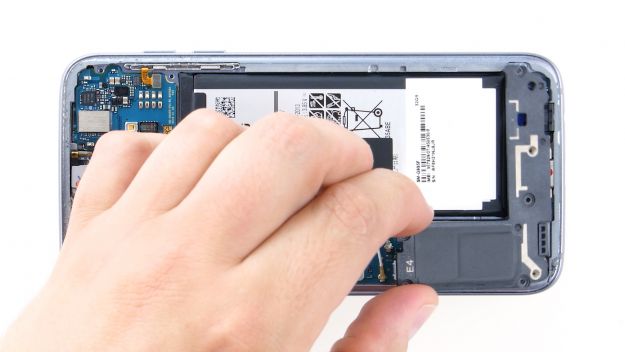
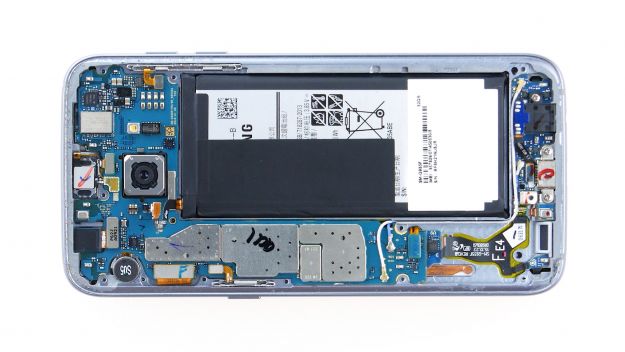
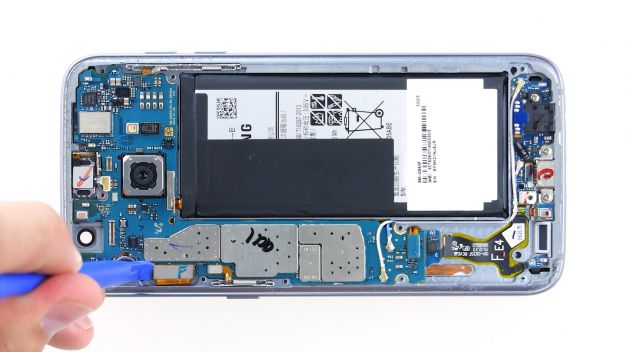
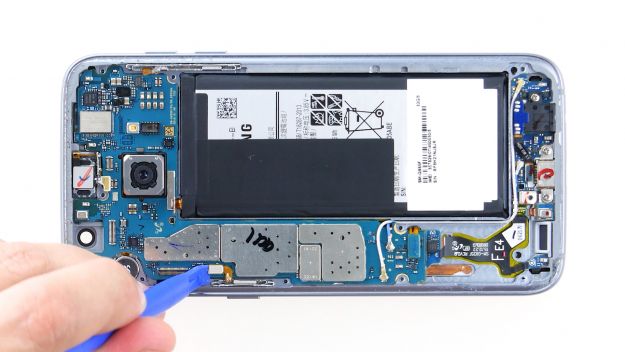
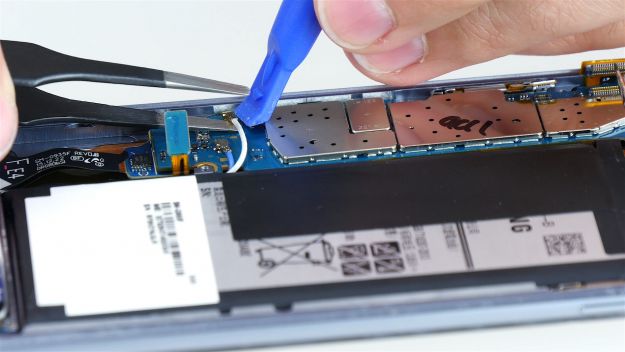
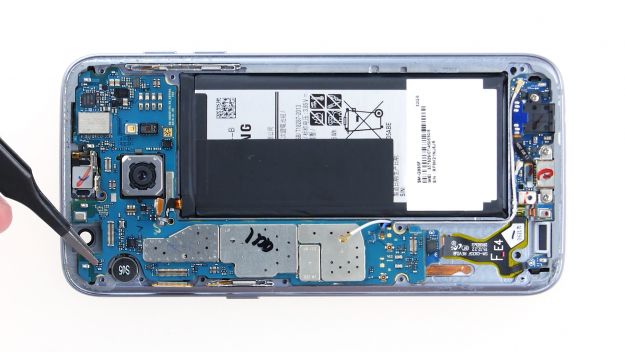
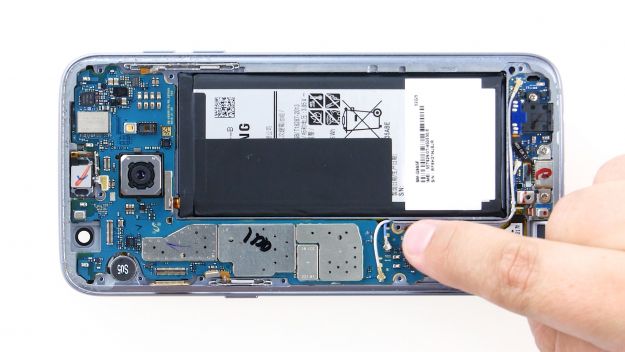
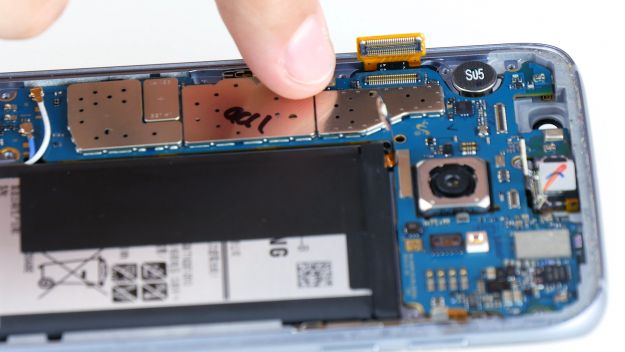
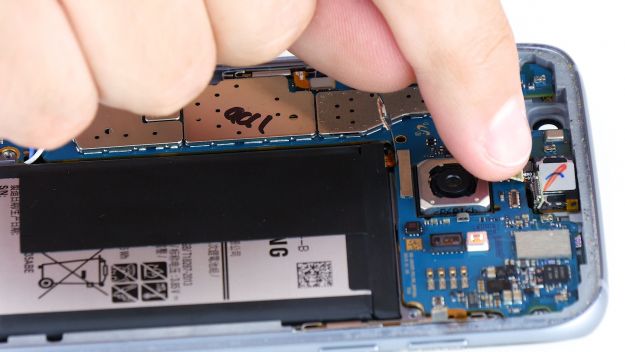
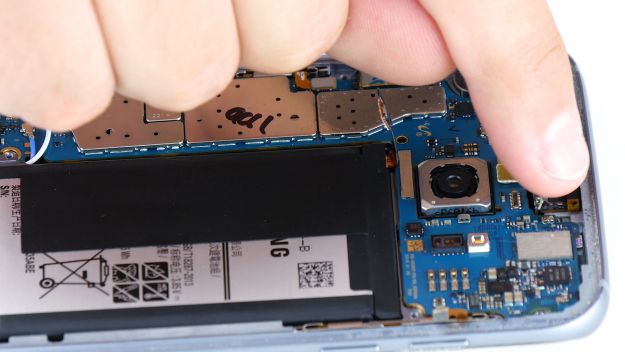
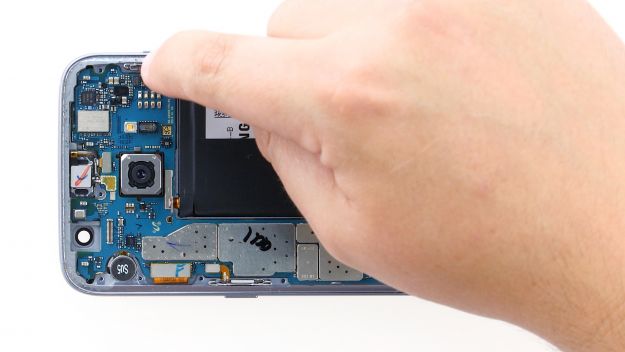
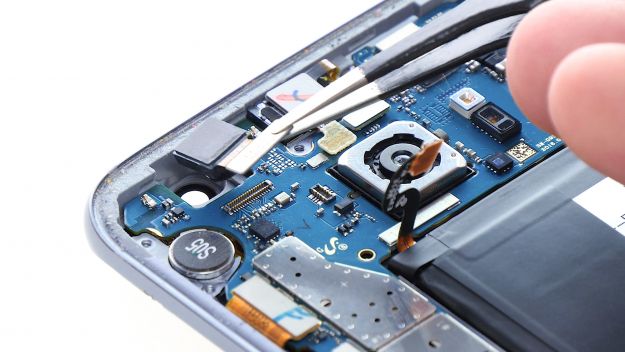
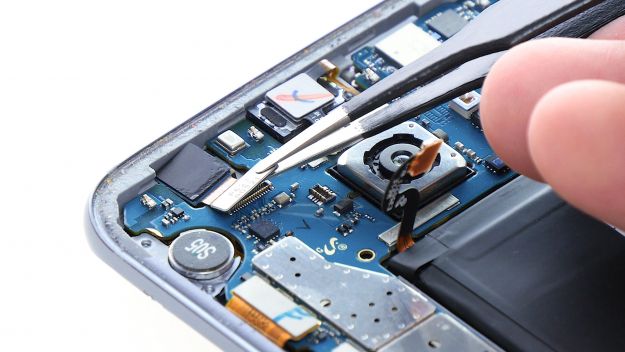
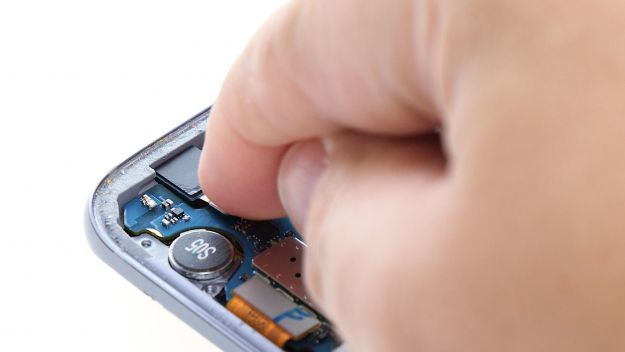
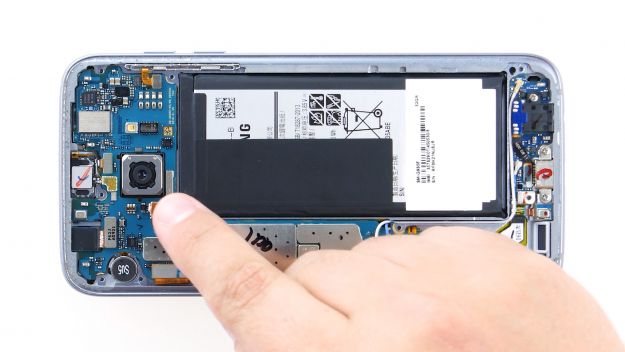
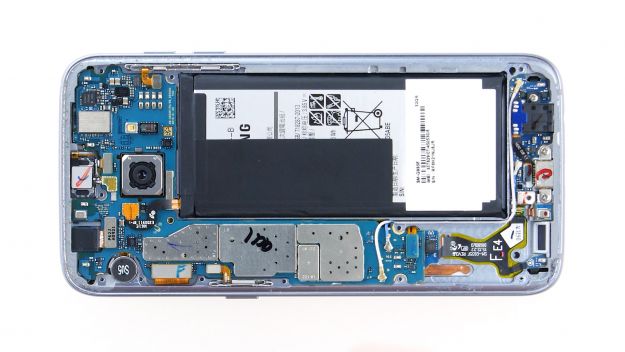
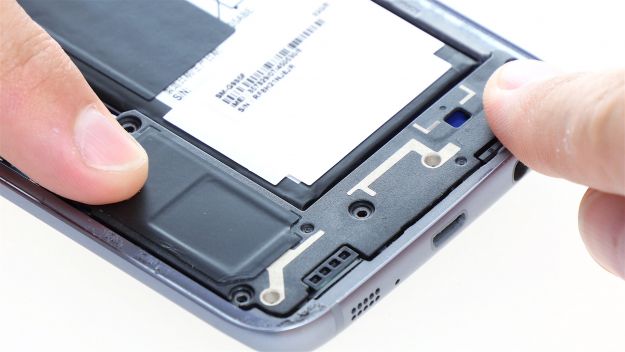
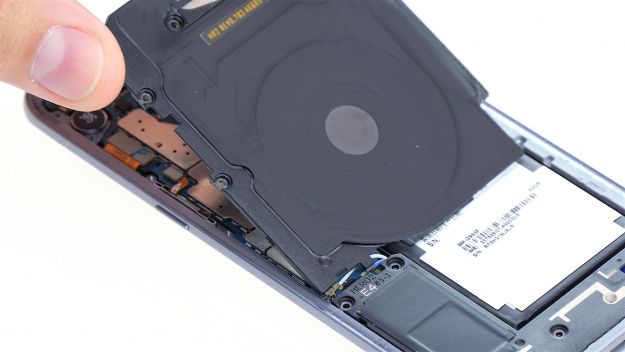
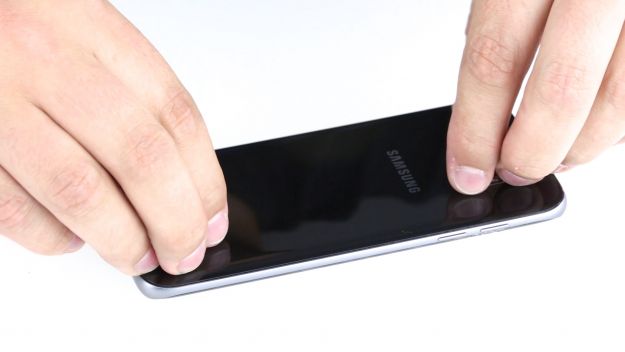
The battery life is low. Your Galaxy S7 Edge keeps crashing or won’t charge.

In this repair guide, we show you how to replace your Galaxy S7 Edge’s defective battery on your own. This repair can help if your smartphone crashes during heavy use because the voltage temporarily drops, you can no longer charge it or turn it on, or the battery life is very low.

Required tools

  • Flat Picks

    Flat Picks

    You need a very flat tool such as a flat pick to pry out parts that are glued in place.

    €5.00 at the iDoc store
  • Heat gun

    Heat gun

    You can use a heat gun to heat parts that are glued on so they’re easier to remove. In most cases, you can also use a hairdryer.

    from €14.47 on Amazon
  • For storing screws

    For storing screws

    We recommend storing your screws so you don’t mix up the various screws and small parts.

    €10.00 at the iDoc store
  • Tweezers

    Tweezers

    We recommend using tweezers to remove screws and various small parts from your device.

    €11.00 at the iDoc store
  • Plastic prying tool

    Plastic prying tool

    You need a flat plastic prying tool to disconnect the various plugs and connectors.

    €2.00 at the iDoc store
  • Phillips PH00 screwdriver

    Phillips PH00 screwdriver

    You need the right screwdriver for removing PH00 screws.

    €12.00 at the iDoc store

Required replacement part

Show all replacement parts for the Galaxy S7 Edge 

Passendes Werkzeug

Mit unserem Werkzeug gelingt dir die Reparatur.

for €40.00

Getting started with the repair of your Galaxy S7 Edge

If you get stuck or have questions, you can post a comment. We’d be happy to help.

23 steps
  1. Switching off your device

    Galaxy S7 Edge - Switching off your device 01
    Galaxy S7 Edge - Switching off your device 02
    Galaxy S7 Edge - Switching off your device 03
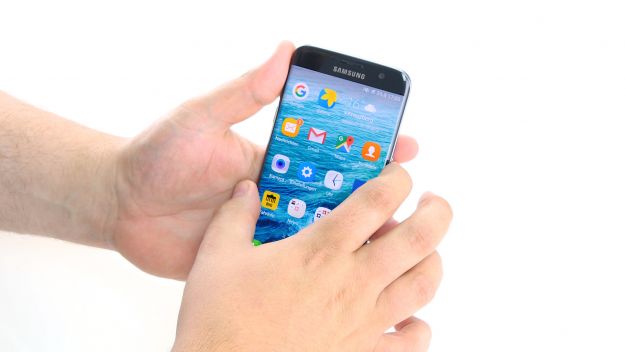
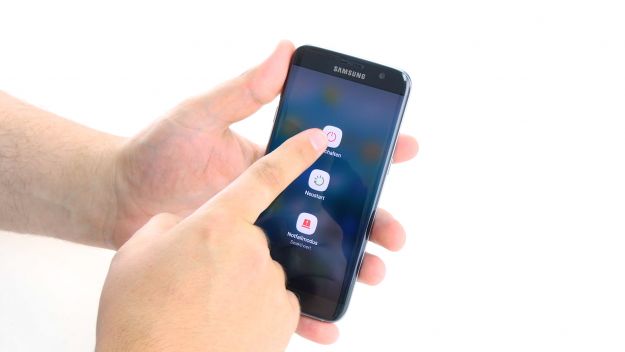
    1. Turn off your device by holding down the power button until the “Power off” option appears.
    2. Use your finger to confirm that you want to shut down your Galaxy S7 Edge and wait until the screen goes blank.
  2. Removing the SIM and microSD cards

    Galaxy S7 Edge - Removing the SIM and microSD cards 01
    Galaxy S7 Edge - Removing the SIM and microSD cards 02
    Galaxy S7 Edge - Removing the SIM and microSD cards 03
    Galaxy S7 Edge - Removing the SIM and microSD cards 04
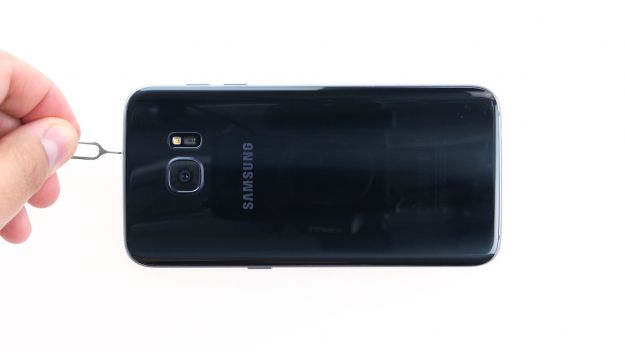
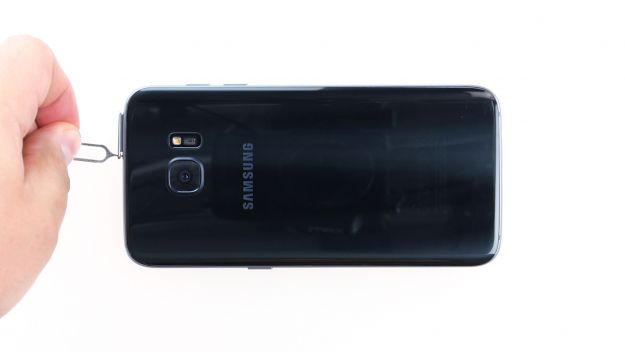
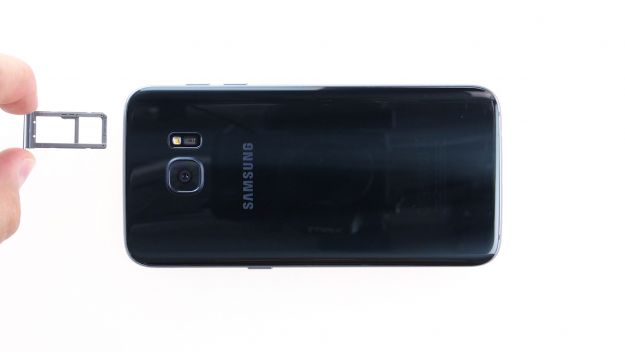
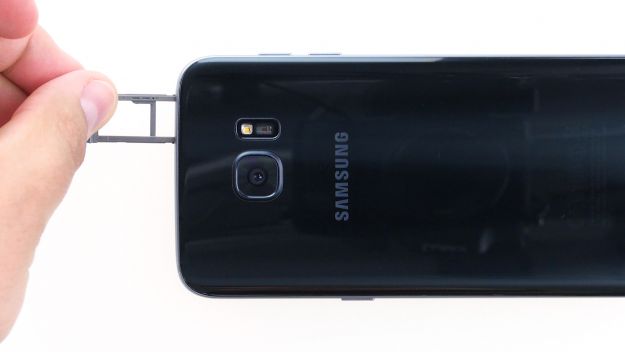
    1. Use the SIM tool to eject the SIM tray from your device and then remove the tray with your fingers.
  3. Removing the back cover

    Galaxy S7 Edge - Removing the back cover 01
    Galaxy S7 Edge - Removing the back cover 02
    Galaxy S7 Edge - Removing the back cover 03
    Galaxy S7 Edge - Removing the back cover 04
    Galaxy S7 Edge - Removing the back cover 05
    Galaxy S7 Edge - Removing the back cover 06
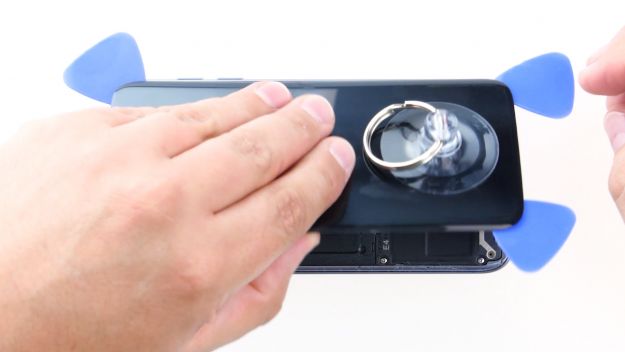
    1. The back cover is glued to the chassis. Remove the back cover by putting on a suction cup and pulling on it. Also use a pick to push against the frame. Heat your device with hot air beforehand so the glue will be easier to detach.
    2. As soon as a gap appears between the back cover and the chassis, you can insert the pick between the two parts.
      The back cover is painted on the inside. Remove any adhesive residue carefully to avoid scratches or cracks.
    3. Use more picks to disconnect all the corners one after the other.
    4. Remove the back cover as soon as all the glue is detached.
    Used tools
  4. Removing the screws

    • 12 × 3.3 mm PH00 Phillips screws
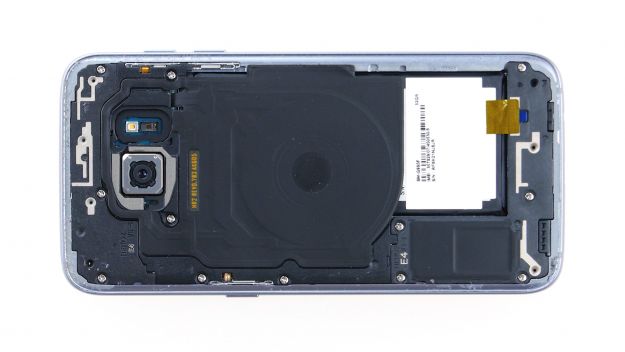
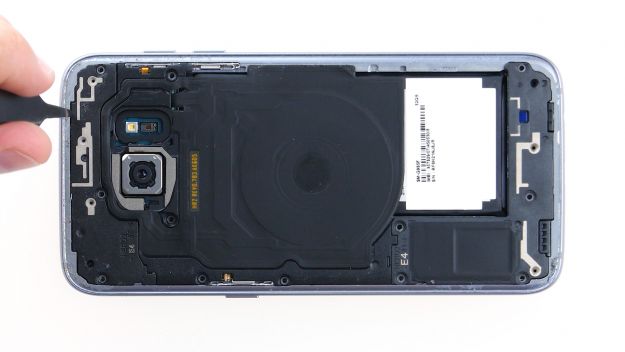
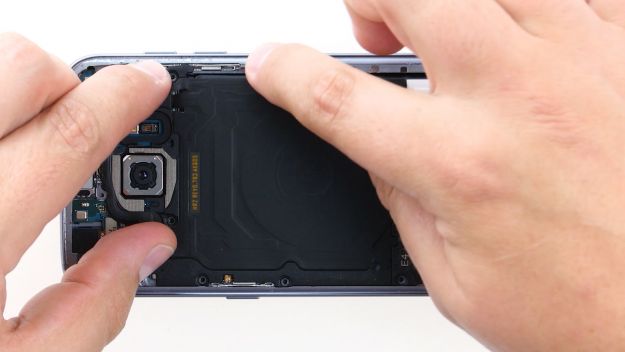
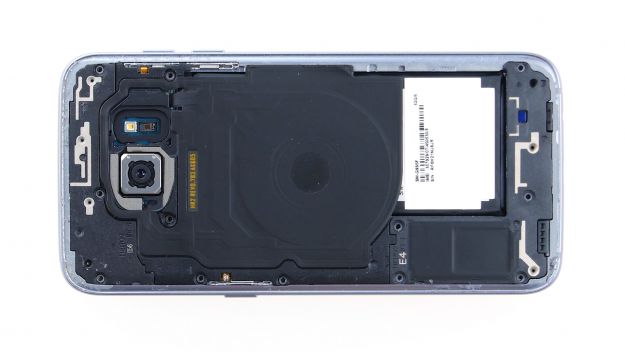
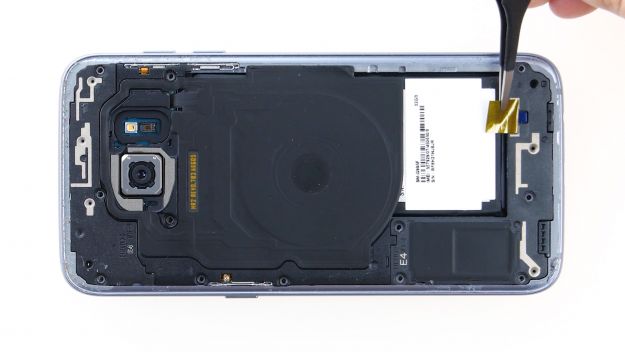
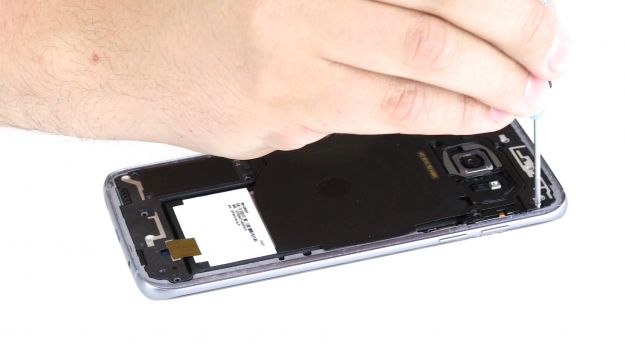
    1. Remove the twelve screws that hold the three antennas in place.
    2. Remove the yellow adhesive strip.
  5. Removing the upper antenna

    Galaxy S7 Edge - Removing the upper antenna 01
    Galaxy S7 Edge - Removing the upper antenna 02
    Galaxy S7 Edge - Removing the upper antenna 03
    Galaxy S7 Edge - Removing the upper antenna 04
    Galaxy S7 Edge - Removing the upper antenna 05
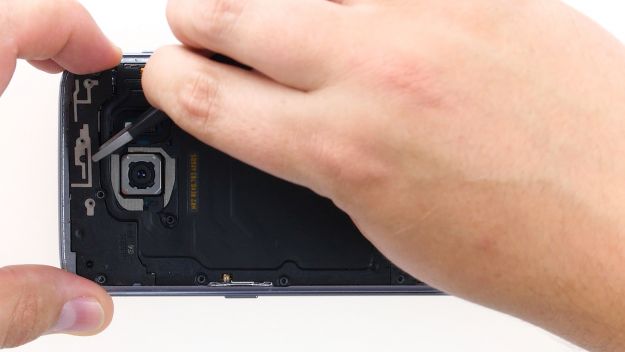
    1. Disconnect the upper antenna from the enclosure. The antenna is hooked onto the enclosure. Start at the upper right corner.
    2. As soon as the antenna has come off on the right side, carefully pull it up in the middle so the left side will come off, too.
    3. Remove the antenna from the enclosure.
  6. Removing the middle antenna

    Galaxy S7 Edge - Removing the middle antenna 01
    Galaxy S7 Edge - Removing the middle antenna 02
    Galaxy S7 Edge - Removing the middle antenna 03
    Galaxy S7 Edge - Removing the middle antenna 04
    1. Pull the middle antenna out of the enclosure. Note that it’s hooked onto the lower antenna.
  7. Removing the lower antenna

    Galaxy S7 Edge - Removing the lower antenna 01
    Galaxy S7 Edge - Removing the lower antenna 02
    Galaxy S7 Edge - Removing the lower antenna 03
    1. Disconnect the lower antenna by using the tweezers to unhook it on the left side.
    2. Remove the antenna from the enclosure.
  8. Disconnecting the battery

    Galaxy S7 Edge - Disconnecting the battery 01
    Galaxy S7 Edge - Disconnecting the battery 02
    Galaxy S7 Edge - Disconnecting the battery 03
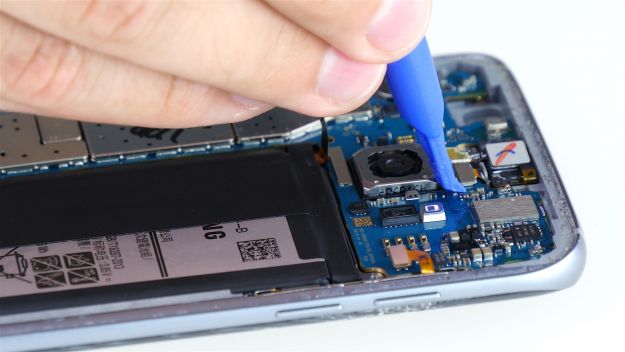
    1. Using the spudger, carefully disconnect the battery contact from the motherboard. Carefully pry the contact out of the socket.
  9. Removing the front camera

    Galaxy S7 Edge - Removing the front camera 01
    Galaxy S7 Edge - Removing the front camera 02
    Galaxy S7 Edge - Removing the front camera 03
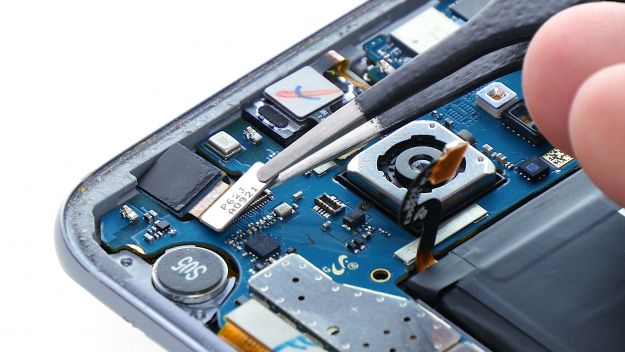
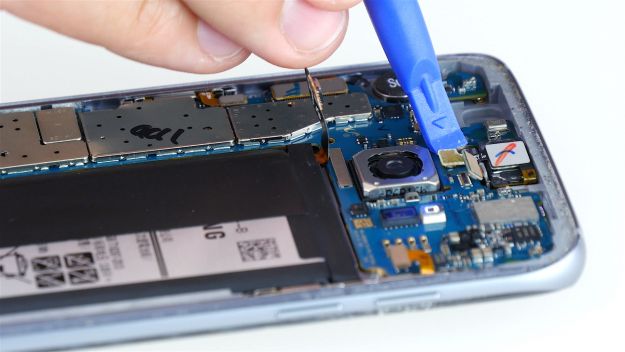
    1. Using the spudger, carefully disconnect the front camera’s contact from the motherboard.
    2. Remove the front camera from the enclosure.
  10. Disconnecting all the contacts from the motherboard

    • Volume Connector
    • Proximity Sensor
    • Earpiece Connector
    • Display
    • Power-Button
    • Antenna
    • Sensors
    1. Using the spudger, carefully disconnect the following contacts from the motherboard.
  11. Removing the motherboard

    Galaxy S7 Edge - Removing the motherboard 01
    Galaxy S7 Edge - Removing the motherboard 02
    Galaxy S7 Edge - Removing the motherboard 03
    Galaxy S7 Edge - Removing the motherboard 04
    Galaxy S7 Edge - Removing the motherboard 05
    Galaxy S7 Edge - Removing the motherboard 06
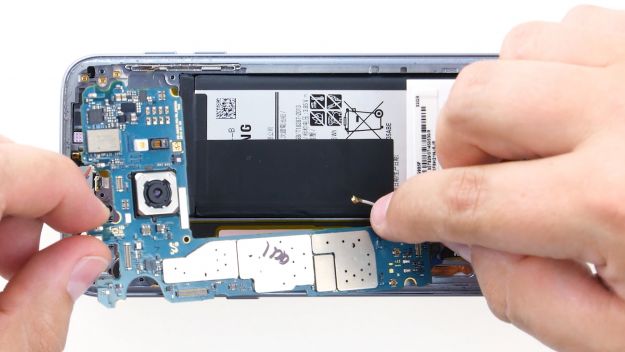
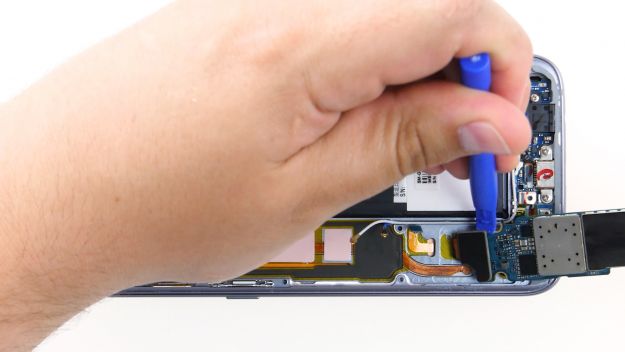
    1. The bottom of the motherboard (arrow) is connected to the USB port.
    2. Carefully tilt the board up by 180° so you can get at the contact. Don’t pull too hard on the board.
    3. Using the spudger, carefully disconnect the contact from the PCB.
    4. Remove the board.
    There's a small plastic pin in the opening of the SIM tray. Make sure it doesn't fall out.
  12. The right tools for your repair

    With the right tools, you will succeed in any repair. In our store you will find a large selection of professional quality tools.
    VIEW NOW
  13. Removing the battery

    Galaxy S7 Edge - Removing the battery 01
    Galaxy S7 Edge - Removing the battery 02
    Galaxy S7 Edge - Removing the battery 03
    Galaxy S7 Edge - Removing the battery 04
    Galaxy S7 Edge - Removing the battery 05

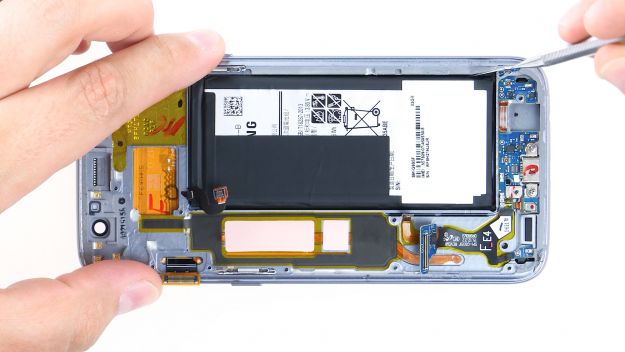
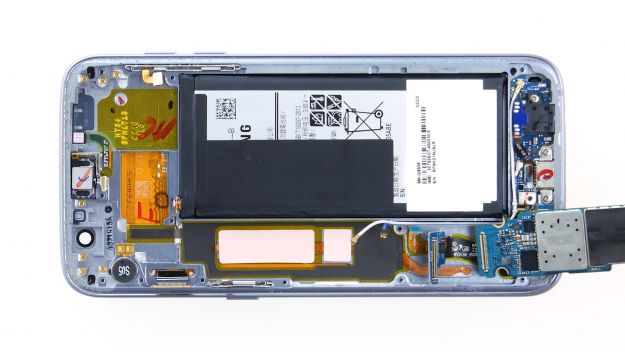
    Be very careful during this step. Use a flat, blunt tool like the round end of the steel laboratory spatula to avoid damaging the battery.

    1. The battery is really glued to the enclosure, so be very careful when you’re removing it. Using your tool, carefully detach the battery from the enclosure. First insert your tool on the side between the battery and the enclosure and use it as a lever.
    2. Repeat this process on the opposite side of the battery.
    3. Then carefully insert your tool below the battery and detach the glue under it.
    4. Remove the battery from the enclosure.
  14. Inserting the battery

    Galaxy S7 Edge - Inserting the battery 01
    Galaxy S7 Edge - Inserting the battery 02
    Galaxy S7 Edge - Inserting the battery 03
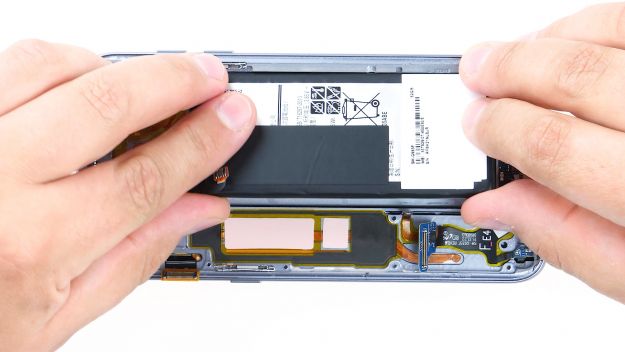
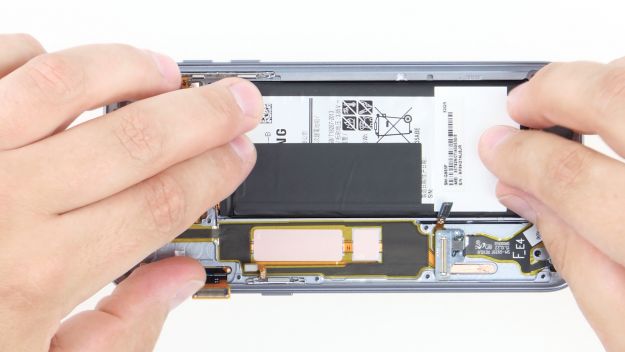
    1. Put the battery in the enclosure. It fits perfectly into the compartment in the middle of the enclosure.
    2. Press the battery against the enclosure so the glue will stick better.
  15. Installing the motherboard

    Galaxy S7 Edge - Installing the motherboard 01
    Galaxy S7 Edge - Installing the motherboard 02
    Galaxy S7 Edge - Installing the motherboard 03
    Galaxy S7 Edge - Installing the motherboard 04
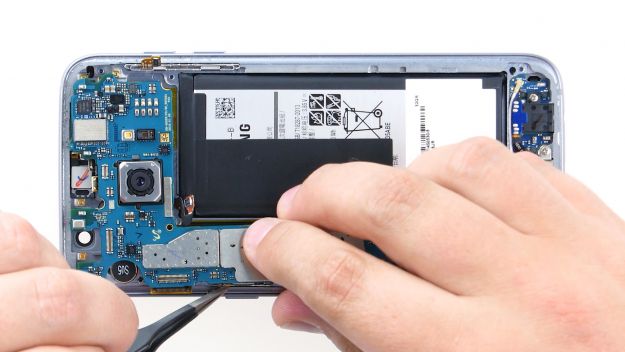
    1. Turn the board upside down and put it at the lower end of the enclosure to reconnect the USB port’s contact.
    2. Connect the contact so you can hear it click into the socket.
    3. Fold the board over so you can put it in the enclosure.
  16. Connecting all the contacts from the motherboard

    • Proximity Sensor
    • Earpiece Connector
    • Display
    • Power-Button
    • Antenna
    • Sensors
    • Volume Connector
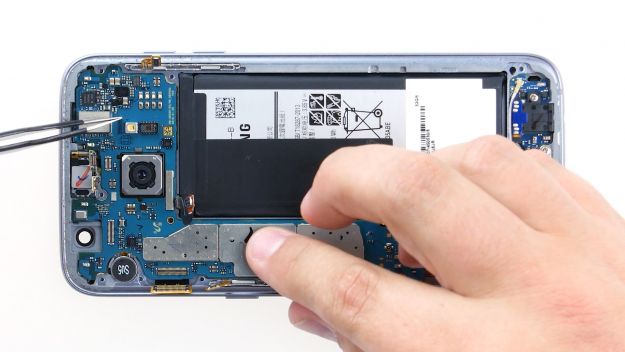
    1. Connect the contacts to the motherboard.
  17. Installing the front camera

    Galaxy S7 Edge - Installing the front camera 01
    Galaxy S7 Edge - Installing the front camera 02
    Galaxy S7 Edge - Installing the front camera 03
    Galaxy S7 Edge - Installing the front camera 04
    1. Put the front camera in the recess in the upper edge of the enclosure.
    2. Connect the camera to the motherboard. You have to hear the contact click into place.
  18. Connecting the battery

    Galaxy S7 Edge - Connecting the battery 01
    Galaxy S7 Edge - Connecting the battery 02
    Galaxy S7 Edge - Connecting the battery 03
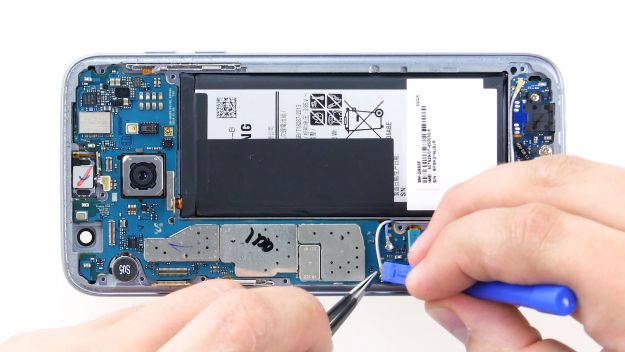
    1. Connect the battery to the motherboard. Press the contact into the socket on the motherboard until you hear it click into place.
  19. Installing the lower antenna

    Galaxy S7 Edge - Installing the lower antenna 01
    Galaxy S7 Edge - Installing the lower antenna 02
    Galaxy S7 Edge - Installing the lower antenna 03
    1. Put the antenna at the lower end of the enclosure.
    2. Press on the antenna with your fingers until it clicks into place in the enclosure.
  20. Installing the middle antenna

    Galaxy S7 Edge - Installing the middle antenna 01
    Galaxy S7 Edge - Installing the middle antenna 02
    Galaxy S7 Edge - Installing the middle antenna 03
    1. Put the antenna back in the enclosure after hooking it onto the lower antenna.
    2. Press on the antenna with your fingers until it clicks into place in the enclosure.
  21. Installing the upper antenna

    Galaxy S7 Edge - Installing the upper antenna 01
    Galaxy S7 Edge - Installing the upper antenna 02
    Galaxy S7 Edge - Installing the upper antenna 03
    Galaxy S7 Edge - Installing the upper antenna 04
    1. Put the antenna back in the enclosure. First put it on the left side and then press it on firmly with your fingers.
    2. You should be able to hear the antenna click into place.
  22. Fastening the screws

    Galaxy S7 Edge - Fastening the screws 01
    Galaxy S7 Edge - Fastening the screws 02
    Galaxy S7 Edge - Fastening the screws 03
    Galaxy S7 Edge - Fastening the screws 04
    Galaxy S7 Edge - Fastening the screws 05
    • 12 × 3,3mm PH00 Phillips-Schrauben
    1. Put the yellow adhesive strip back on.
    2. Attach the three antennas using the twelve screws.
      12 x 3.3 mm PH00 Phillips screws
  23. Attaching the back cover

    Galaxy S7 Edge - Attaching the back cover 01
    Galaxy S7 Edge - Attaching the back cover 02
    Galaxy S7 Edge - Attaching the back cover 03
    Galaxy S7 Edge - Attaching the back cover 04
    1. Put the back cover back in its original position.
    2. Press the back cover on all over so the glue will stick.
    3. You can also heat your device with hot air and then clamp it or weight it down with a couple books so the glue will stick better.
  24. Inserting the SIM and microSD cards

    Galaxy S7 Edge - Inserting the SIM and microSD cards 01
    Galaxy S7 Edge - Inserting the SIM and microSD cards 02
    1. Insert the SIM tray back into your device. Make sure the tray is positioned properly.
Ø 4.6 (57 Ratings)

Bewerte unsere Anleitung

Hat dir unsere Anleitung weitergeholfen? Wir sind auf deine Beurteilung gespannt.

Submit rating

Submit rating

How did you like this repair guide?

Exceptional

Similar guides

You might also be interested in these guides.

You might be interested in

Get in touch with iDoc

Please contact our customer service for any questions about iDoc's products and services.

  • Send a message

    If you have a question about a guide or want to give us general feedback, just use our contact form

    Write a message
  • Free shipping

    From a minimum order value of 79.00 € your order will be shipped free of charge within Germany.

  • Call iDoc

    If you have any questions about our guides or services, call us from Monday to Friday, 10:00 a.m. to 6:00 p.m.

    +49 30 200 514 455
  • 5 star service

    We offer top quality and service. Our customers confirm this as well.

    Show reviews

Profi-Insights & Tipps für deine erfolgreiche Handy-Reparatur

iDoc schenkt dir den ultimativen Reparatur-Guide GUIDE GRATIS ANFORDERN
Profi-Insights & Tipps für deine erfolgreiche Handy-Reparatur

iDoc schenkt dir den ultimativen Reparatur-Guide GUIDE GRATIS ANFORDERN