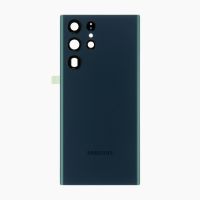
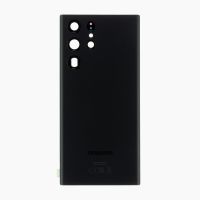
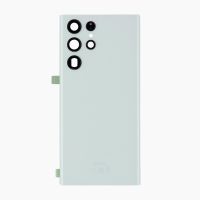
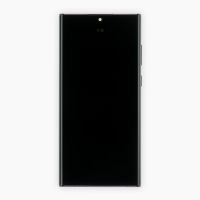
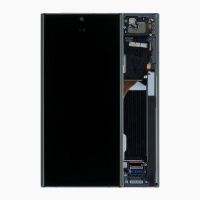
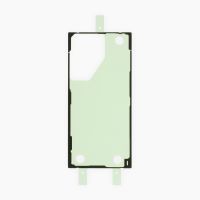
The back cover of your Galaxy S22 Ultra is scratched or cracked?

In our detailed photo tutorial, we show you step by step how to replace your back cover on your own.

Once you open your Galaxy its specified IP68 certification will expire.

To prevent the case and screen from scratches, make sure your workspace is clean and level.

We wish you good luck with your repair!

Required tools

  • Flat Picks

    Flat Picks

    You need a very flat tool such as a flat pick to pry out parts that are glued in place.

    €5.00 at the iDoc store
  • Heat gun

    Heat gun

    You can use a heat gun to heat parts that are glued on so they’re easier to remove. In most cases, you can also use a hairdryer.

    from €14.47 on Amazon
  • Pick Set

    Pick Set

    You need a flat but stable tool such as a pick to pry out parts that are glued in place.

    €2.00 at the iDoc store

Required replacement part

Show all replacement parts for the Galaxy S22 Ultra 

Replacement parts and tools for this repair

Our tools plus the right spare part help you fix your device easily.

Getting started with the repair of your Galaxy S22 Ultra

If you get stuck or have questions, you can post a comment. We’d be happy to help.

5 steps
  1. Switching off your Samsung Galaxy S22 Ultra

    Galaxy S22 Ultra - Switching off your Samsung Galaxy S22 Ultra 01
    Galaxy S22 Ultra - Switching off your Samsung Galaxy S22 Ultra 02
    Galaxy S22 Ultra - Switching off your Samsung Galaxy S22 Ultra 03

    Use our checklist to test the basic functions of your Galaxy S22 Ultra 5G before repairing. This way you can check afterwards if your repair was successful.

    1. Press and hold the side and volume down button simultaneously for a few seconds.
    2. Tap on Power off in the displayed menu.
  2. Heating up the back cover

    Galaxy S22 Ultra - Heating up the back cover 01
    Galaxy S22 Ultra - Heating up the back cover 02
    Used tools
    Heat gun

    The edge of the back cover is heavily glued. Use a heat gun or an ordinary hair dryer to heat it sufficiently.
    1. Heat the edge of the back cover by running the hot air device evenly over it.
    Used tools
  3. The right tools for your repair

    With the right tools, you will succeed in any repair. In our store you will find a large selection of professional quality tools.
    VIEW NOW
  4. Lifting up the back cover

    As an alternative to the suction cup, we can recommend the iSclack, which requires less force to lift up the back cover.

    The iFlex can be inserted particularly well between the back cover and the screen unit due to its sharp edges.

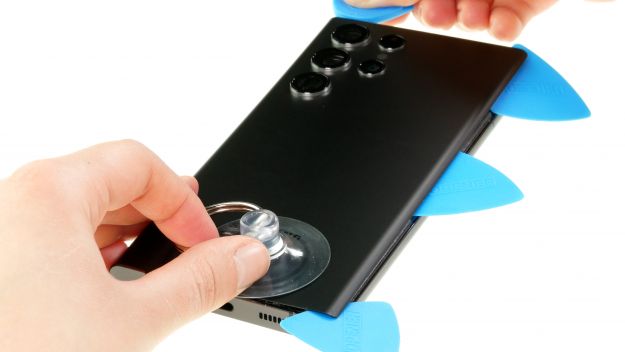
    1. Attach a suction cup to the lower edge of the back cover and pull it upwards to create a narrow gap.
    2. At the same time, insert a flat tool into the gap between the back cover and the screen unit.


  5. Detaching the back cover

    Galaxy S22 Ultra - Detaching the back cover 01
    Galaxy S22 Ultra - Detaching the back cover 02
    Galaxy S22 Ultra - Detaching the back cover 03
    Galaxy S22 Ultra - Detaching the back cover 04
    Galaxy S22 Ultra - Detaching the back cover 05
    Used tools
    Heat gun

    To avoid damaging the camera module, you should not insert your tool too far. At this point, the hard plastic pick is therefore particularly suitable.

    In order to prevent the glue of the back cover from bonding again, we recommend sliding flat plastic picks under the back cover at regular intervals.

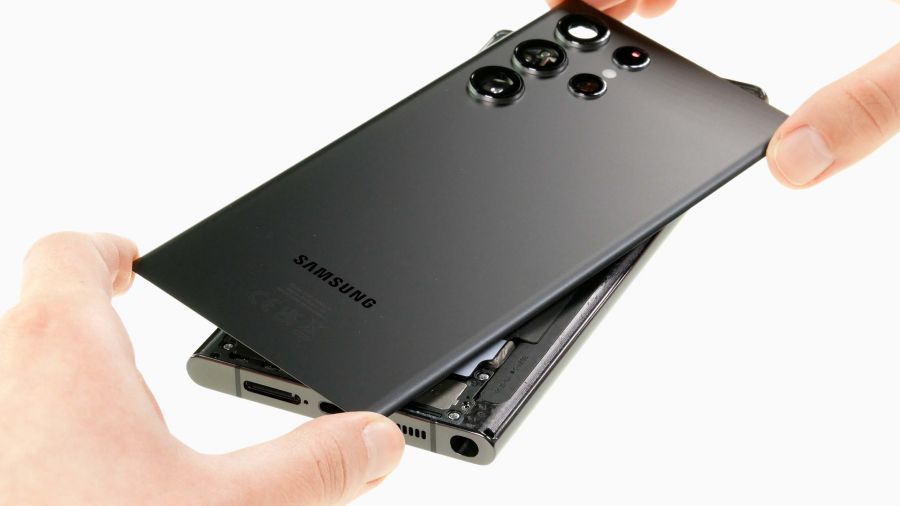
    1. Drive your tool completely around the edge of the back cover to loosen it piece by piece.
    2. Put the detached back cover aside.


    Used tools
  6. Attaching the new back cover

    Galaxy S22 Ultra - Attaching the new back cover 01
    Galaxy S22 Ultra - Attaching the new back cover 02
    Galaxy S22 Ultra - Attaching the new back cover 03
    Galaxy S22 Ultra - Attaching the new back cover 04
    Used tools
    Heat gun

    We recommend that you run hot air over the edge of the back cover, so that the glue bonds properly. You can also weigh down your device with books for a few minutes.

    1. Remove all protective films from the new back cover.
    2. Align it with the screen unit and press it firmly.
    Used tools
    Verwendete Ersatzteile
Ø 0 (0 Ratings)

Bewerte unsere Anleitung

Hat dir unsere Anleitung weitergeholfen? Wir sind auf deine Beurteilung gespannt.

Submit rating

Submit rating

How did you like this repair guide?

Exceptional

Similar guides

You might also be interested in these guides.

You might be interested in
Get in touch with iDoc

Please contact our customer service for any questions about iDoc's products and services.

  • Send a message

    If you have a question about a guide or want to give us general feedback, just use our contact form

    Write a message
  • Free shipping

    From a minimum order value of 79.00 € your order will be shipped free of charge within Germany.

  • Call iDoc

    If you have any questions about our guides or services, call us from Monday to Friday, 10:00 a.m. to 6:00 p.m.

    +49 30 200 514 455
  • 5 star service

    We offer top quality and service. Our customers confirm this as well.

    Show reviews

Profi-Insights & Tipps für deine erfolgreiche Handy-Reparatur

iDoc schenkt dir den ultimativen Reparatur-Guide GUIDE GRATIS ANFORDERN
Profi-Insights & Tipps für deine erfolgreiche Handy-Reparatur

iDoc schenkt dir den ultimativen Reparatur-Guide GUIDE GRATIS ANFORDERN