


Photos with your Galaxy S10 are no longer the same?
Even if you have stains on your video footage, this repair guide can help you. We will show you step by step how you can easily replace the defective main camera of your Galaxy S10 by yourself.
Therefore, you first have to remove the firmly adhered glass back cover. Since this is not a trivial operation and the back cover can easily be damaged when opening it, we have classified this repair as difficult.
Have fun and above all good luck with your independent repair! We are looking forward to your honest feedback on our manual.
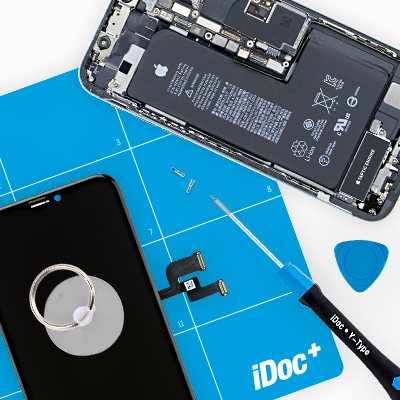
Required tools
-
Heat gun
Heat gun
You can use a heat gun to heat parts that are glued on so they’re easier to remove. In most cases, you can also use a hairdryer.
from €15.99 on Amazon -
iFlex Opening Tool
iFlex Opening Tool
Opening your smartphone can be a very delicate operation, especially if the glue is very persistent. The blade of the flexible but sturdy iFlex measures just 0.15 mm, so it fits in even the smallest gaps, such as between the screen and the frame. The practical iFlex is made of stainless steel and sits comfortably in the hand. This makes it the perfect assistant for every smartphone repair.
from €10.95 on Amazon -
iPlastix Opening Tool
iPlastix Opening Tool
Do you want to open your smartphone or lever out large parts like the battery? Then the iPlastix with its large blade will help you. The practical assistant is made of flexible, especially sturdy plastic and lies comfortably in the hand. Thanks to its design, you can even get into smaller gaps, for example to lift the screen or to prevent it from sticking together again.
on Amazon -
For storing screws
For storing screws
We recommend storing your screws so you don’t mix up the various screws and small parts.
from €10.99 on Amazon -
Tweezers
Tweezers
We recommend using tweezers to remove screws and various small parts from your device.
on Amazon -
Pick Set
Pick Set
You need a flat but stable tool such as a pick to pry out parts that are glued in place.
from €14.99 on Amazon -
Plastic prying tool
Plastic prying tool
You need a flat plastic prying tool to disconnect the various plugs and connectors.
from €14.99 on Amazon -
Phillips PH00 screwdriver
Phillips PH00 screwdriver
You need the right screwdriver for removing PH00 screws.
from €10.84 on Amazon
Required replacement part
- Samsung Galaxy S10 / S10+ Main Camera


Getting started with the repair of your Galaxy S10
If you get stuck or have questions, you can post a comment. We’d be happy to help.
-
Switching off your Samsung Galaxy S10
![Galaxy S10 - Switching off your Samsung Galaxy S10 01]()
-
-
Heating up the back cover
-
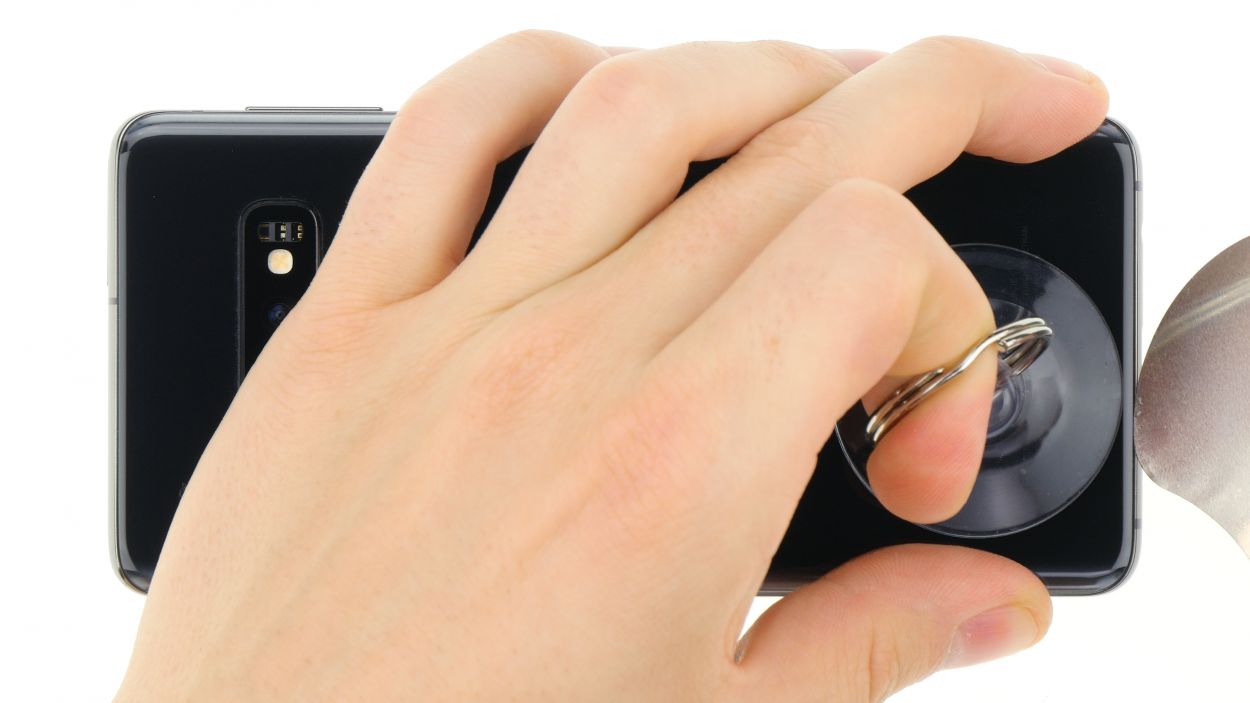
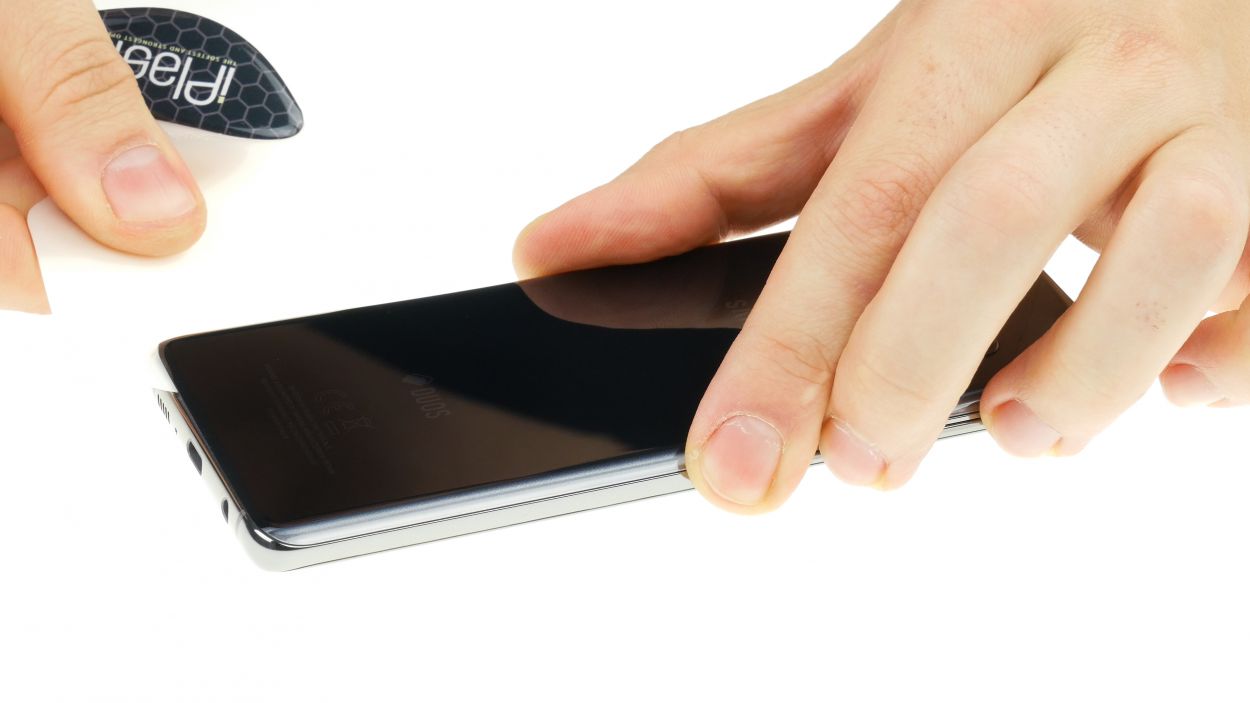
Creating a gap
-
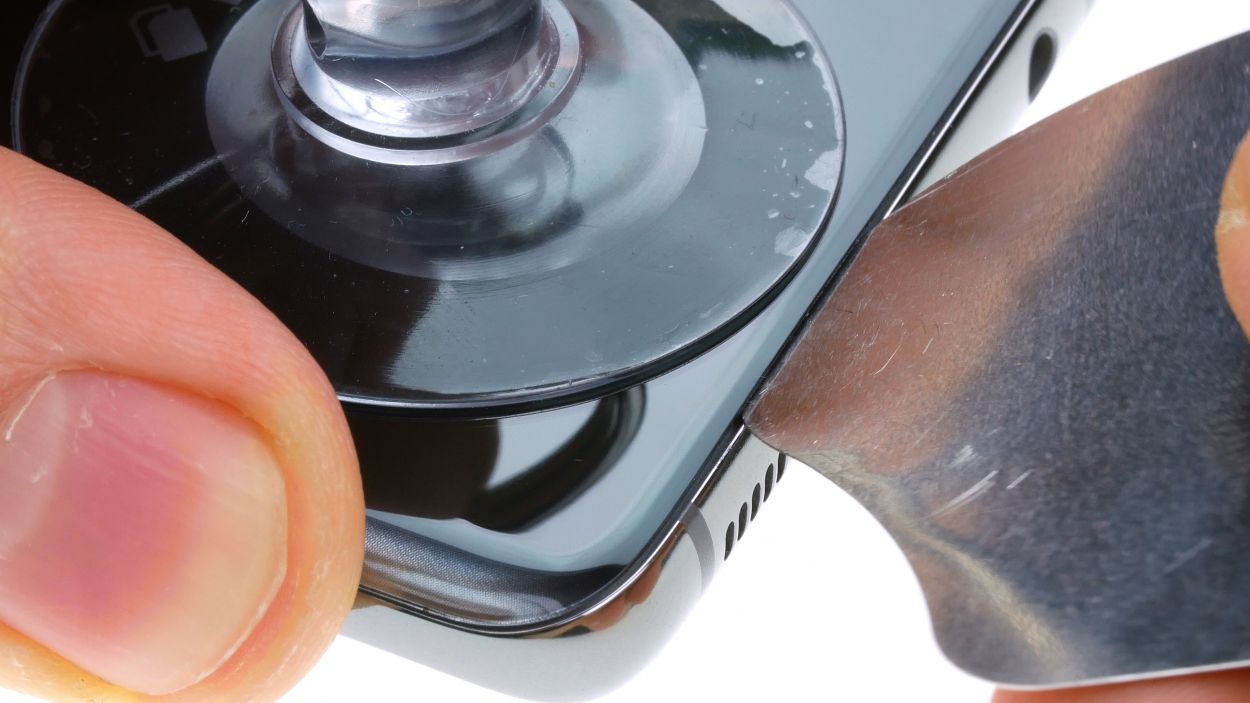
Detaching the back cover
-
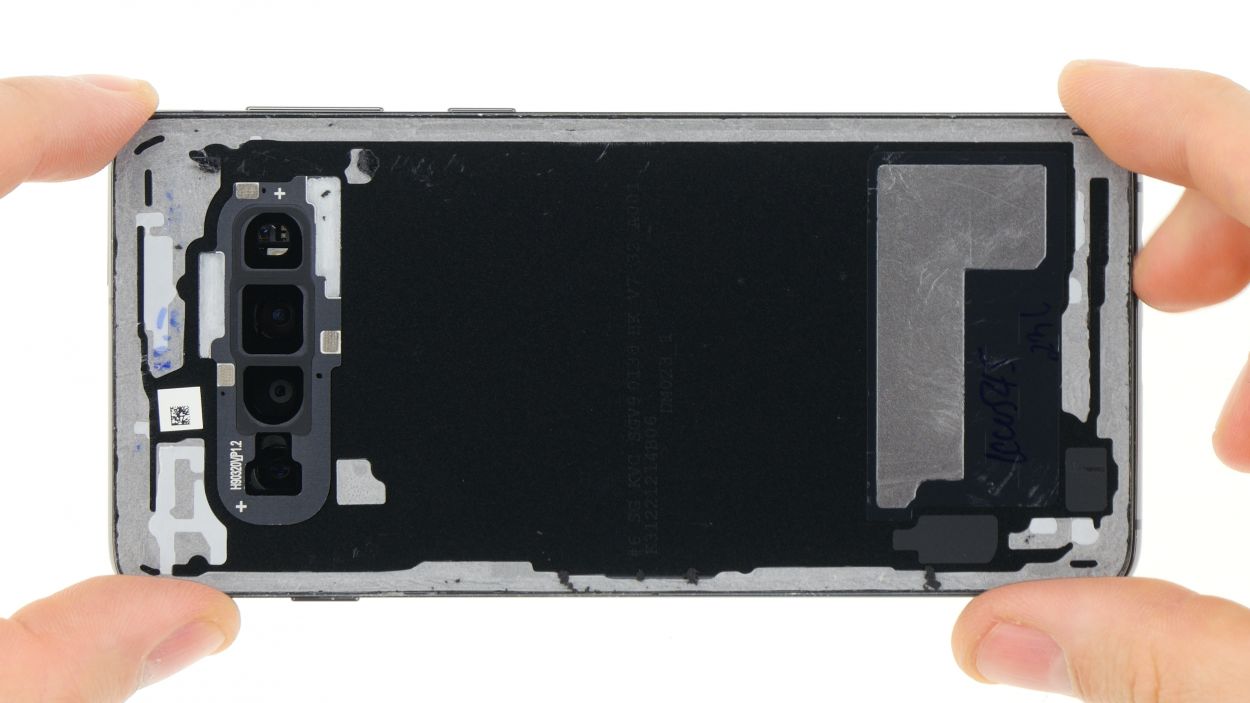
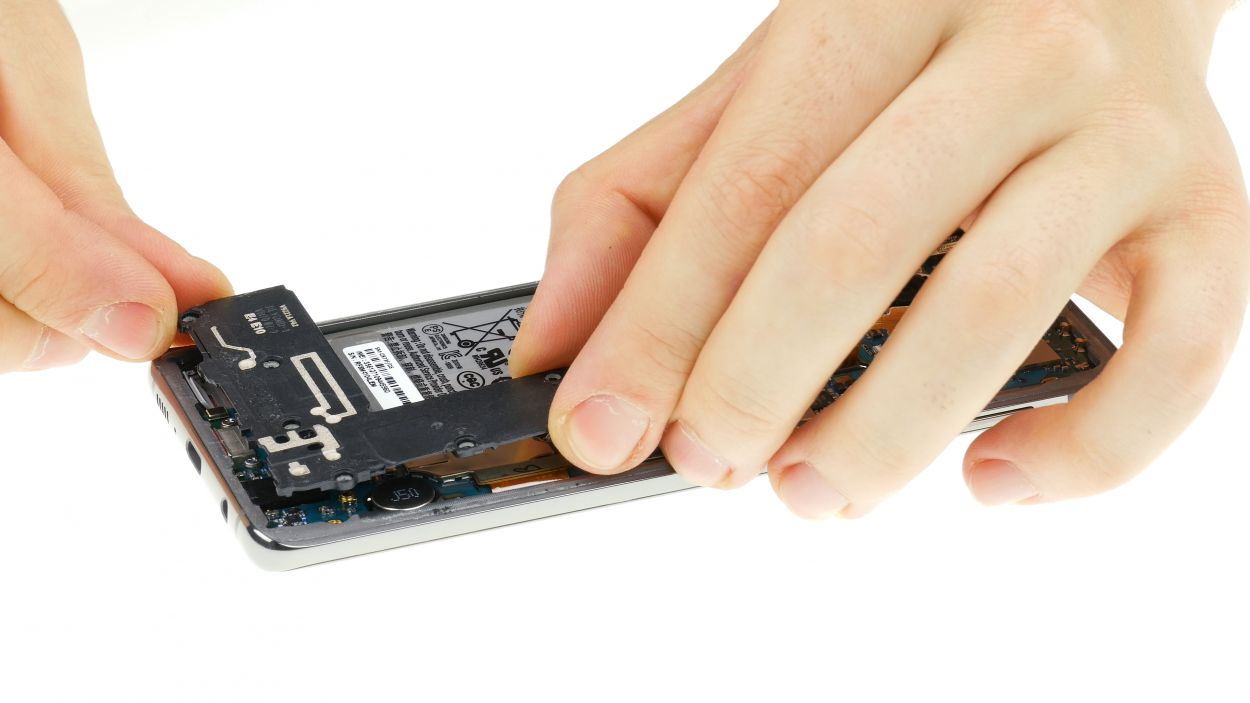
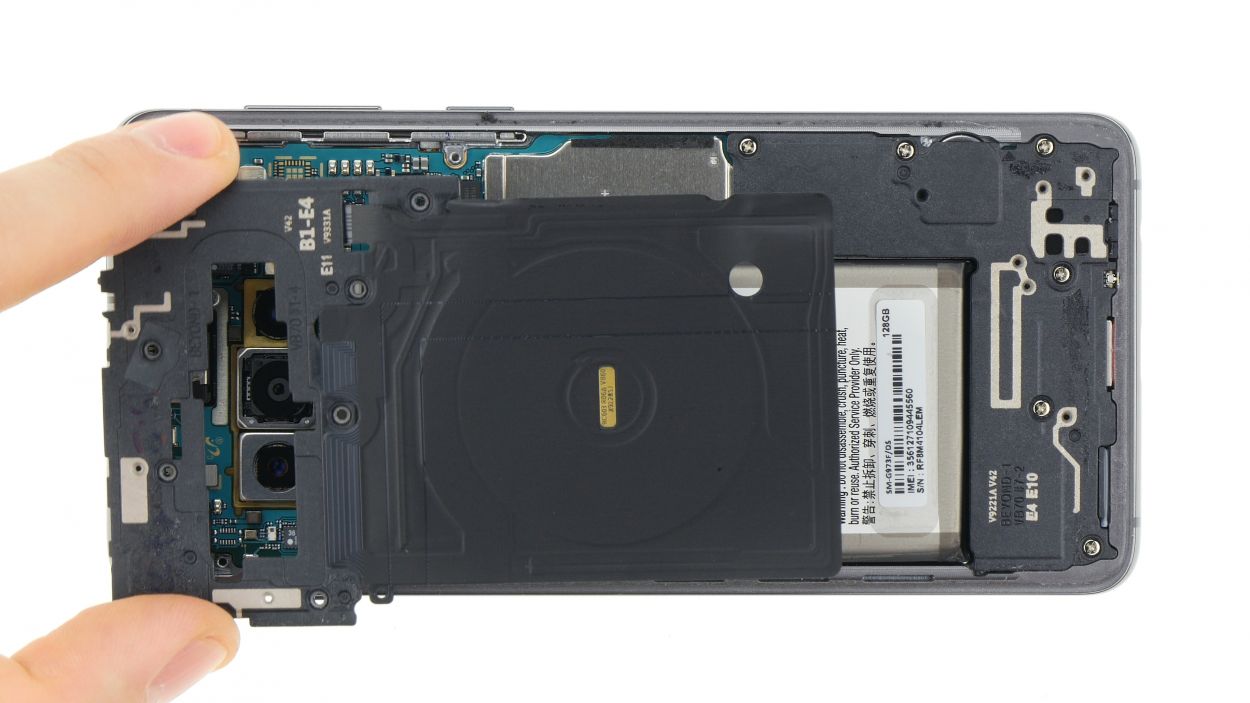
Removing the plastic cover
-
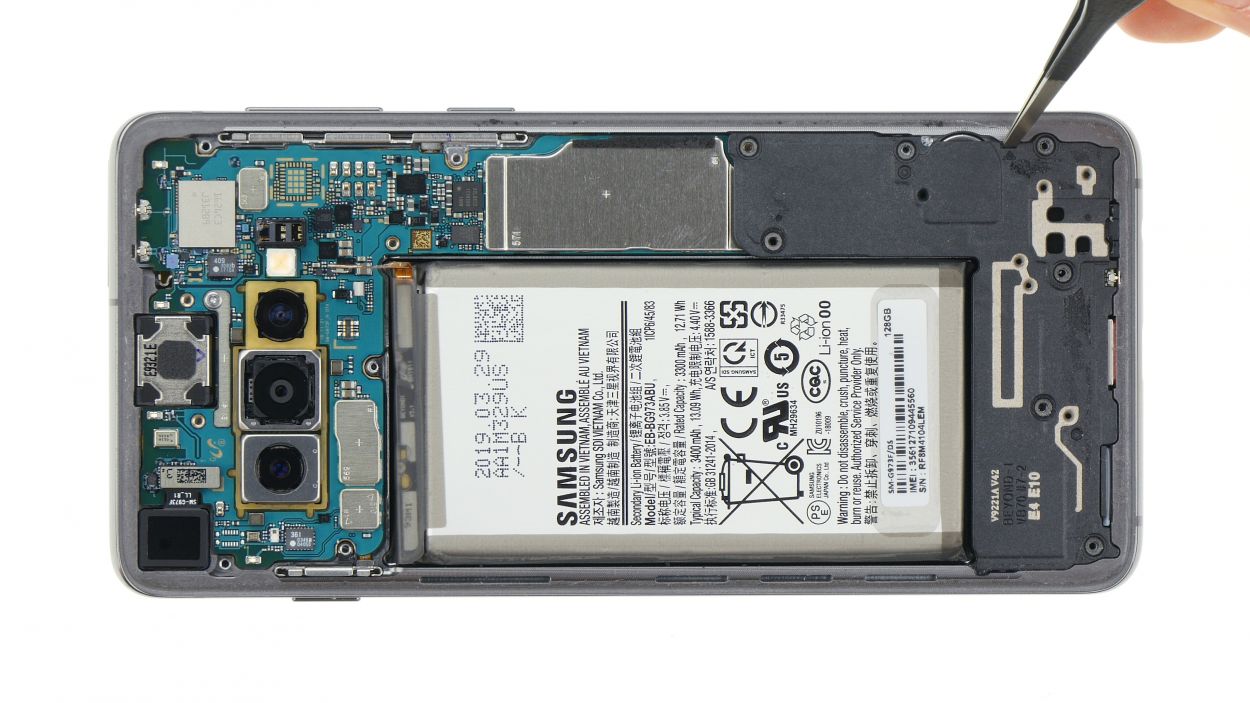
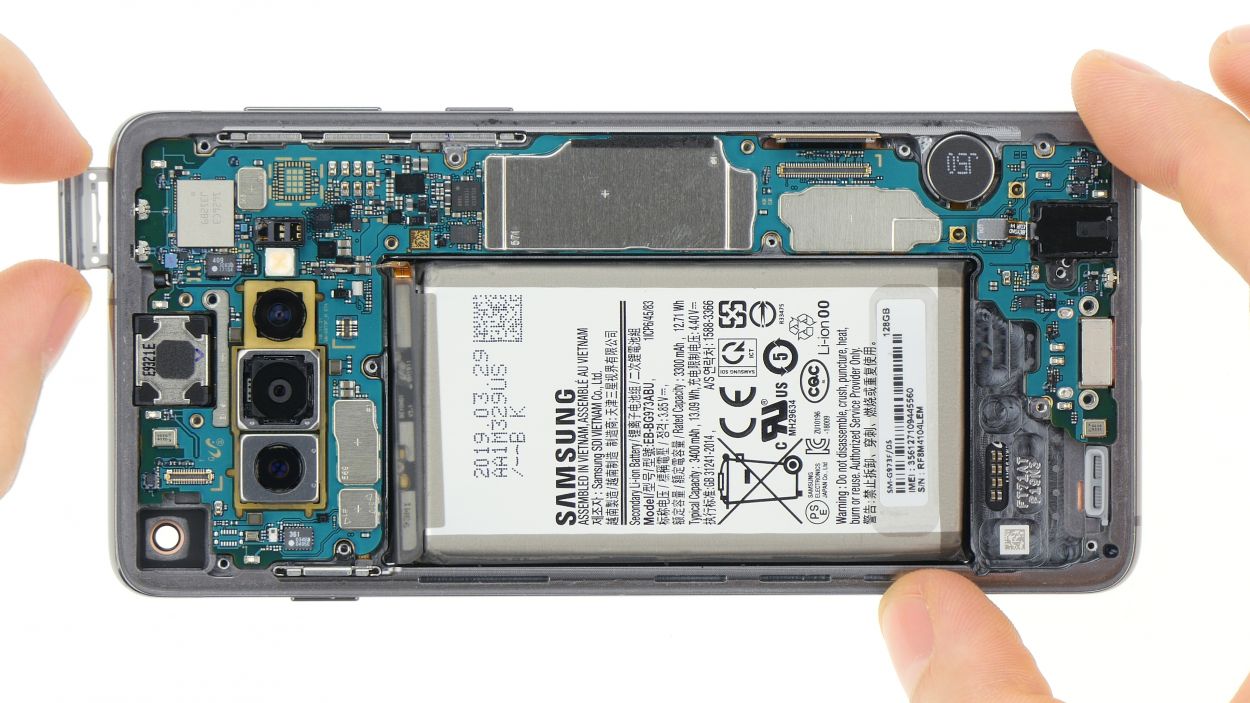
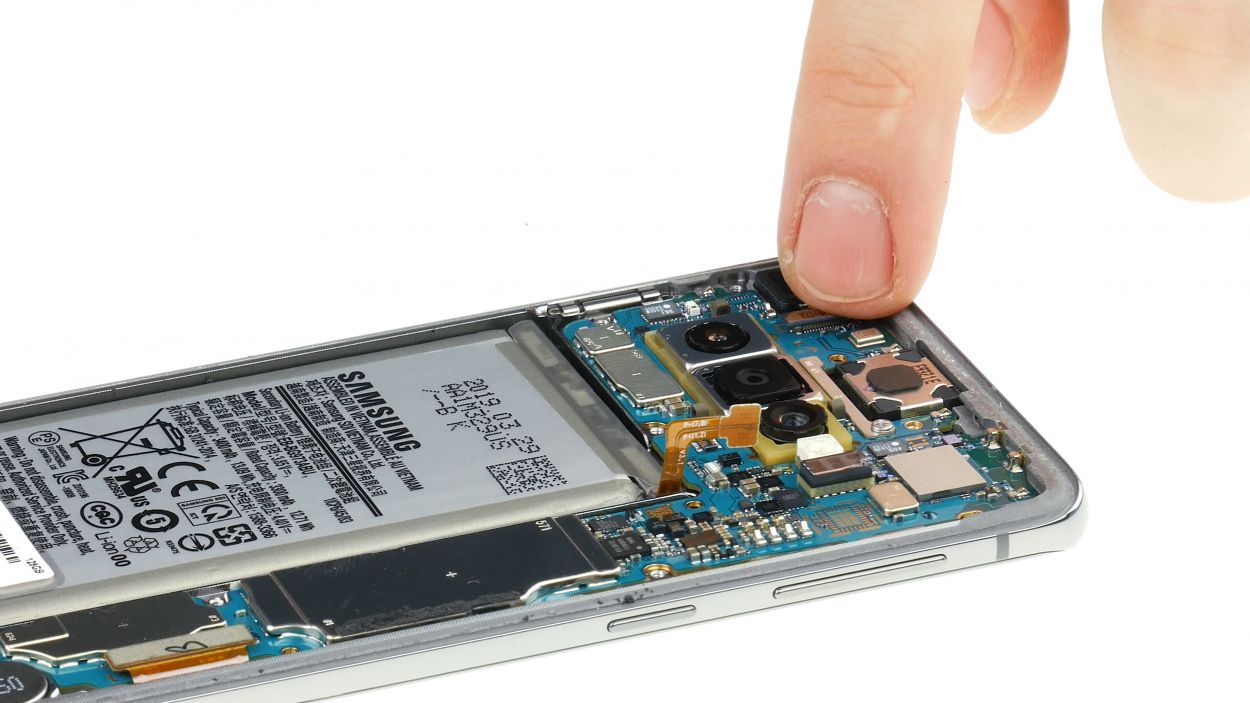
Disconnecting the battery
-
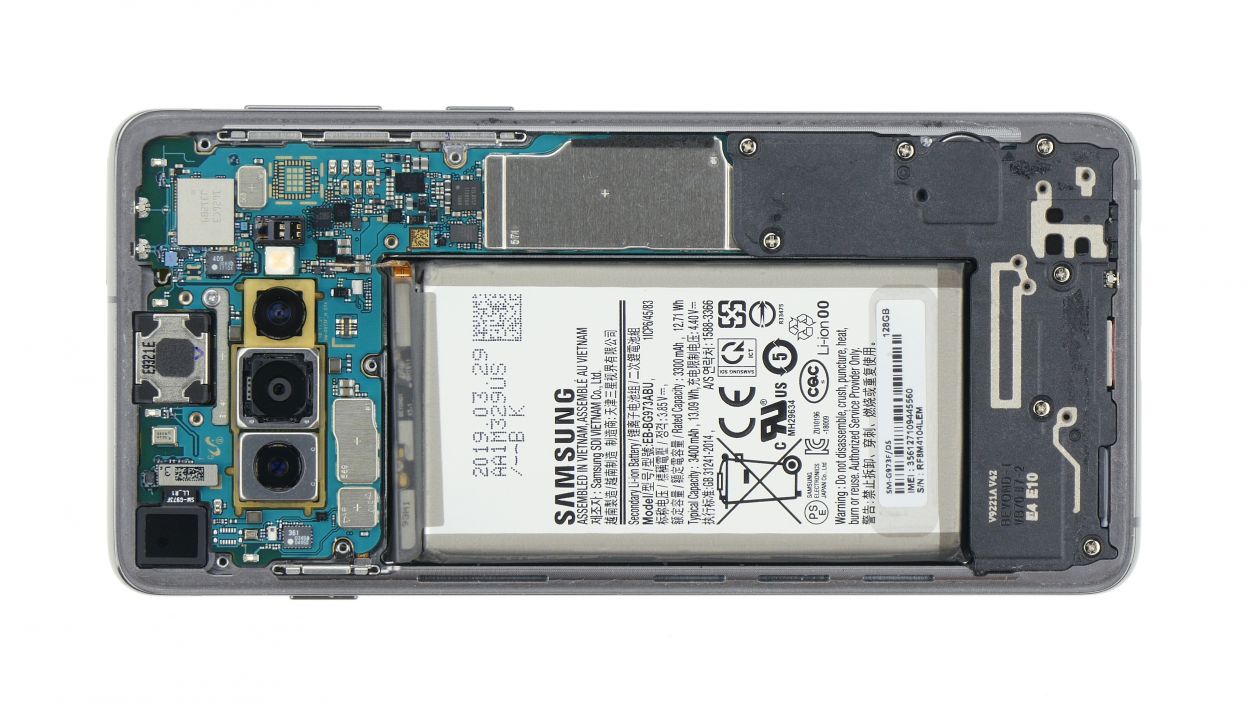
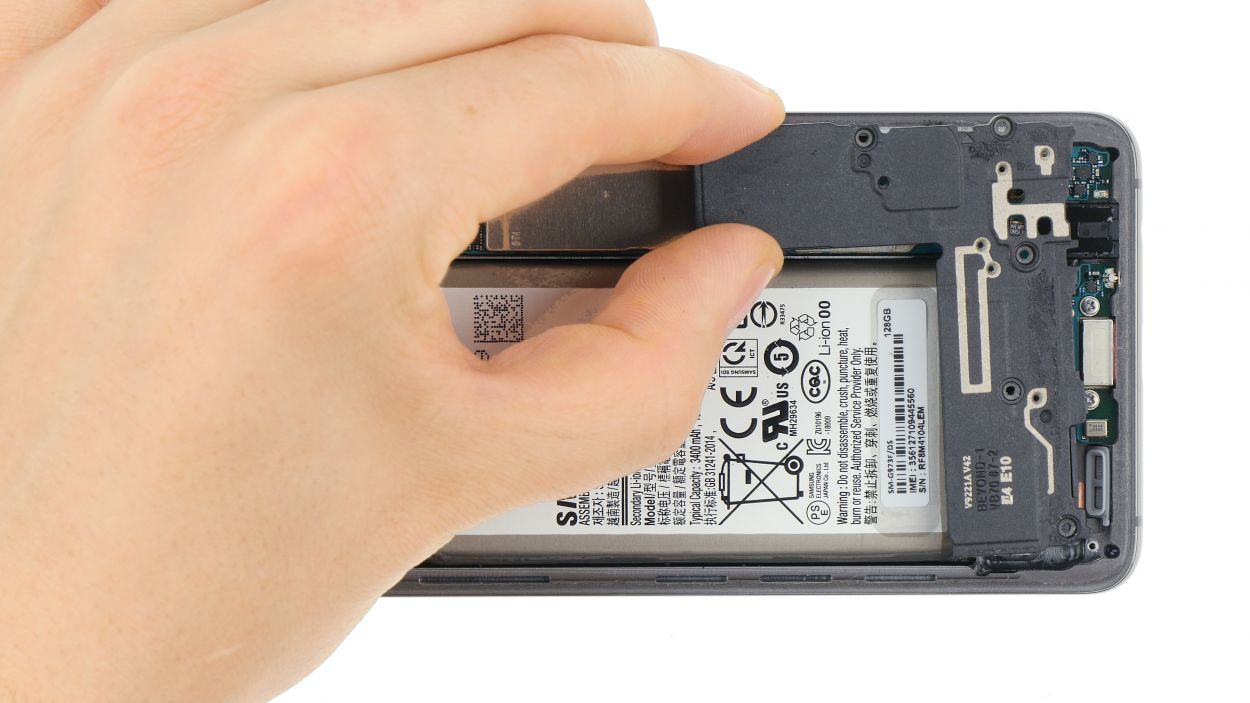
Removing the speaker
-
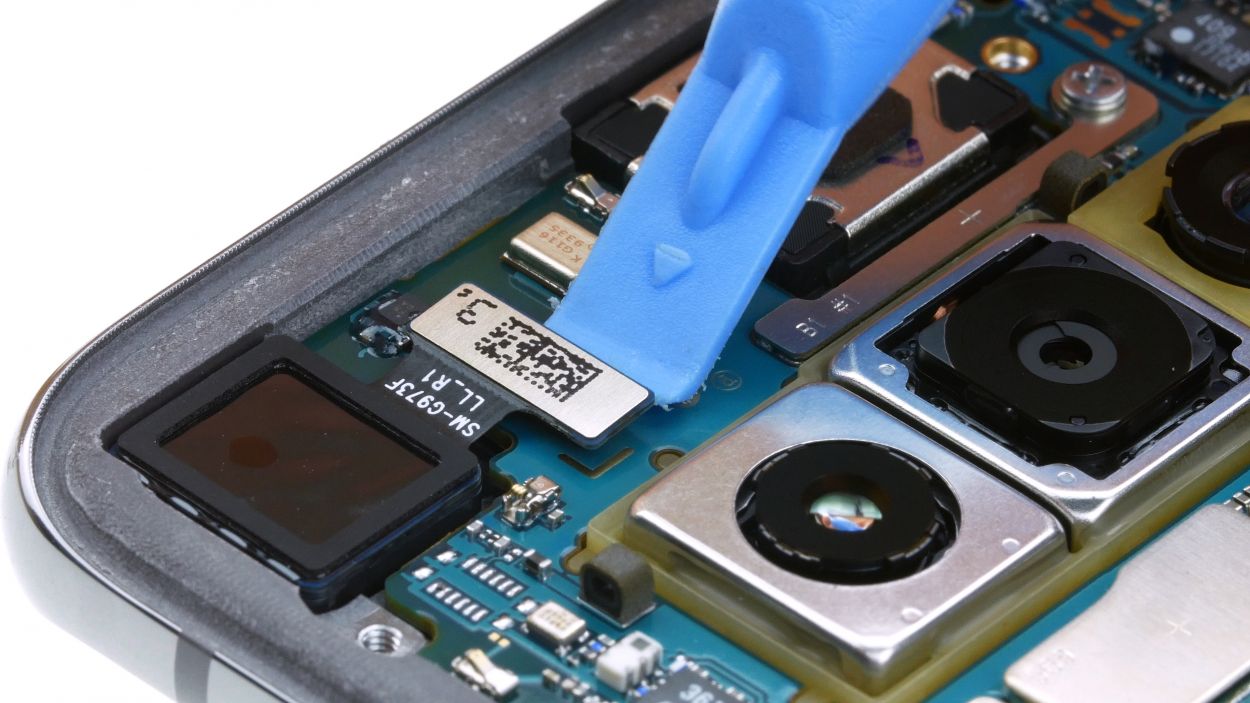
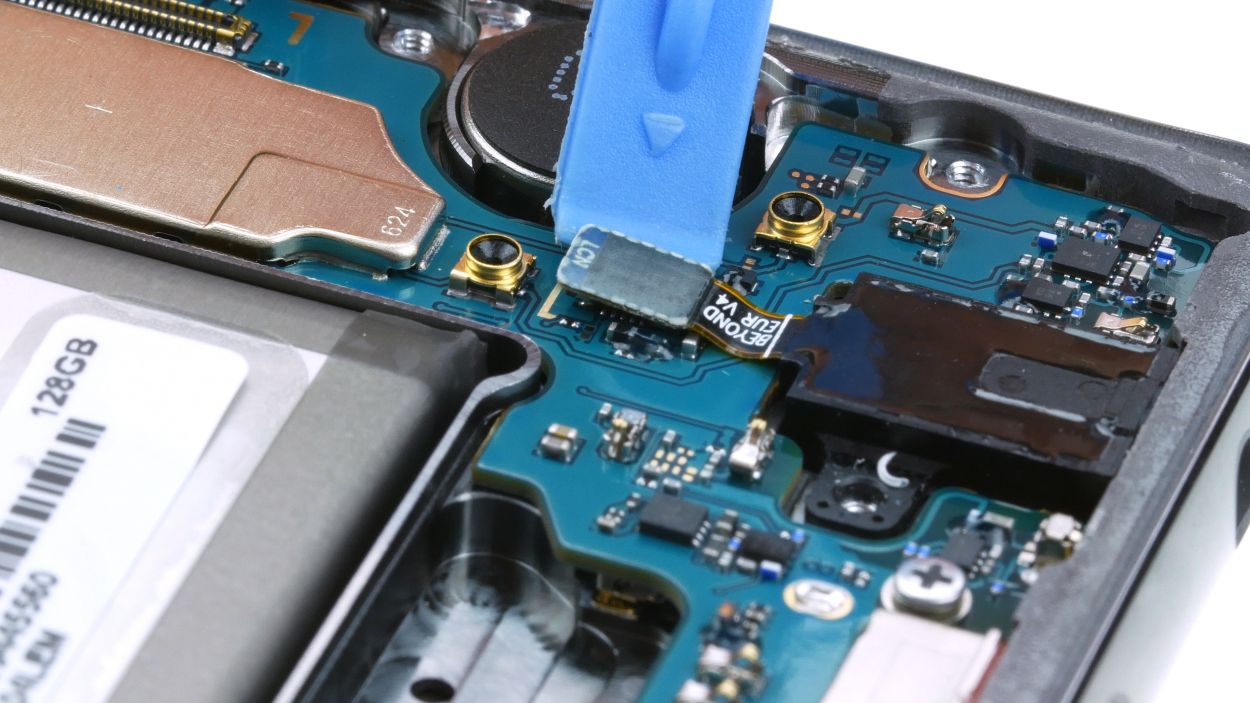
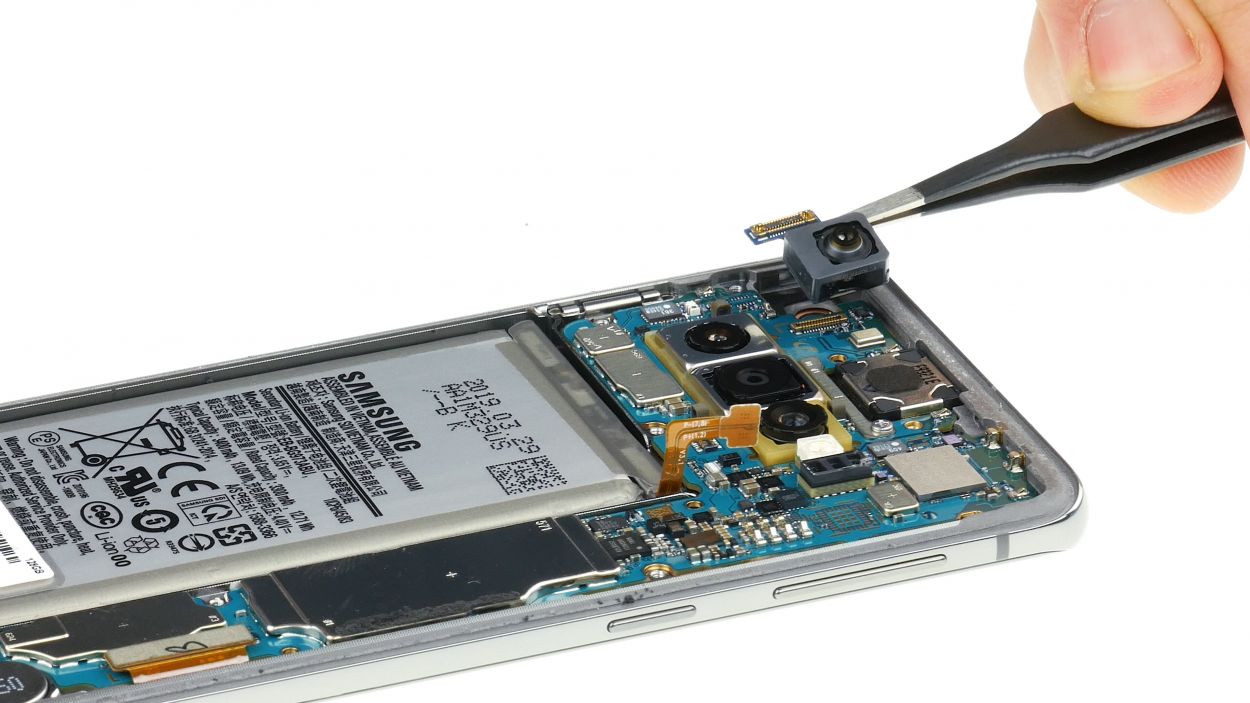
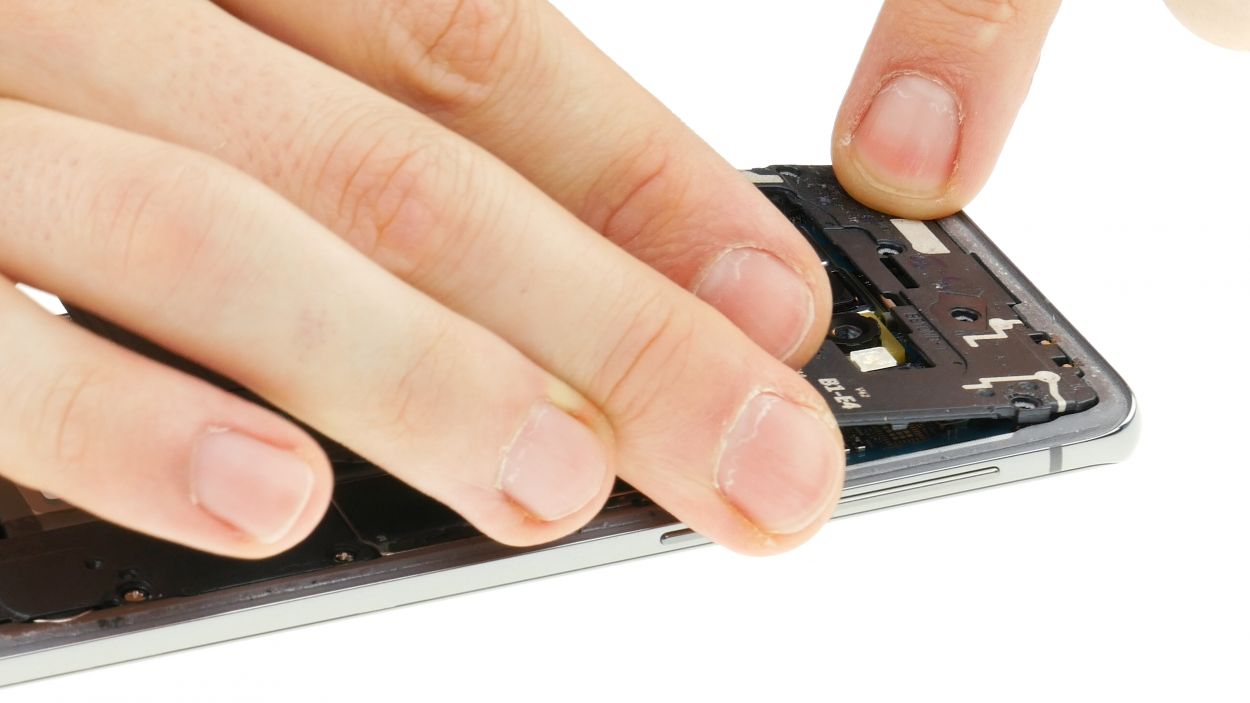
Removing the front camera
![Galaxy S10 - Removing the front camera 01]()
-
-
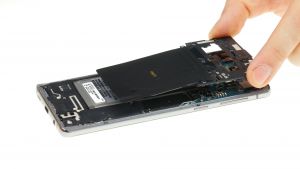
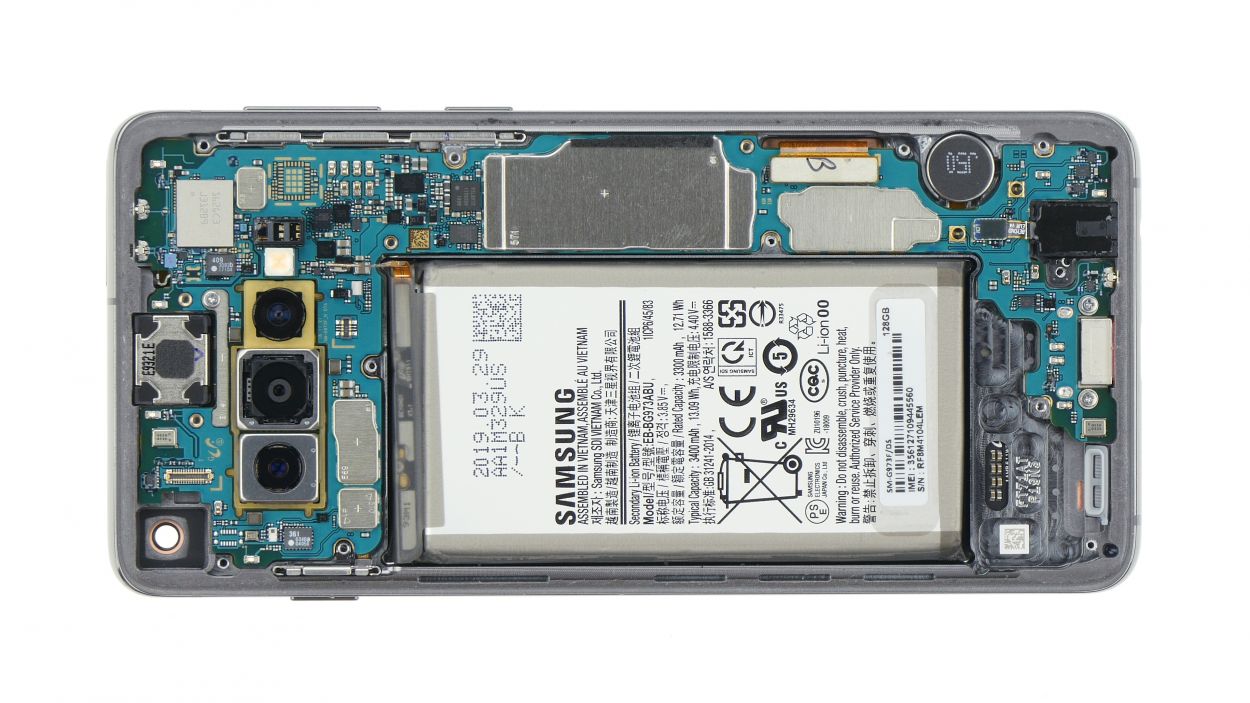
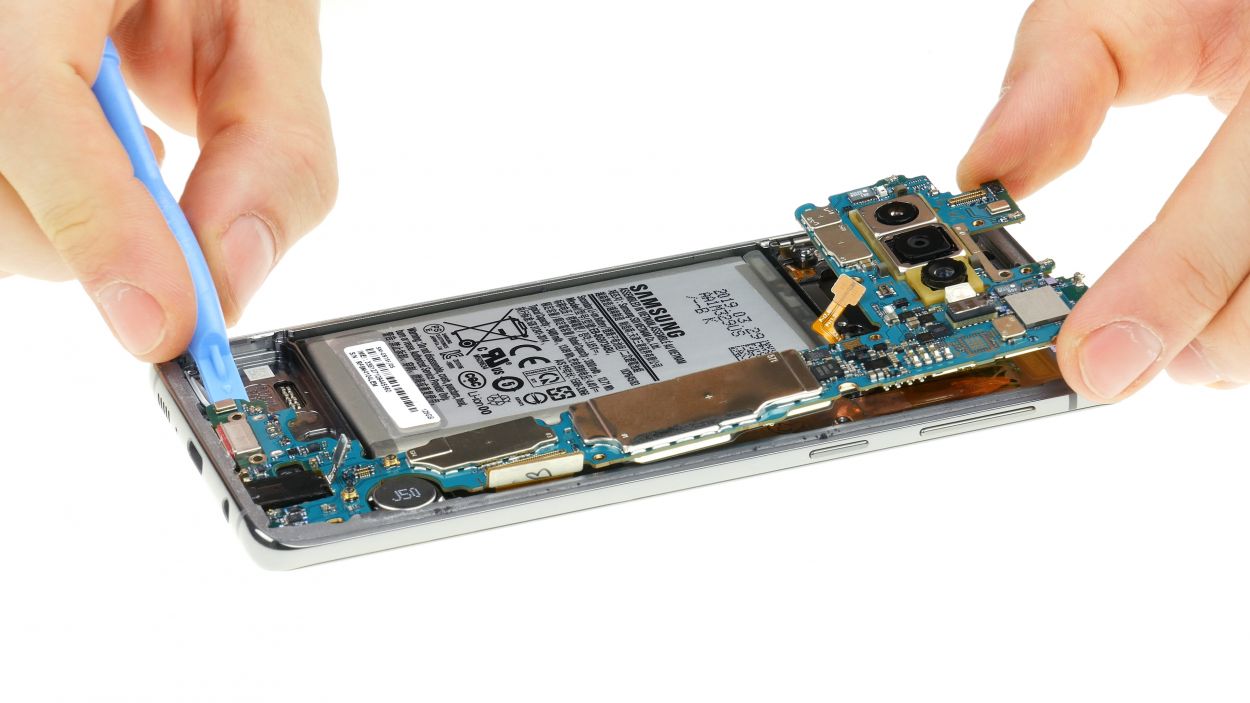
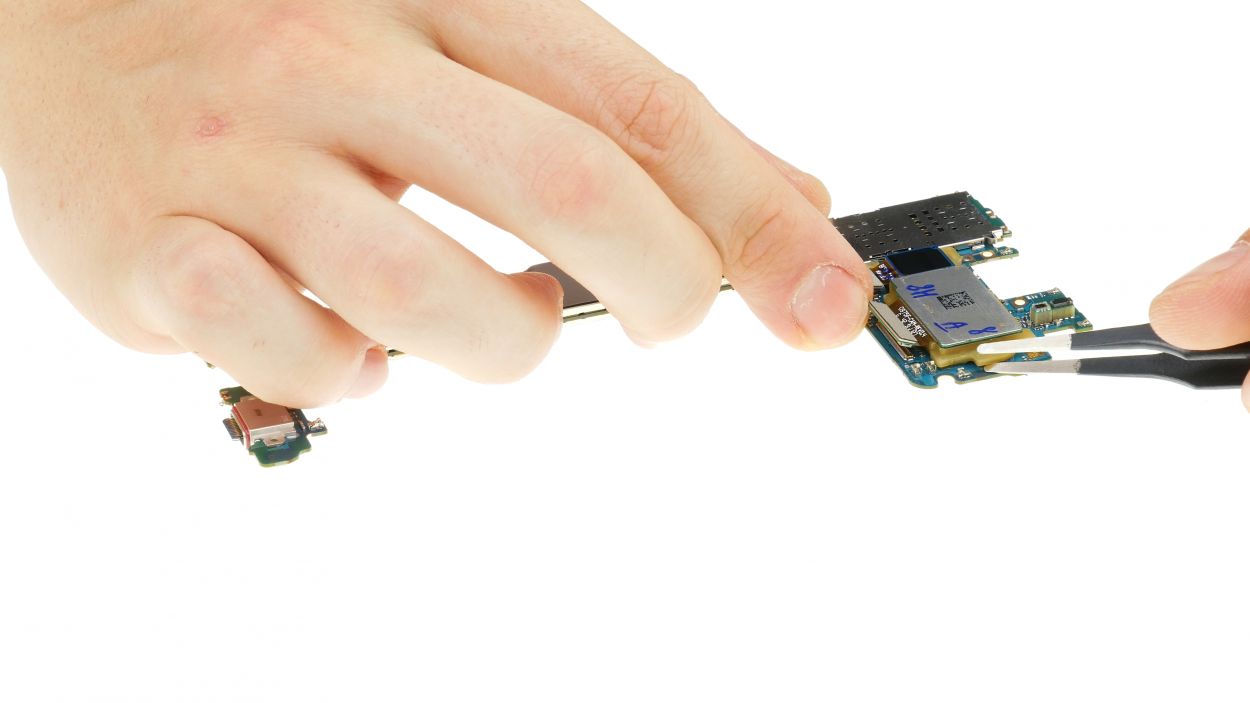
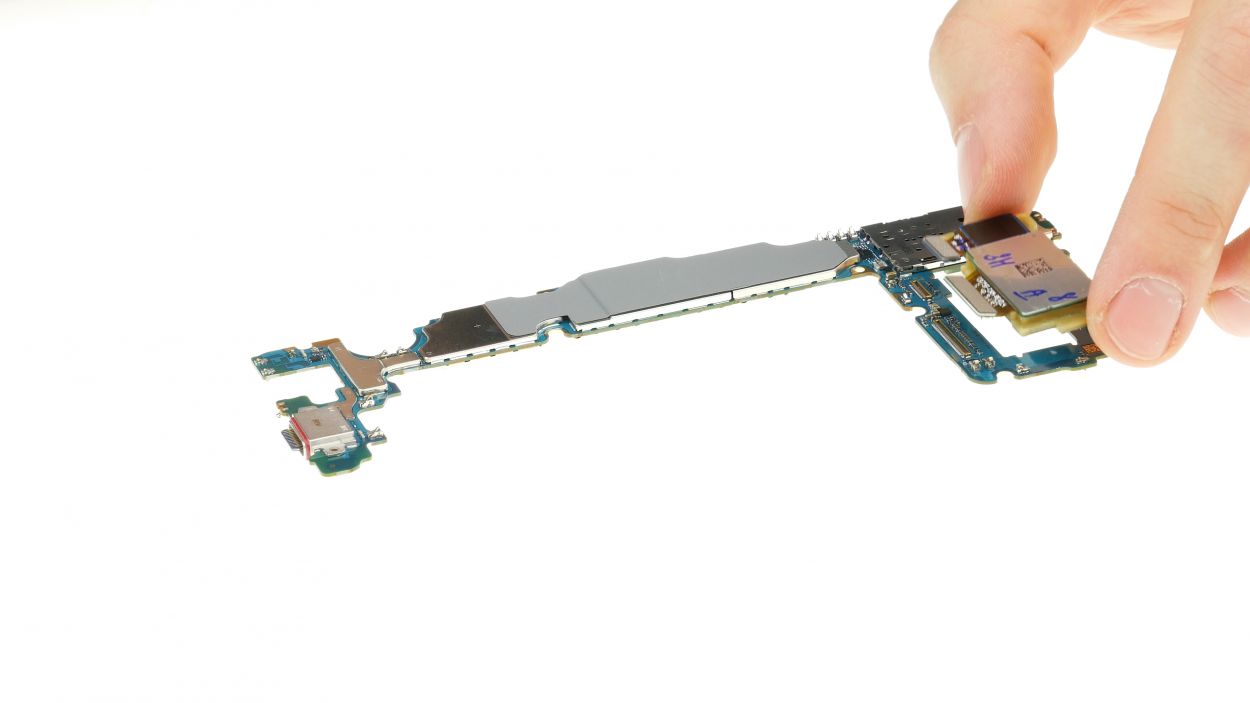
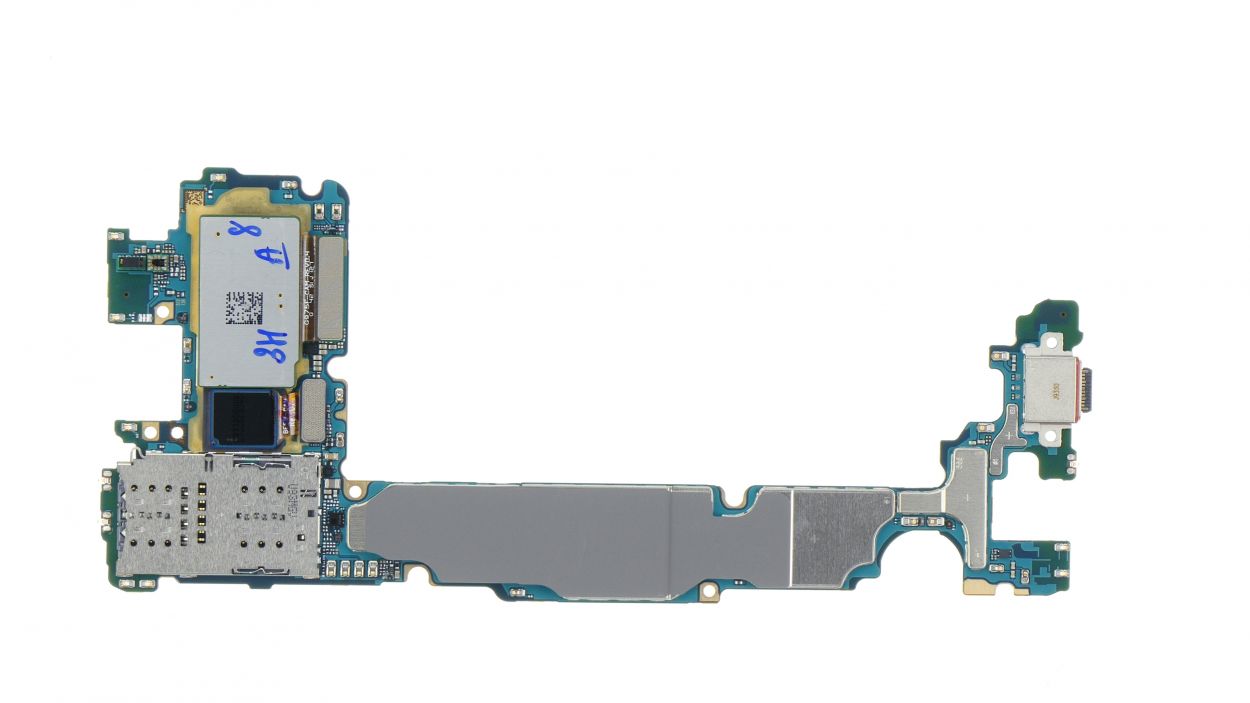
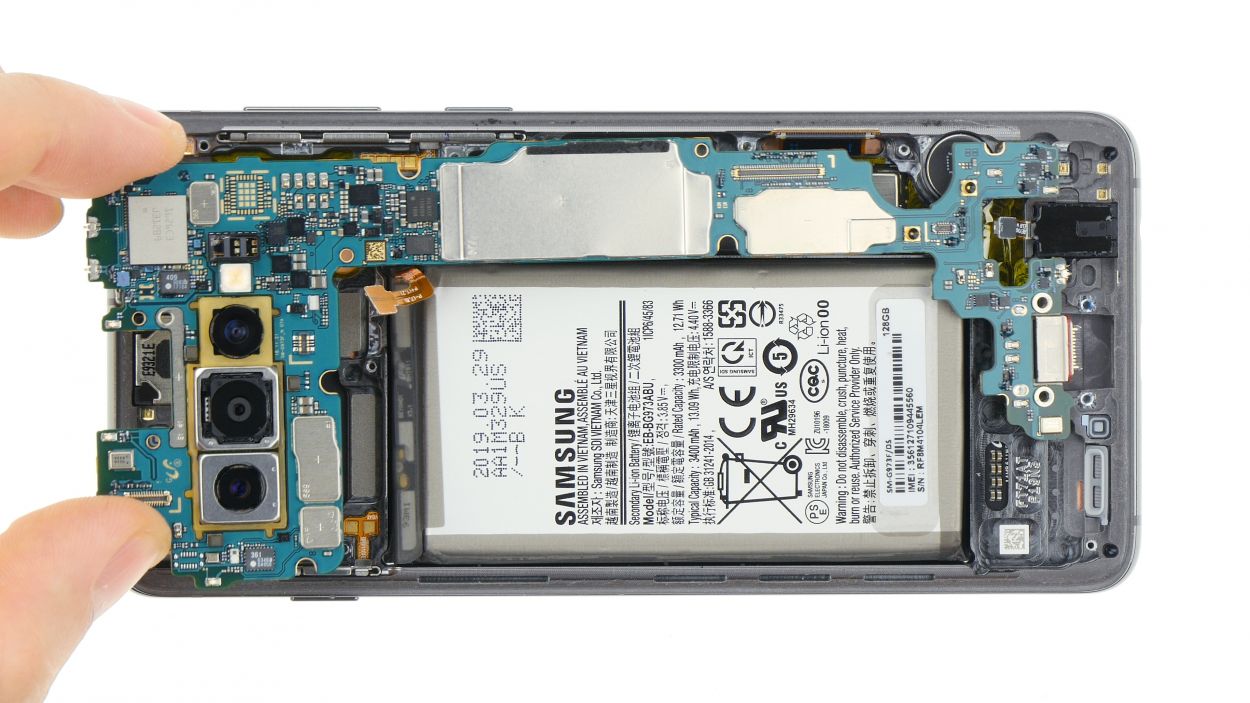
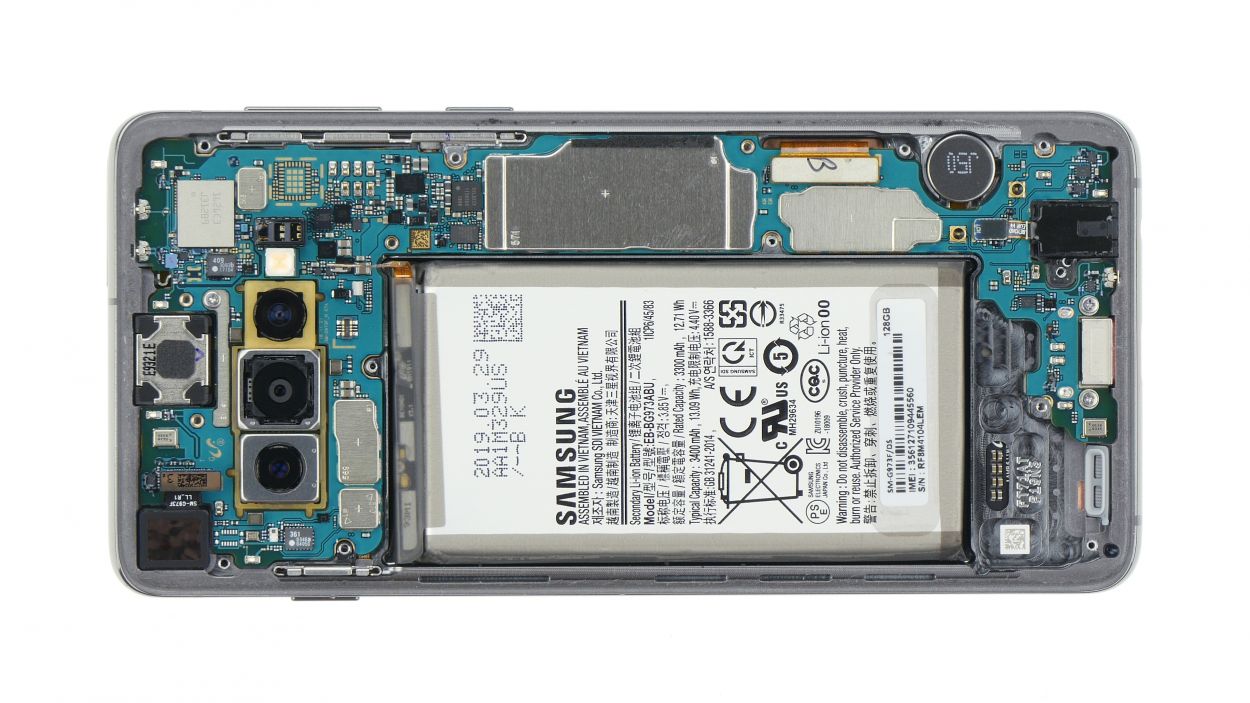
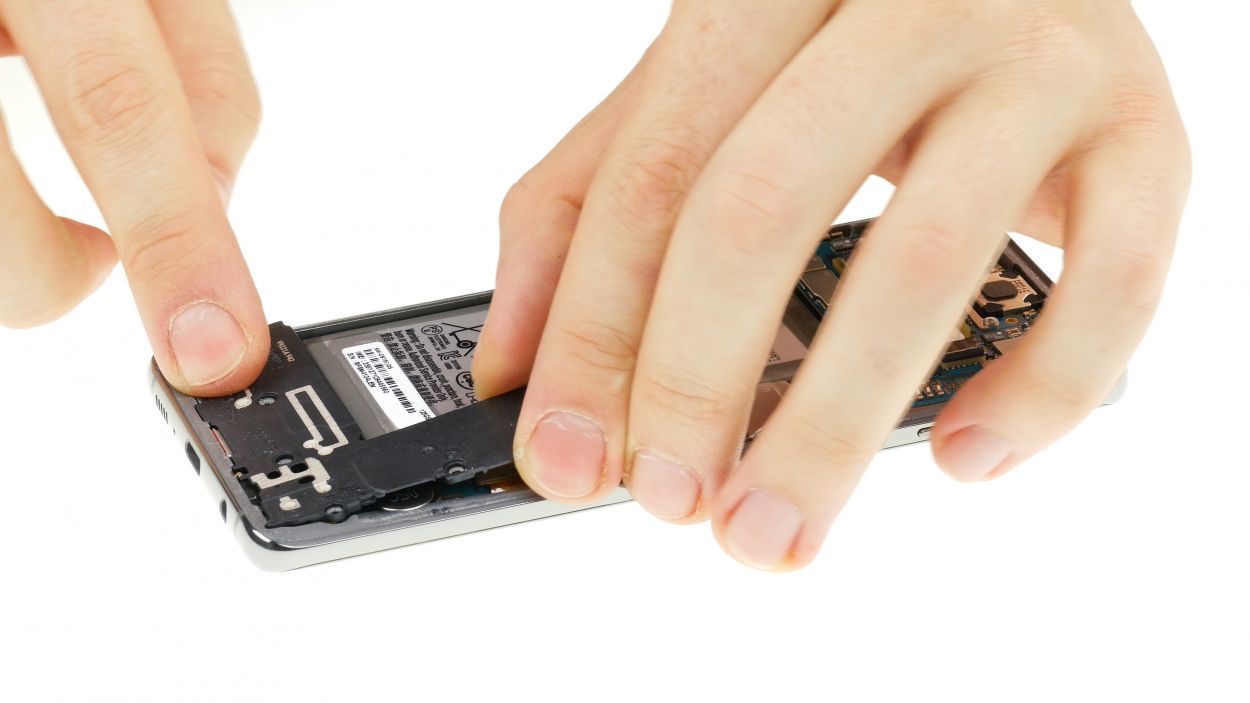
Removing the mainboard
-
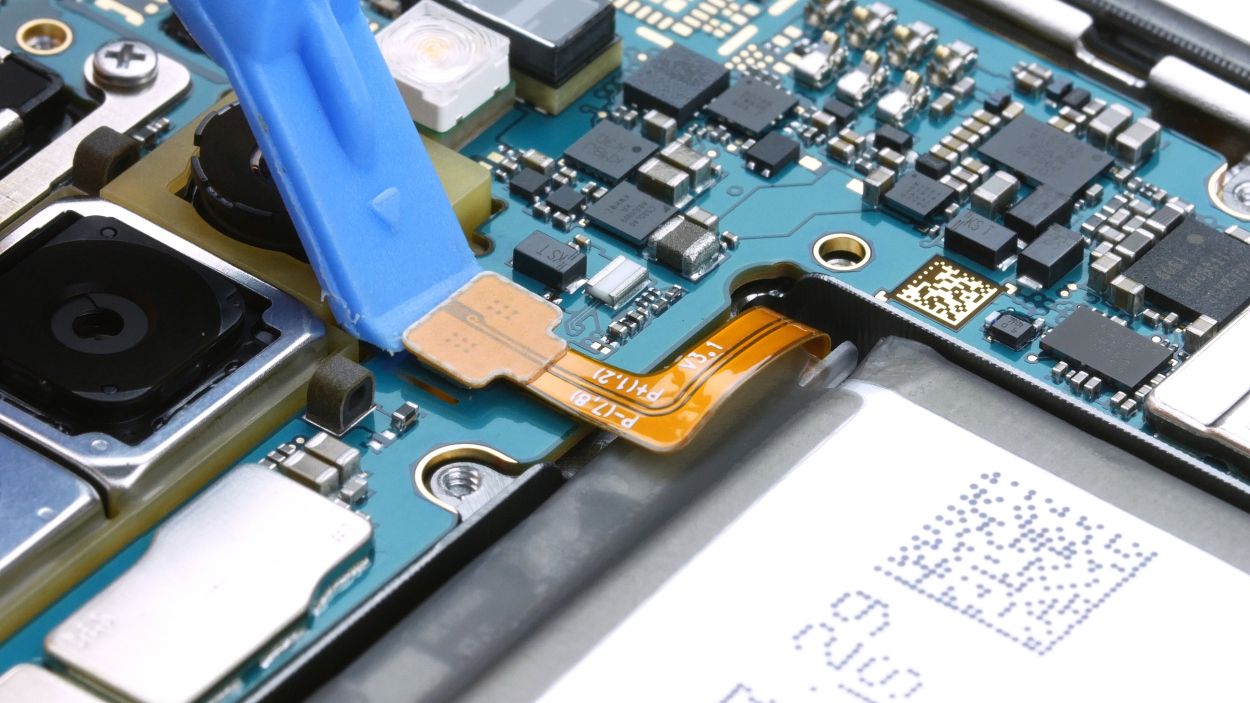
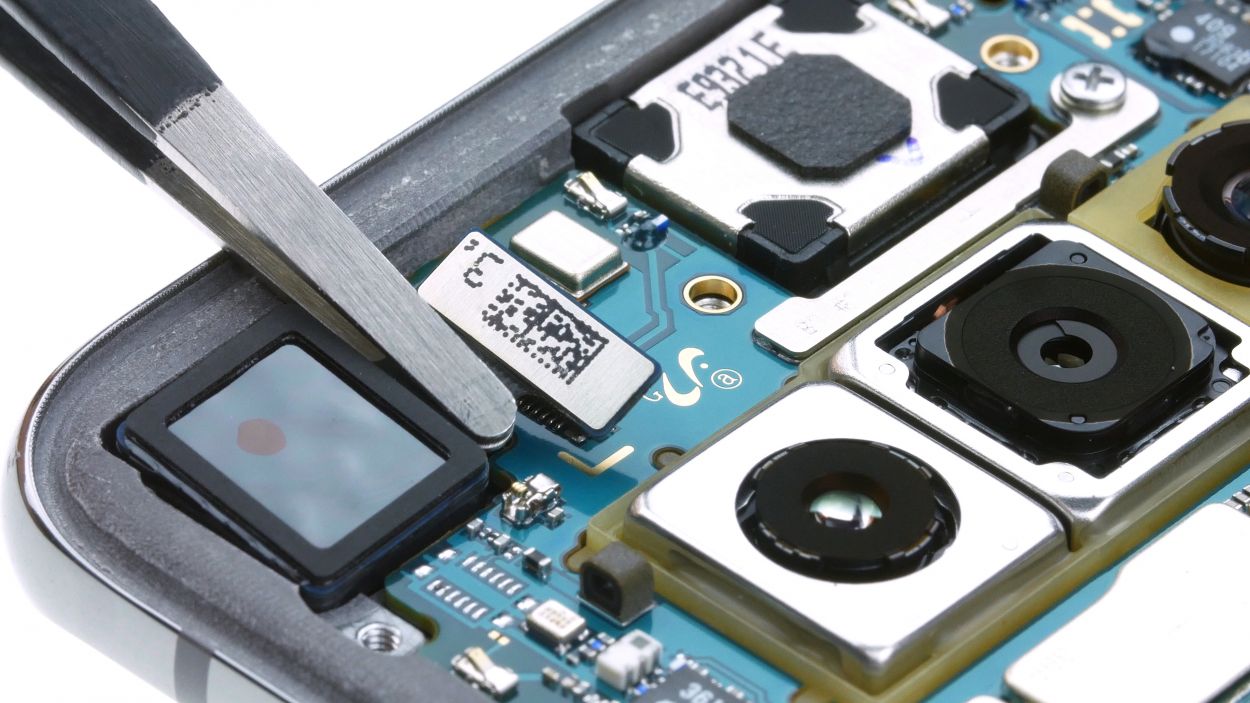
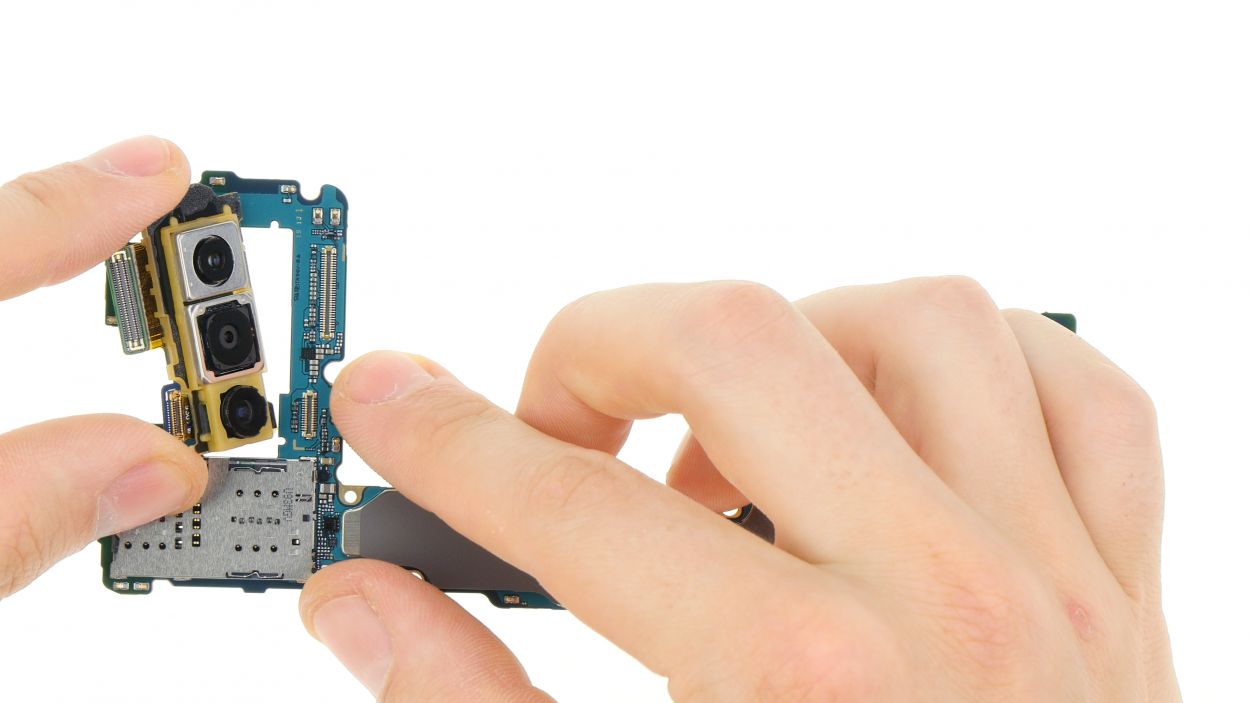
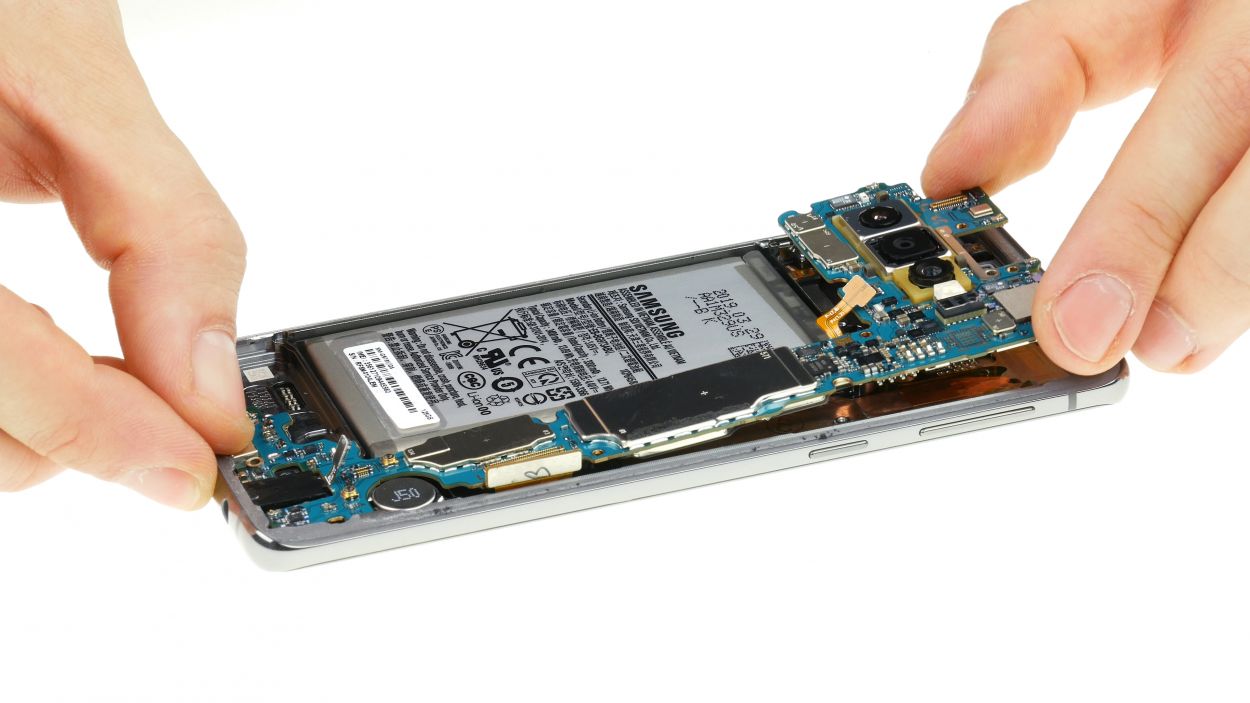
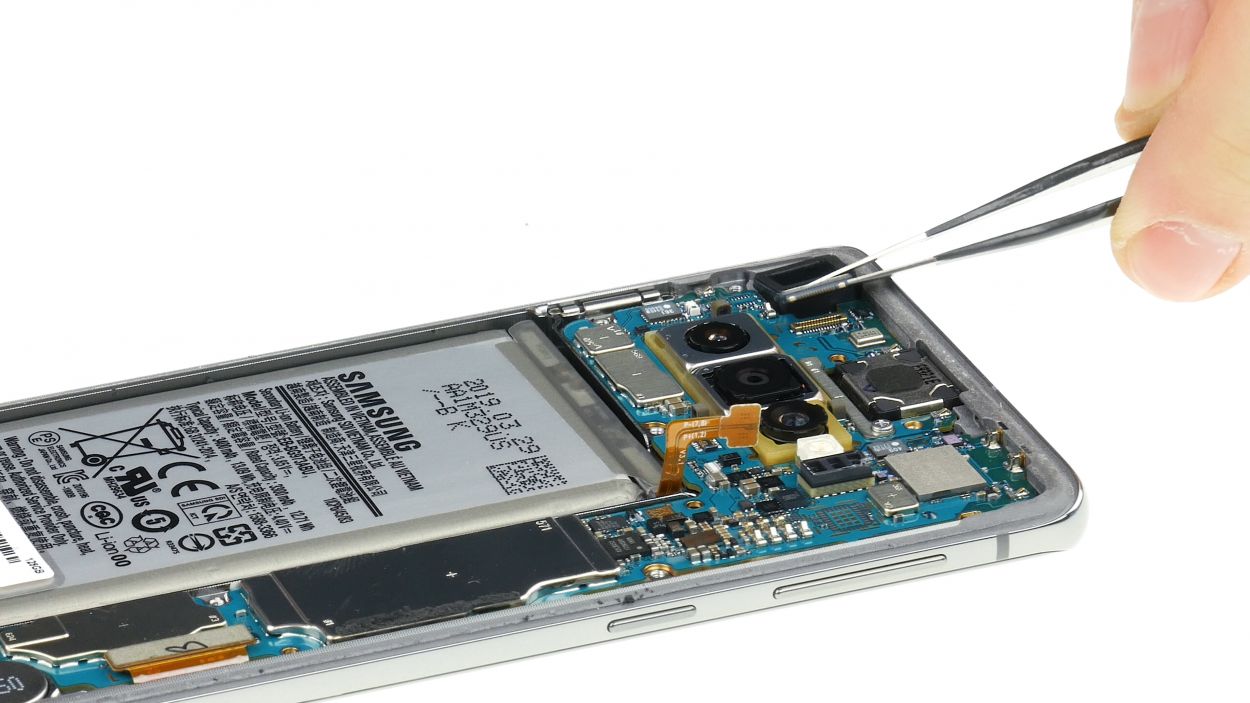
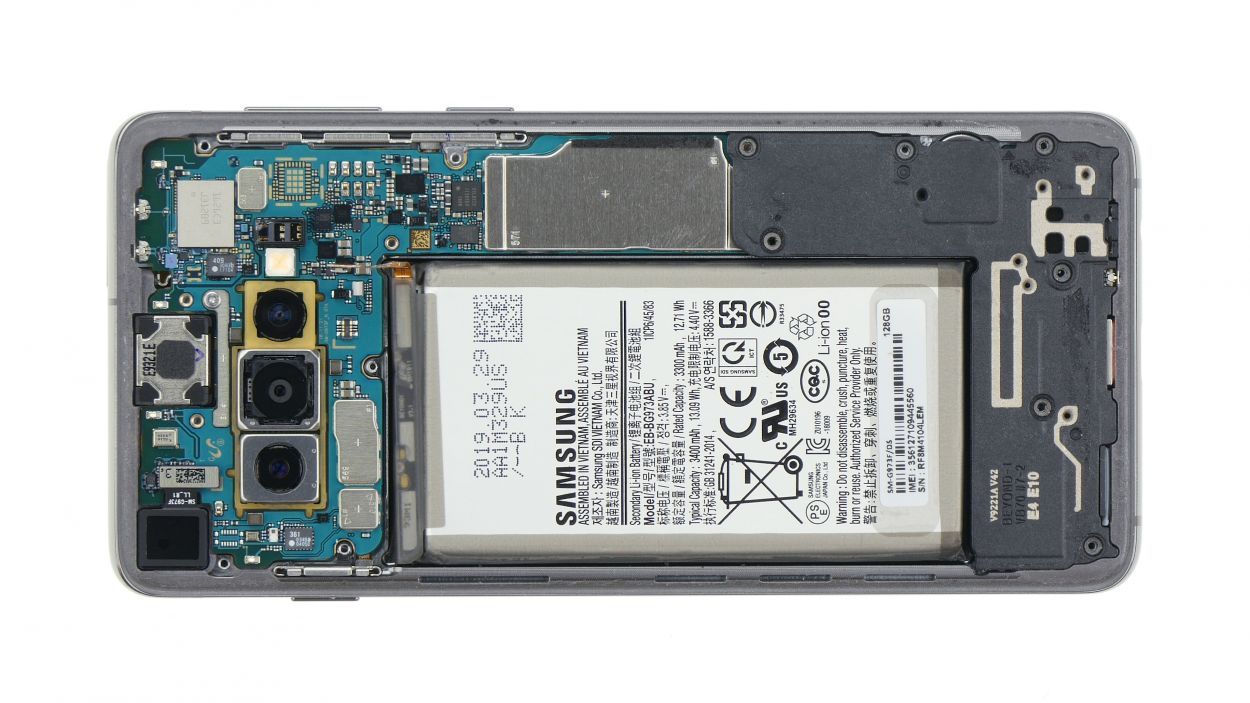
Removing the main camera
-
Installing the new main camera
-
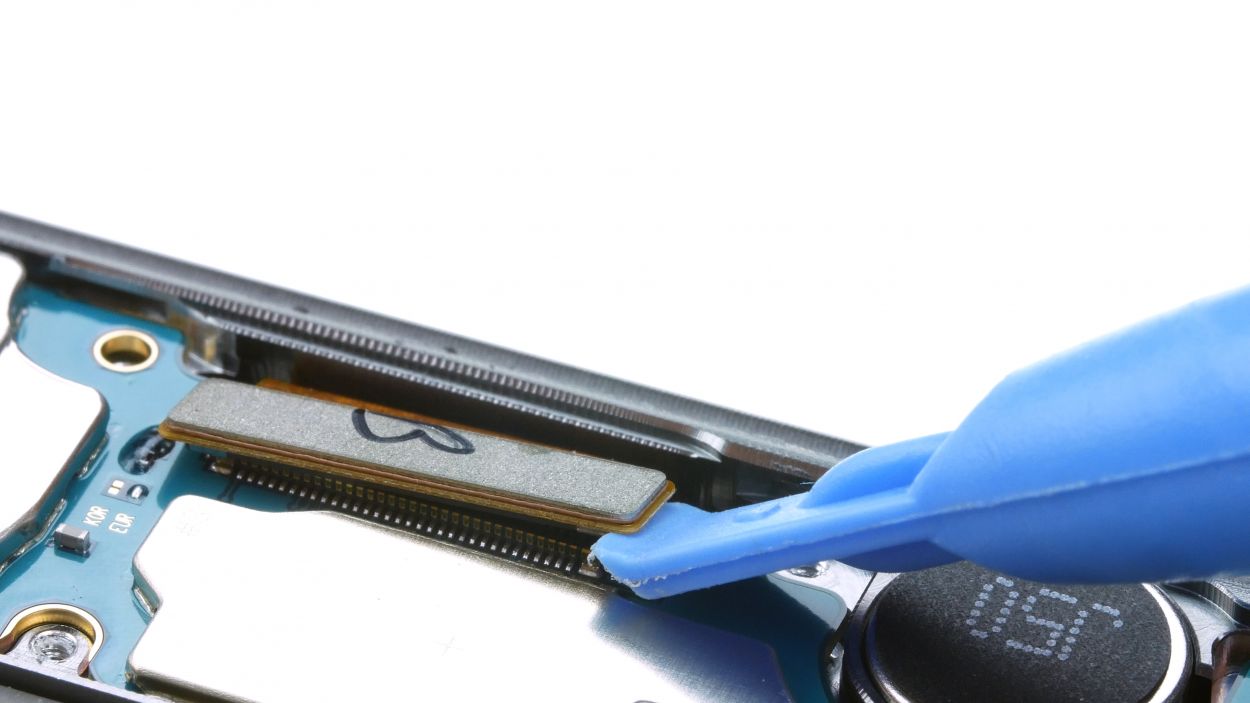
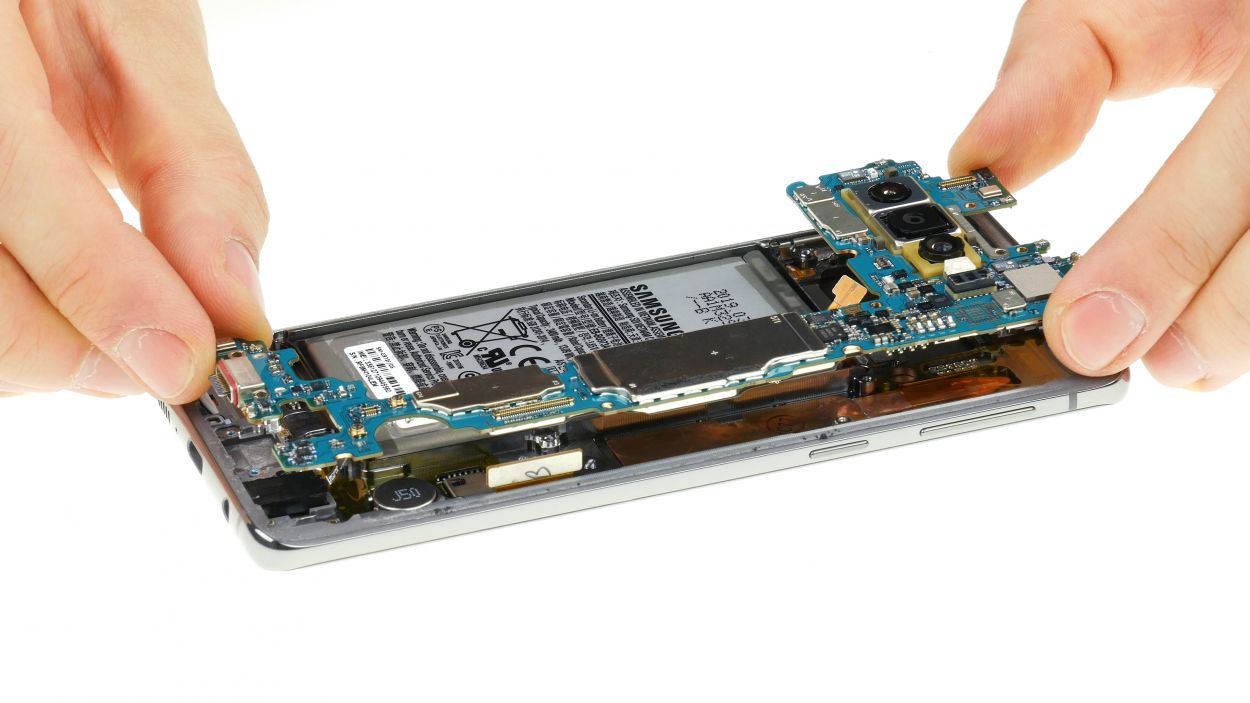
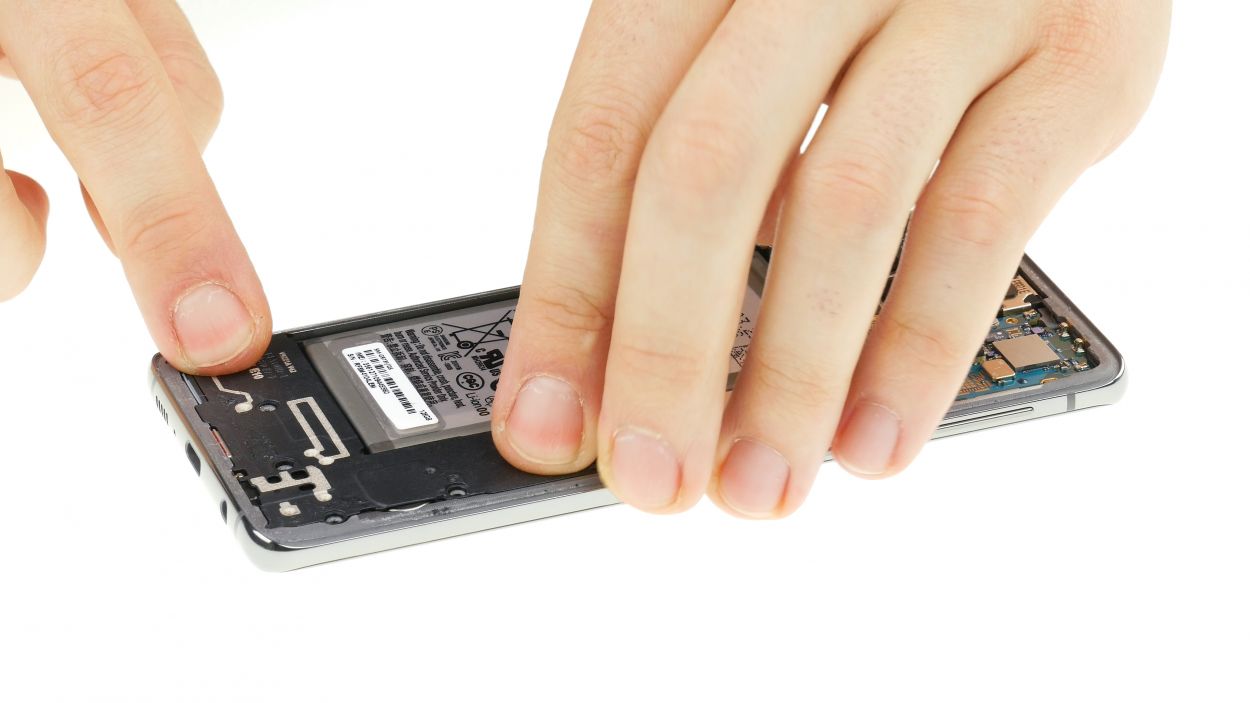
Inserting the mainboard
![Galaxy S10 - Inserting the mainboard 01]()
-
-
Installing the front-facing camera
-
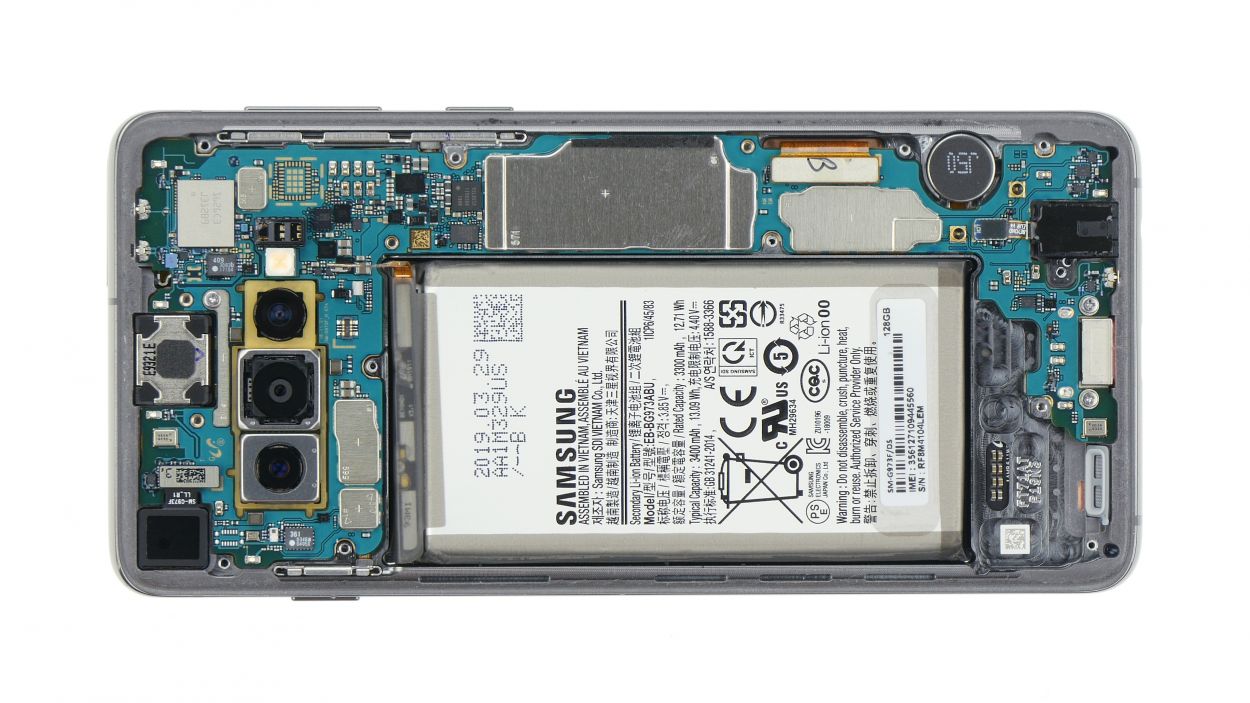
Installing the speaker
-
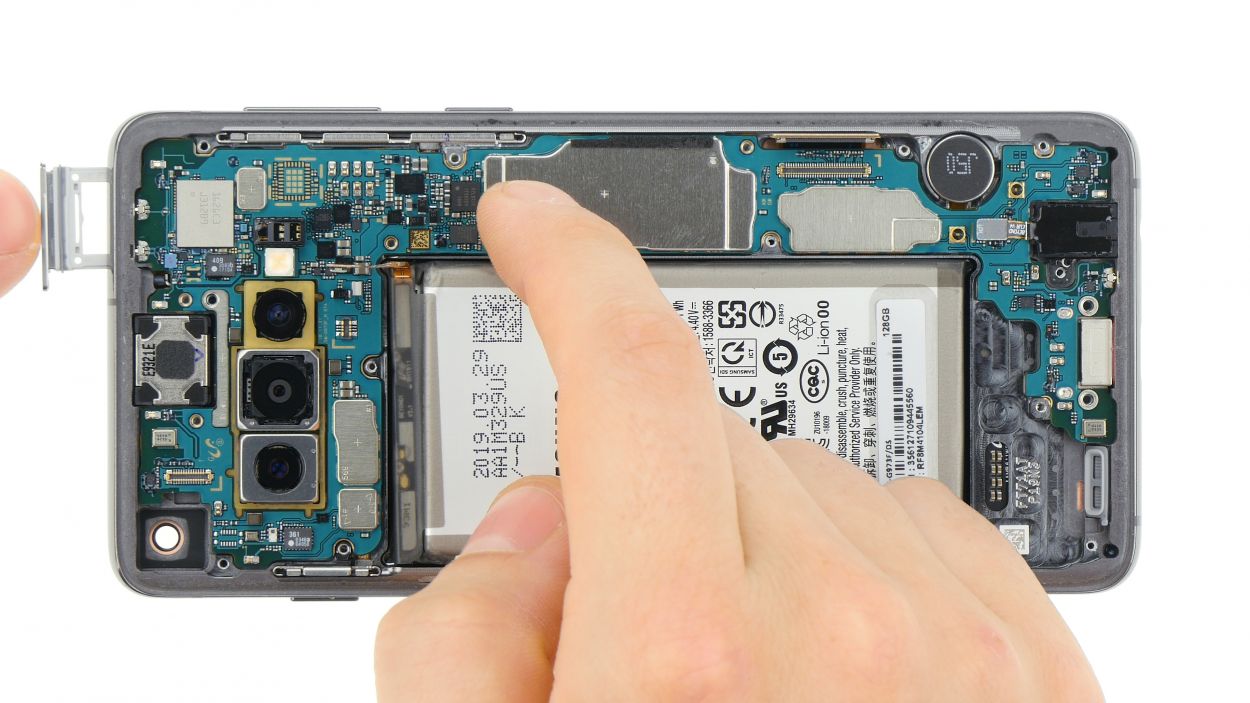
Connecting the battery
![Galaxy S10 - Connecting the battery 01]()
-
-
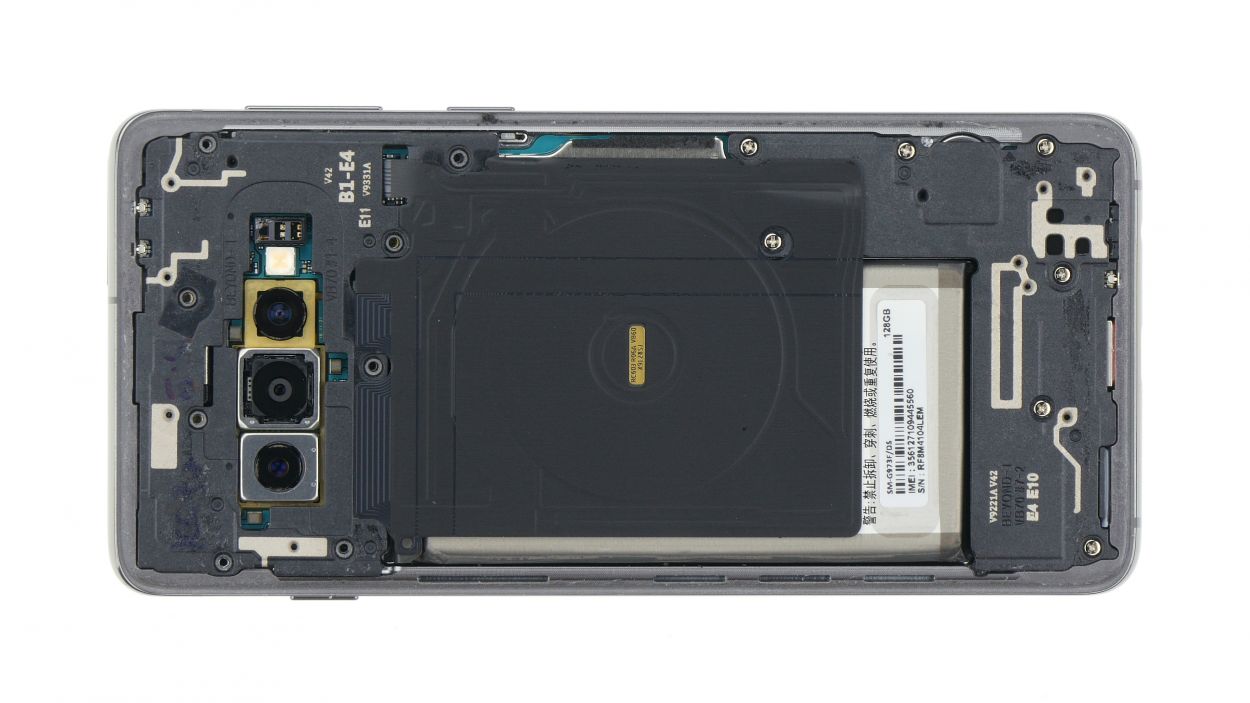
Installing the plastic cover
-
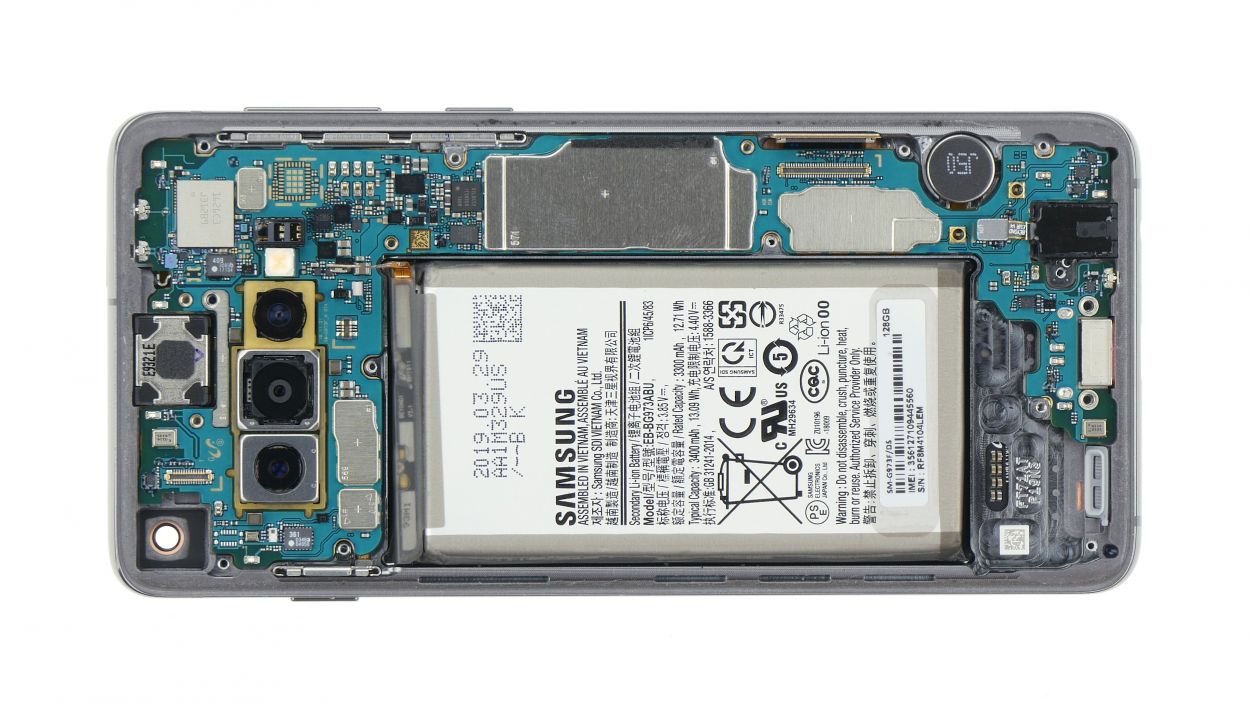
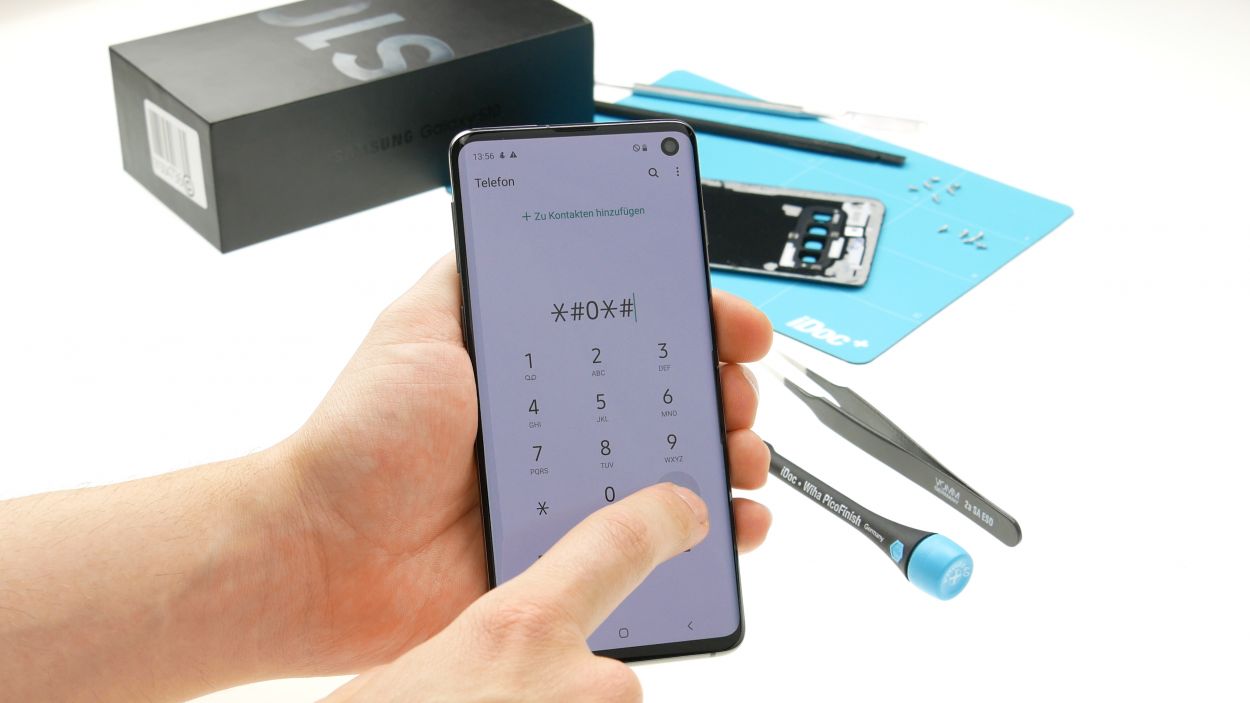
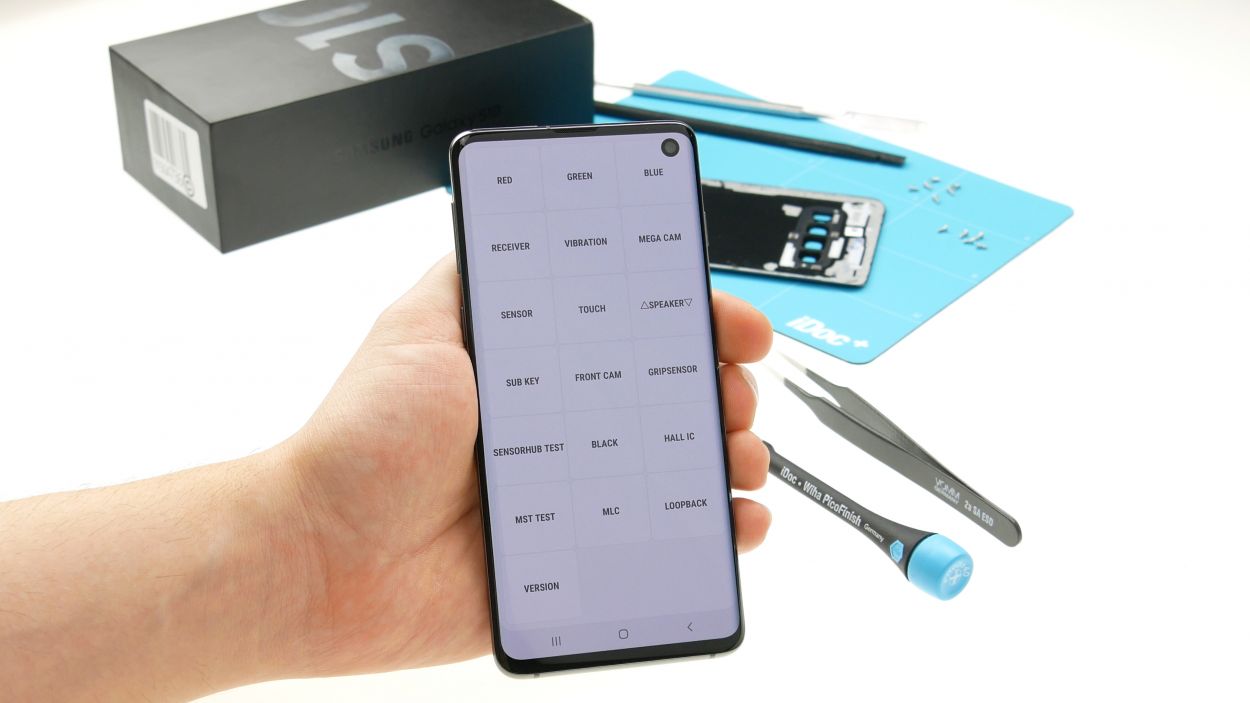
Testing your Samsung Galaxy S10
![Galaxy S10 - Testing your Samsung Galaxy S10 01]()
-
-
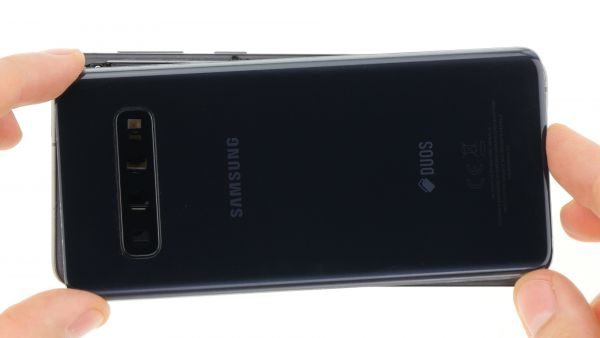
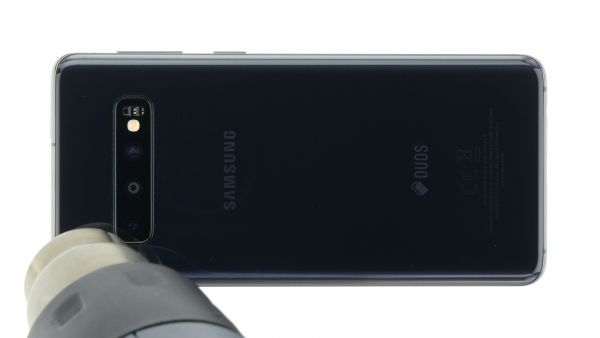
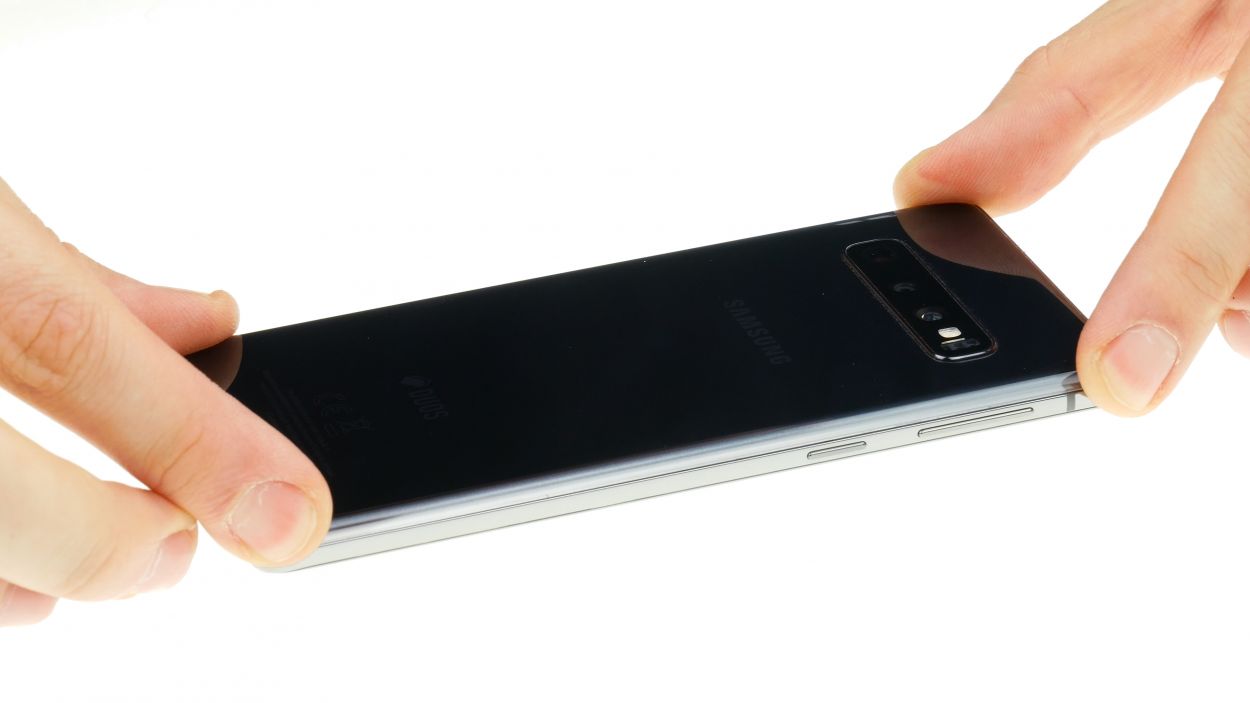
Attaching the back cover


The right tools for your repair


Similar guides
You might also be interested in these guides.


You might be interested in
