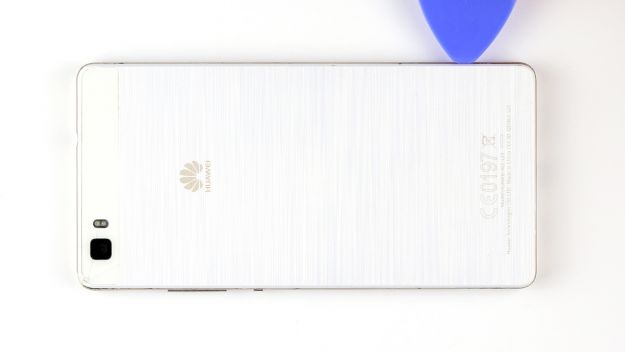
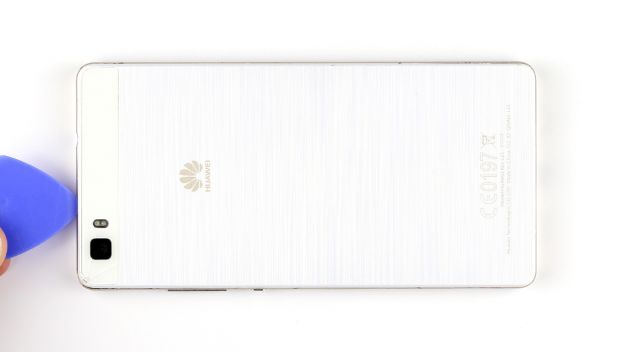
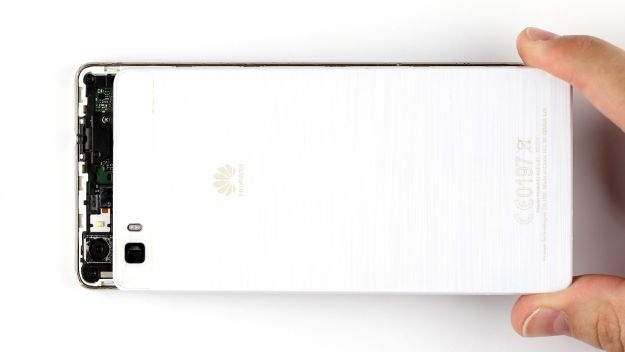
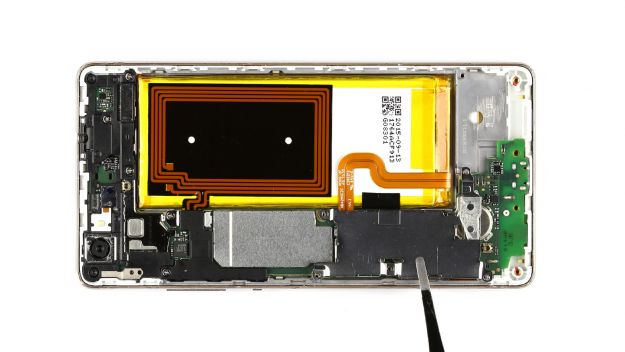
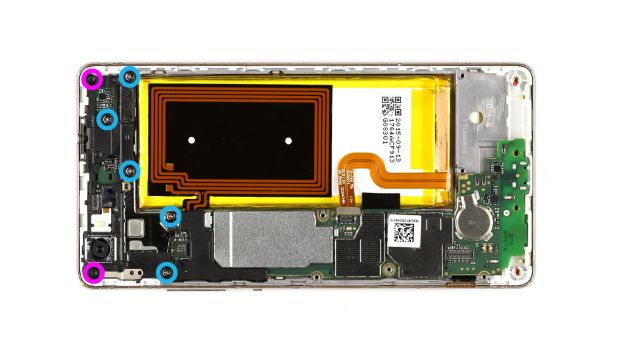
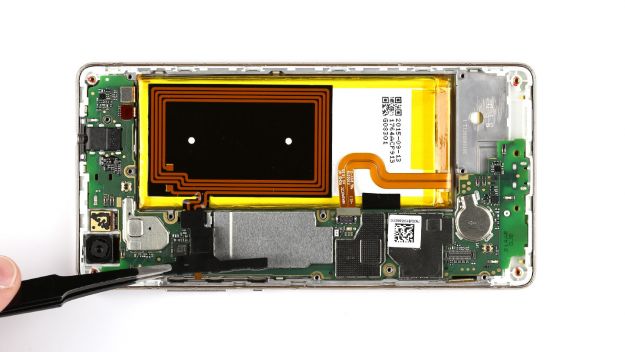
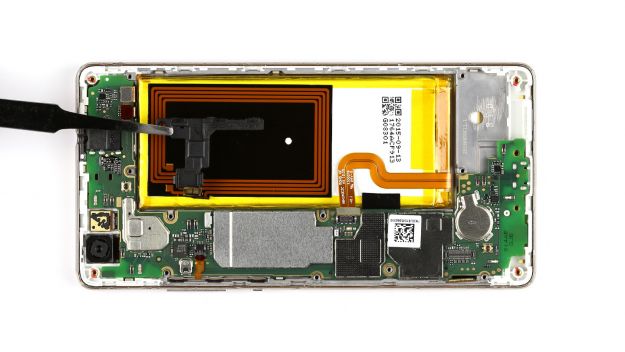
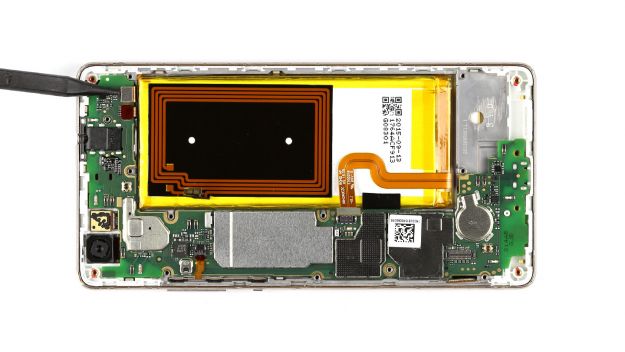
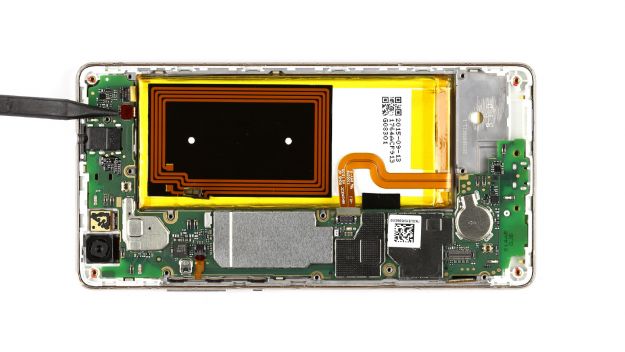
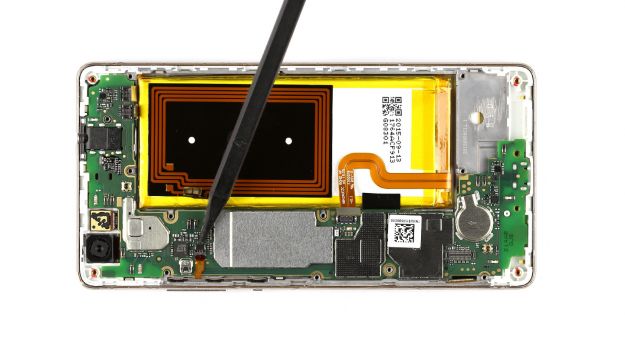
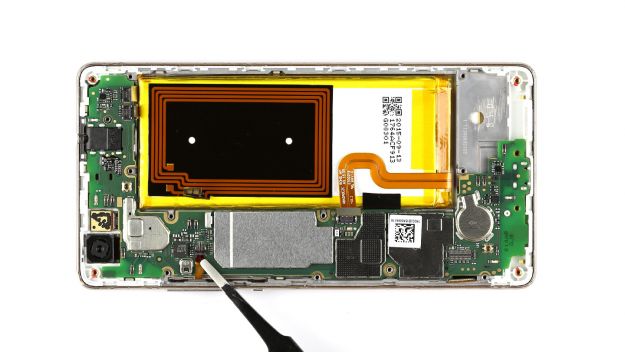
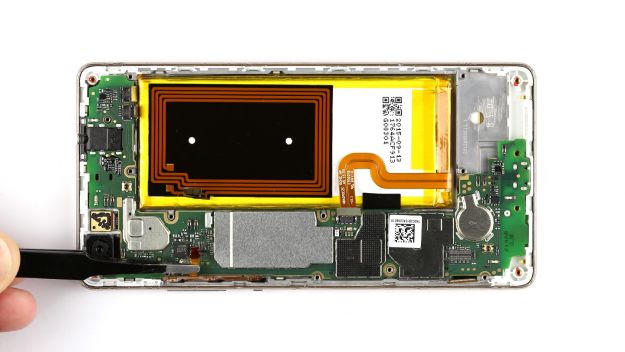
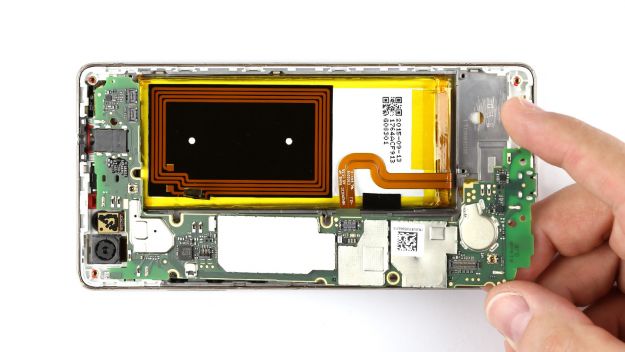
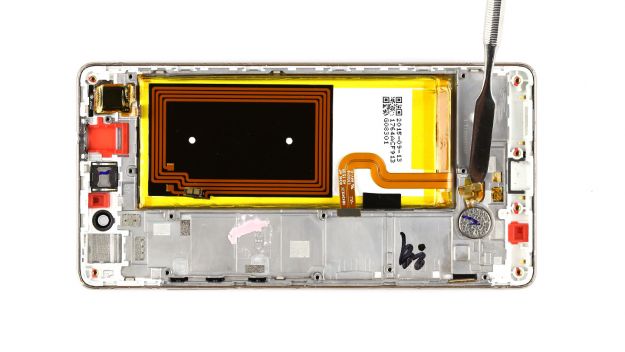
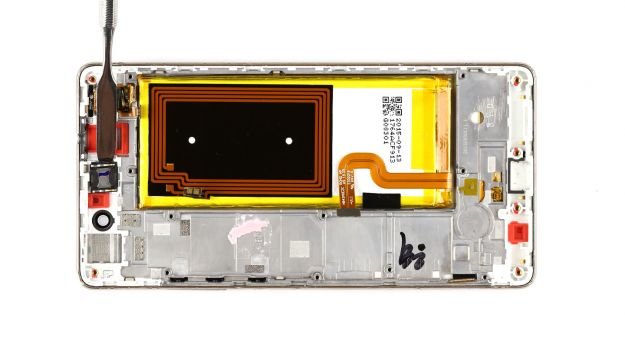
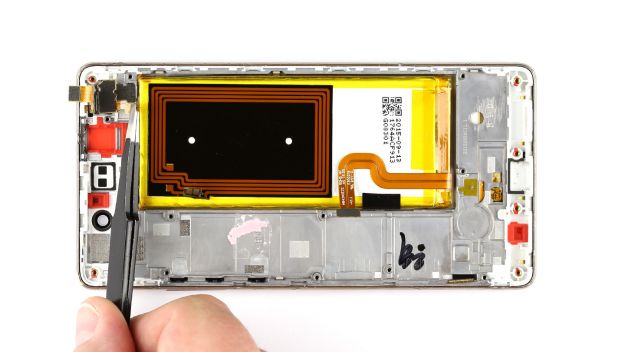
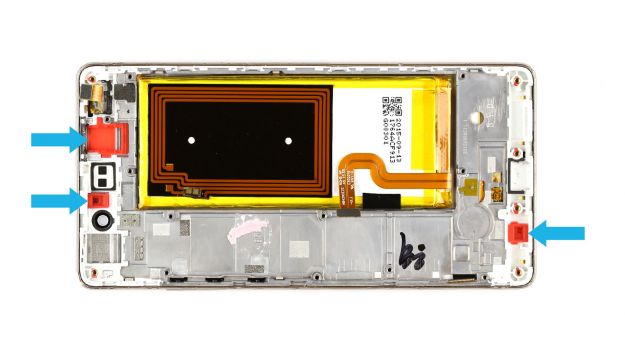
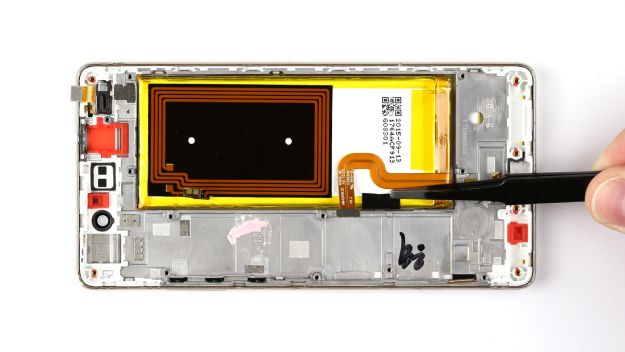
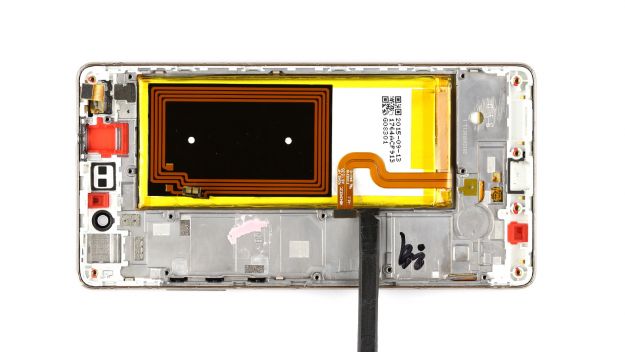
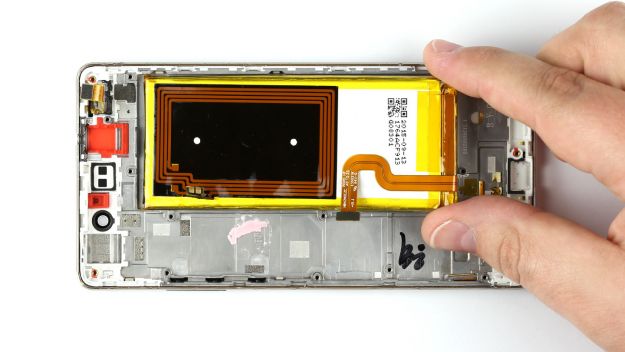
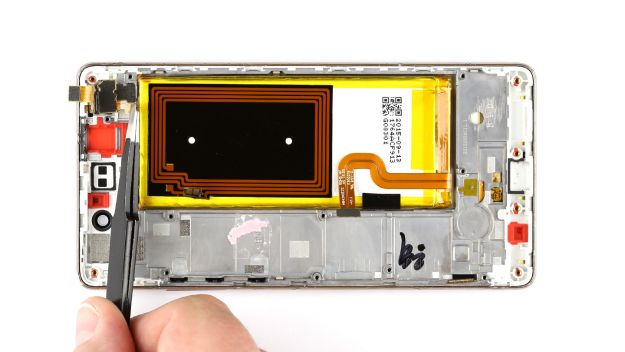
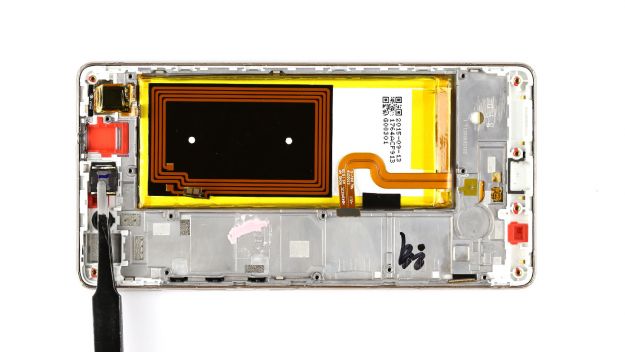
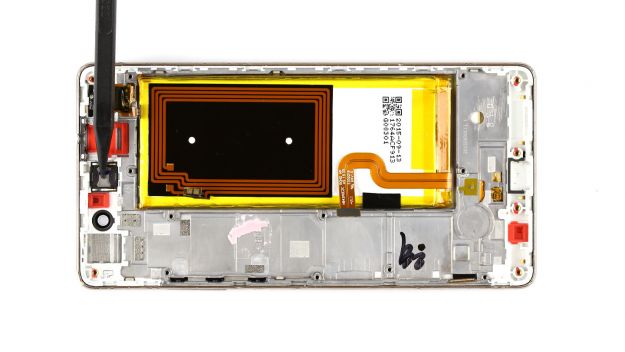
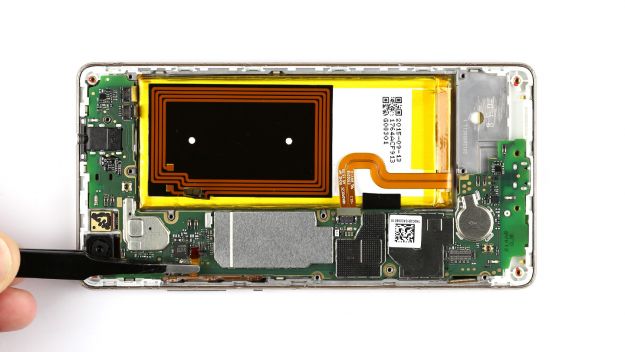
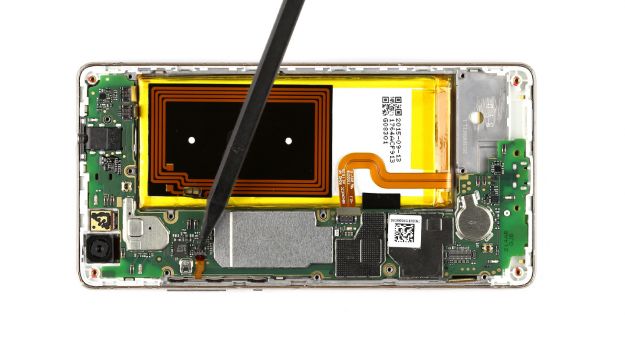
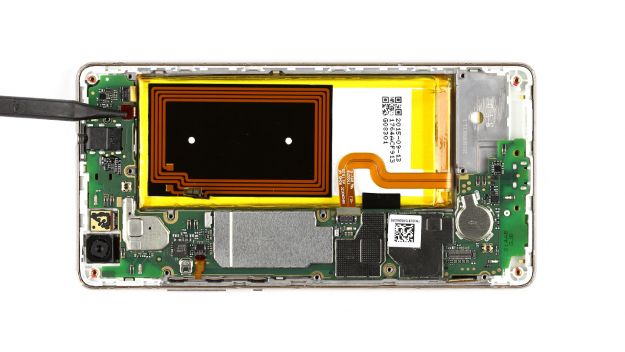
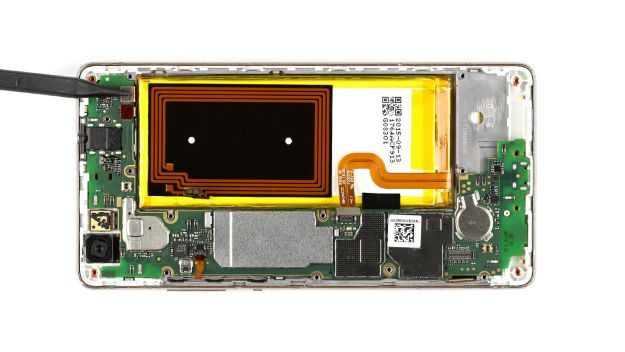
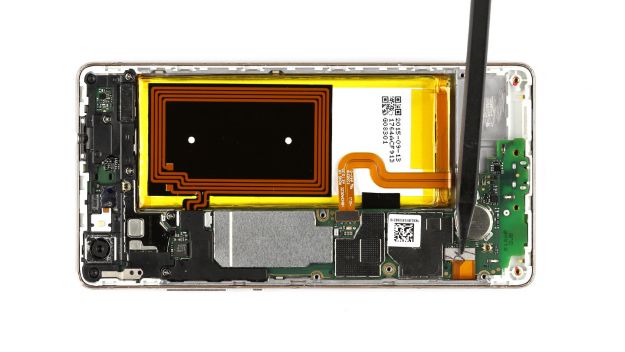
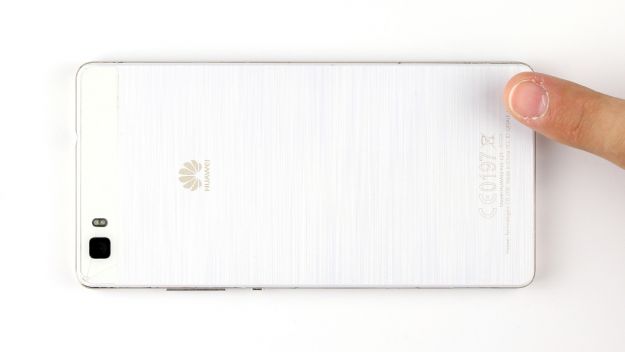
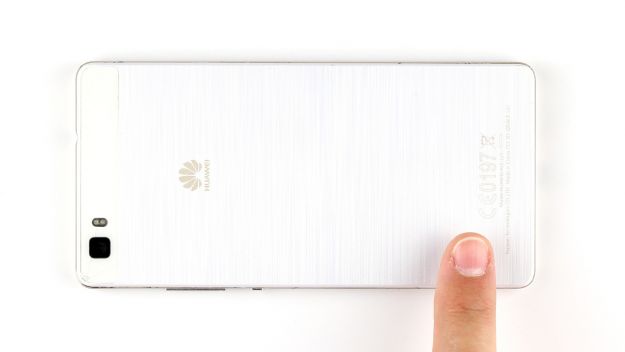
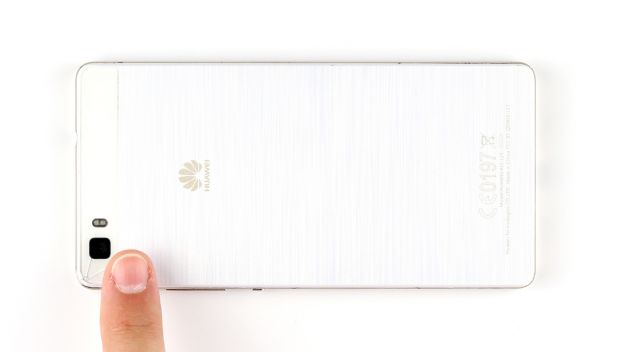
The screen is broken or remains black.
In this repair guide, we show you how to replace your Huawei P8 lite’s defective display unit on your own. You need this repair if the glass is cracked, the touchscreen no longer responds to touch, or the LCD remains black or flickers.
Required tools
-
Menda ESD Spudger
Menda ESD Spudger
You need a flat plastic prying tool to disconnect the various plugs and connectors.
from €26.38 on Amazon -
Pick Set
Pick Set
You need a flat but stable tool such as a pick to pry out parts that are glued in place.
from €14.99 on Amazon -
Phillips PH00 screwdriver
Phillips PH00 screwdriver
You need the right screwdriver for removing PH00 screws.
from €10.84 on Amazon - Wiha PicoFinish Torx Screwdriver T5
Required replacement part
- Huawei P8 Lite Screen
Getting started with the repair of your P8 lite
If you get stuck or have questions, you can post a comment. We’d be happy to help.
-
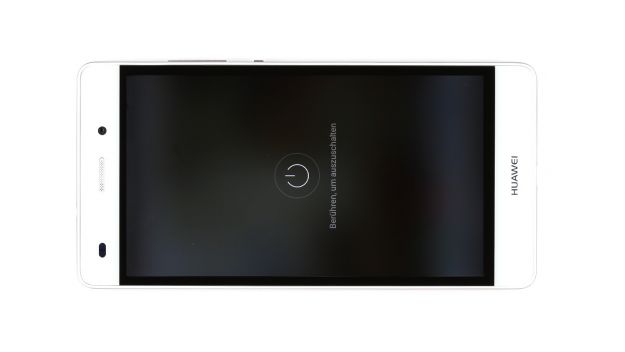
Switching off your device
-
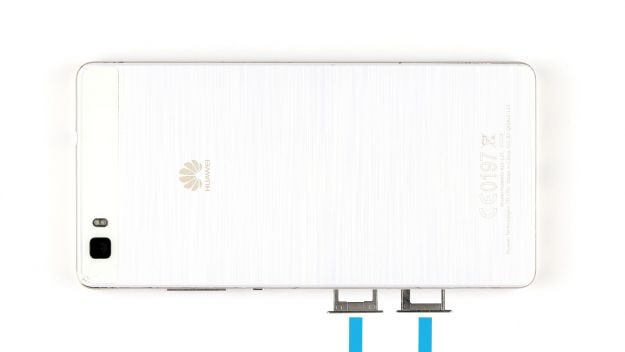
Removing the SIM and microSD cards
-
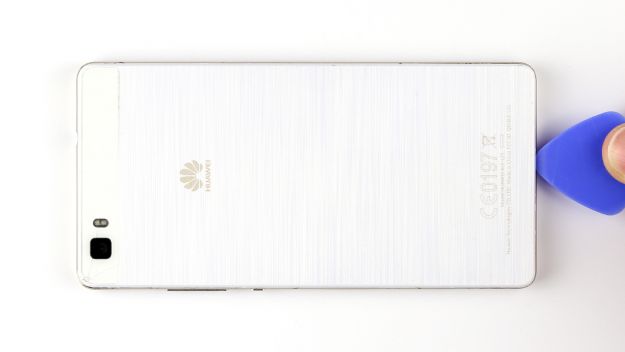
Removing the back cover
-
Removing the speaker
-
Disconnecting the battery and display contacts
-
Removing the upper cover
-
Disconnecting the connections to the PCB
-
Removing the motherboard
-
Removing the vibrator motor
-
Removing the earpiece
-
Removing the proximity and brightness sensors
-
Transferring parts
-
Removing the battery
-
Installing the battery
-
Installing the proximity and brightness sensors
-
Installing the earpiece
-
Installing the vibrator motor
-
Installing the motherboard
-
Making the connections to the PCB
-
Installing the upper cover
-
Connecting the battery and display contacts
-
Installing the speaker
-
Attaching the back cover
-
Inserting the SIM and microSD cards
The right tools for your repair
Similar guides
You might also be interested in these guides.
You might be interested in


