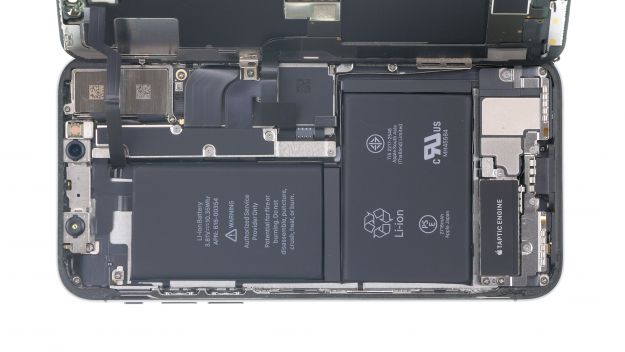
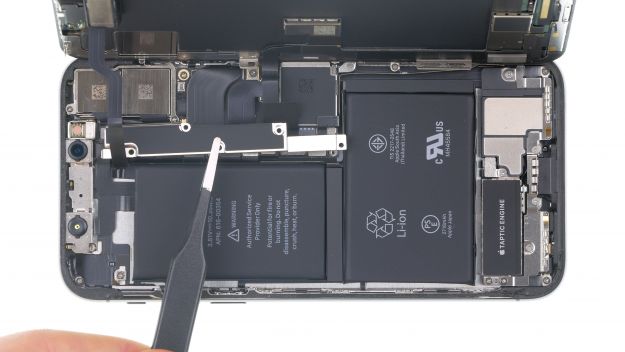
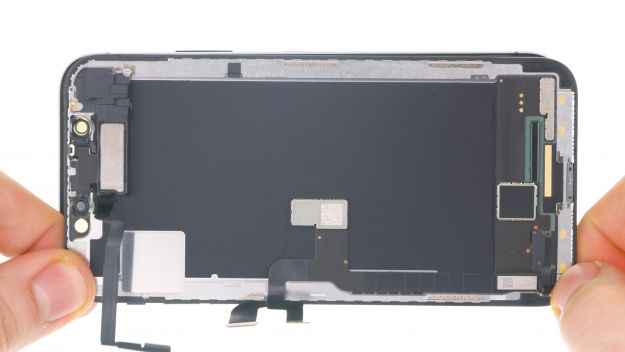
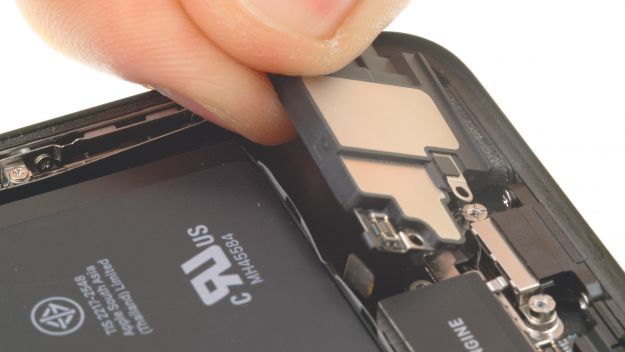
Your iPhone X no longer charges? Your computer does not recognize your phone?
Even if your microphone no longer works when making a call, you will still need to replace the Lightning connector on your iPhone, as both components are connected to a common cable set. We will show you in our repair section how to proceed best, so you can solve the problem on your own.
We wish you success and fun during the repair! Please recommend us and our repair guide to others if it was helpful and leave us a positive evaluation.
Required tools
-
Heat gun
Heat gun
You can use a heat gun to heat parts that are glued on so they’re easier to remove. In most cases, you can also use a hairdryer.
from €15.99 on Amazon -
iFlex Opening Tool
iFlex Opening Tool
Opening your smartphone can be a very delicate operation, especially if the glue is very persistent. The blade of the flexible but sturdy iFlex measures just 0.15 mm, so it fits in even the smallest gaps, such as between the screen and the frame. The practical iFlex is made of stainless steel and sits comfortably in the hand. This makes it the perfect assistant for every smartphone repair.
from €10.95 on Amazon -
For storing screws
For storing screws
We recommend storing your screws so you don’t mix up the various screws and small parts.
from €10.99 on Amazon -
Tweezers
Tweezers
We recommend using tweezers to remove screws and various small parts from your device.
on Amazon -
Pick Set
Pick Set
You need a flat but stable tool such as a pick to pry out parts that are glued in place.
from €14.99 on Amazon -
Plastic prying tool
Plastic prying tool
You need a flat plastic prying tool to disconnect the various plugs and connectors.
from €14.99 on Amazon -
Pentalobe PL1 screwdriver
Pentalobe PL1 screwdriver
You need the right screwdriver for removing pentalobe PL1 screws.
on Amazon -
Phillips PH00 screwdriver
Phillips PH00 screwdriver
You need the right screwdriver for removing PH00 screws.
from €10.84 on Amazon - Y-type Y000 screwdriver
Required replacement part
- iPhone X Lightning Connector
Getting started with the repair of your iPhone X
If you get stuck or have questions, you can post a comment. We’d be happy to help.
-
Switching off your iPhone X
-
Removing the rear case screws
-
Heating up the display
-
Detaching the display
-
Opening the display
-
Disconnecting the battery
-
Disconnecting the display connectors
-
Removing the bracket plate
-
Removing the speaker
-
Removing the Taptic Engine
-
Removing the battery
-
Removing the iSight camera
-
Removing the SIM card tray
-
Removing the logicboard
-
Removing the barometric vent
-
Removing the Lightning connector
-
Prepare the new lightning connector
-
Installing the Lightning connector
-
Installing the barometric vent
-
Installing the logicboard
-
Installing the SIM card tray
-
Installing the iSight camera
-
Inserting the battery
-
Installing the Taptic Tngine
-
Inserting the speaker
-
Installing the bracket plate
-
Attaching a new adhesive frame
-
Connecting the display
-
Connecting the battery
-
Installing the display
-
Fastening the back cover screws
The right tools for your repair
Similar guides
You might also be interested in these guides.
You might be interested in


