Reparaturanleitungen für dein Handy
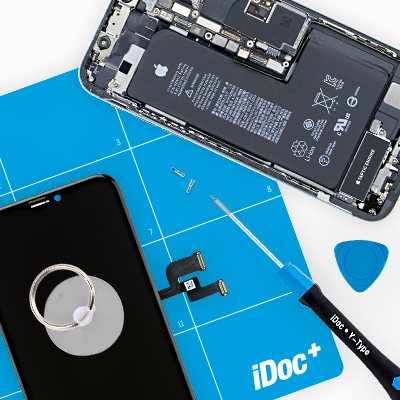
Unsere Anleitungen für deine Handy Reparatur bereiten wir professionell bei uns vor Ort auf. In unserem Studio dokumentieren unsere Profis jeden einzelnen Schritt. Dann erstellen wir für jede Reparatur eine ausführliche Schritt-für-Schritt-Anleitung. Zusätzlich stellen wir dir für viele Smartphones auch Videoanleitungen zur Verfügung, um die Handy Reparatur noch besser zu visualisieren. In der Anleitung erklären wir dir genau, welche Werkzeuge du für deine Smartphone Reparatur benötigst und welche Ersatzteile du griffbereit haben solltest. So bist du bestens vorbereitet. Dir fehlen benötigte Werkzeuge oder Teile? Mit nur einem Klick legst du das erforderliche Equipment von der Reparaturanleitung direkt in den Warenkorb.
Egal, welche Herausforderung vor dir liegt - sei es ein Displaytausch nach einem Sturz- oder Wasserschaden, ein Akkuaustausch oder sonstige Mängel an deinem Smartphone: mit der ausführlichen Schritt-für-Schritt-Anleitung von erfahrenen Technikern bist du bei deiner Handy Reparatur in sicheren Händen.