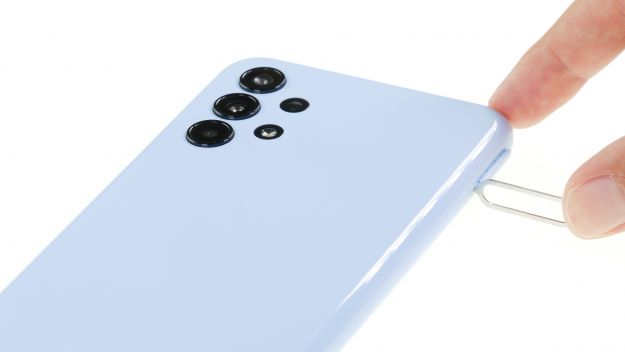
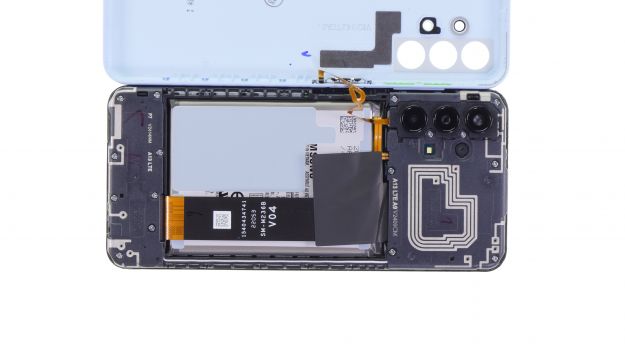
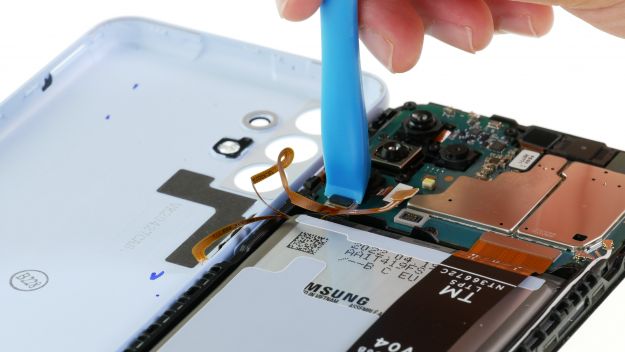
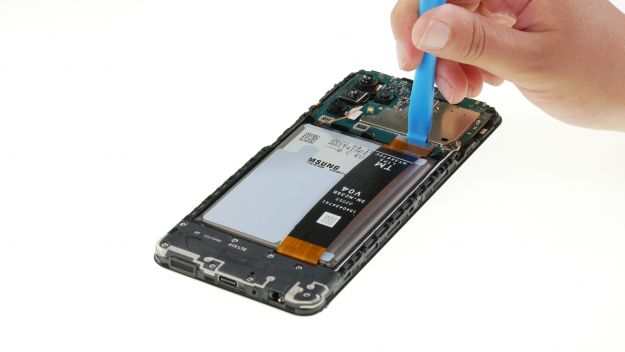
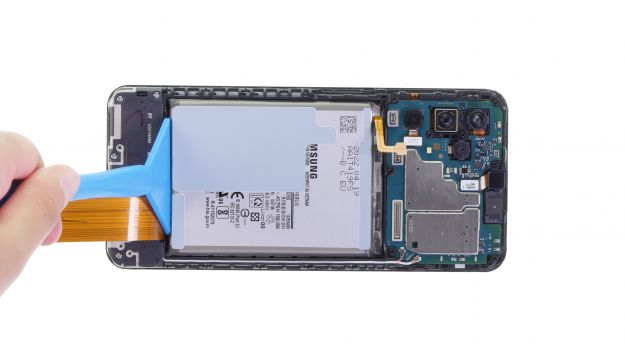
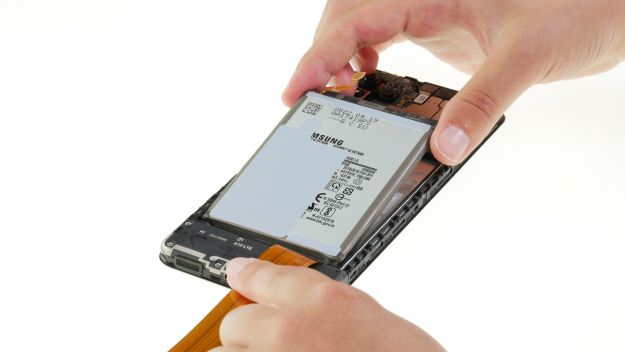
In this step-by-step guide, we will show you how you can easily replace the battery of your Galaxy A13 yourself.
We wish you good luck with your repair!
Required tools
-
Tool for prying out batteries
Tool for prying out batteries
You have to use a very stable tool to pry out the battery. At the same time, it has to be flat enough to insert below the battery.
from €10.99 on Amazon -
Flat Picks
Flat Picks
You need a very flat tool such as a flat pick to pry out parts that are glued in place.
from €11.95 on Amazon -
Heat gun
Heat gun
You can use a heat gun to heat parts that are glued on so they’re easier to remove. In most cases, you can also use a hairdryer.
from €15.99 on Amazon -
Tweezers
Tweezers
We recommend using tweezers to remove screws and various small parts from your device.
on Amazon -
Plastic prying tool
Plastic prying tool
You need a flat plastic prying tool to disconnect the various plugs and connectors.
from €14.99 on Amazon -
Phillips PH00 screwdriver
Phillips PH00 screwdriver
You need the right screwdriver for removing PH00 screws.
from €10.84 on Amazon
Required replacement part
- Samsung Galaxy A13 (SM-A137) Battery
Getting started with the repair of your Galaxy A13
If you get stuck or have questions, you can post a comment. We’d be happy to help.
-
Turn off Galaxy A13
-
Remove sim card holder
-
Remove back cover
-
Remove upper board cover
-
Disconnecting the battery
-
Disconnect fingerprint sensor
-
Disconnect connection cable
-
Remove battery
-
Prepare new battery
-
Insert battery
-
Connecting the connection cable
-
Connect fingerprint sensor
-
Connect battery
-
Install upper board cover
-
Test replacement display
-
Attach back cover
-
Insert sim card holder
The right tools for your repair
Similar guides
You might also be interested in these guides.
You might be interested in


