Not all available displays have the same features. If necessary, you’ll have to take some of the following parts from your old display before installing the new screen:
Earpiece mesh from the old screen; may have to be glued on (see figure 1)
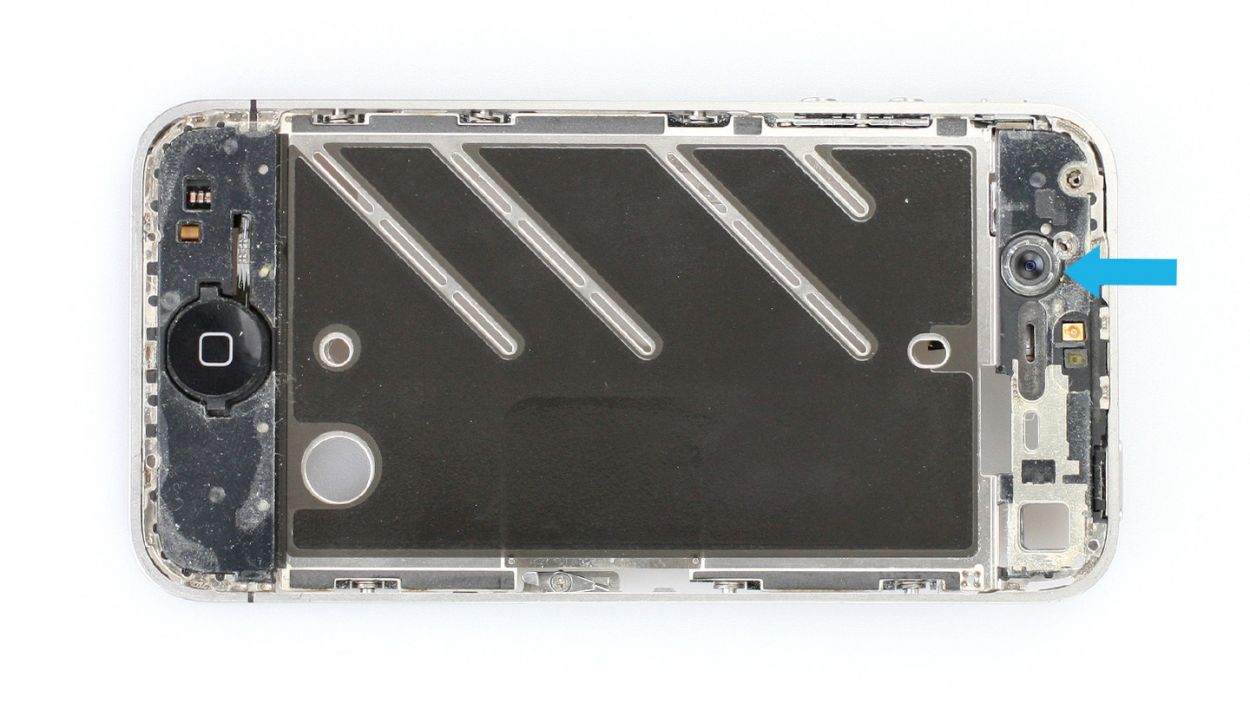
Front camera bracket (see figure 2)
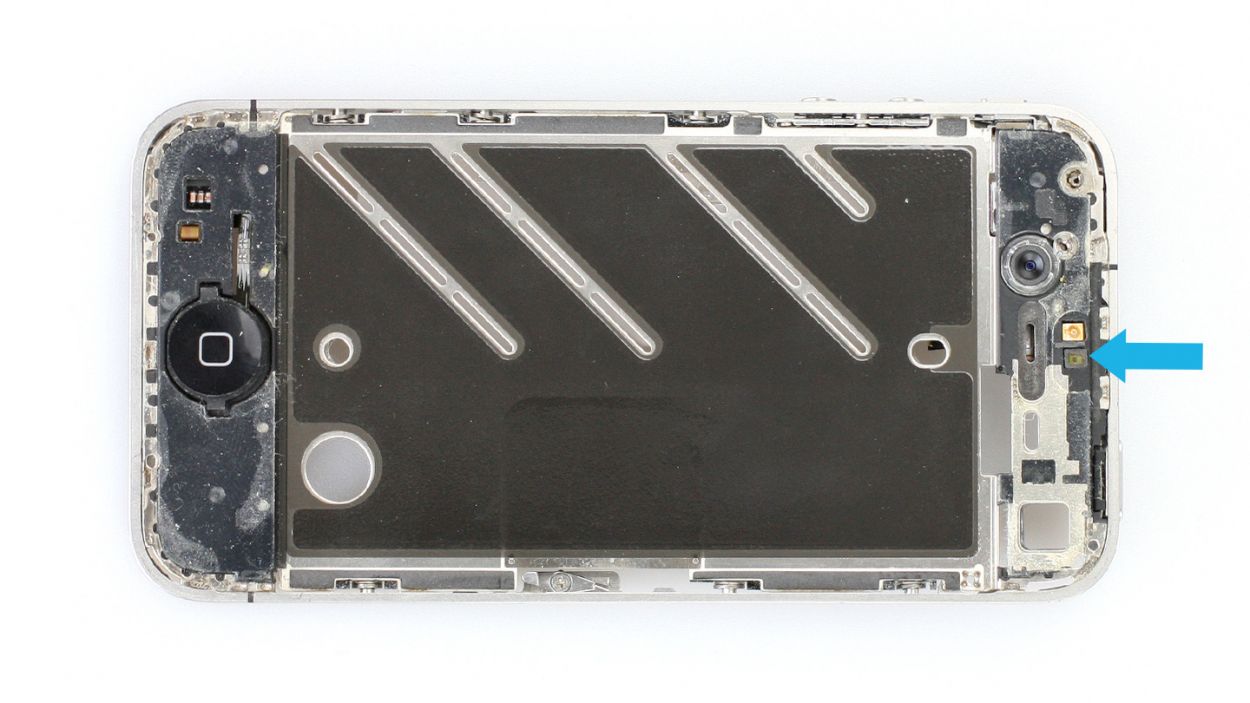
Check whether the PVC cover on the proximity sensor (see figure 3) is in its place (only for the black iPhone 4; if you’re installing a white display, you also have to put on this cover). If your screen no longer goes dark when you’re talking on the phone after this repair, you can get help here.
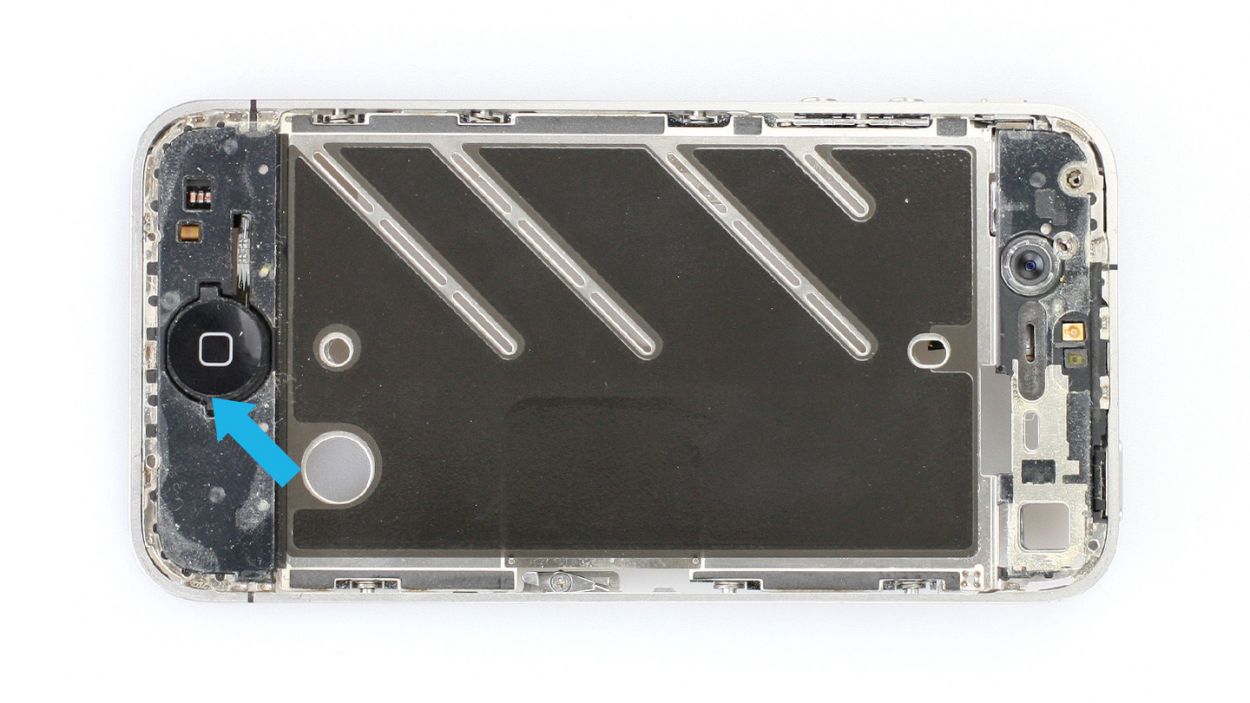
You can use a paintbrush or the laboratory spatula to remove the dust from the Home button. (See figure 4).
Pull the protective film off the back of the new LCD.
If the adhesive film next to the Home button and front camera is clean, you can continue to use it. Otherwise, pull it off.
1
verwandte Anleitungen
Der Schritt wird dir in diesen Anleitungen angezeigt
Diese
Website benutzt Cookies, die für den technischen Betrieb der Website erforderlich sind und stets gesetzt
werden. Andere Cookies, die den Komfort bei Benutzung dieser Website erhöhen, der Direktwerbung dienen
oder die Interaktion mit anderen Websites und sozialen Netzwerken vereinfachen sollen, werden nur mit
Ihrer Zustimmung gesetzt. Datenschutzerklärung
Diese Website benutzt Cookies, die für den technischen Betrieb der
Website erforderlich sind und stets gesetzt werden. Andere Cookies, die den Komfort bei Benutzung dieser
Website erhöhen, der Direktwerbung dienen oder die Interaktion mit anderen Websites und sozialen
Netzwerken vereinfachen sollen, werden nur mit Ihrer Zustimmung gesetzt. Datenschutzerklärung
Technisch erforderlich
Diese Cookies sind für die Grundfunktionen
des Shops notwendig.
Alle Cookies ablehnen
Alle Cookies annehmen
Ausgewählter Shop
CSRF-Token
Cookie-Einstellungen
Google Tag Manager
Individuelle Preise
Kundenspezifisches Caching
PayPal-Zahlungen
Session
Währungswechsel
Komfortfunktionen
Diese Cookies werden genutzt um das
Einkaufserlebnis noch ansprechender zu gestalten, beispielsweise für die Wiedererkennung
des Besuchers.
Merkzettel
Statistik &
Tracking
Endgeräteerkennung
Facebook Pixel
Google Remarketing
Hotjar
Partnerprogramm
Profi-Insights & Tipps für deine erfolgreiche Handy-Reparatur
We use cookies to store information so we can offer you a better Web experience. By browsing our website, you accept the use of cookies. More information